Veg plot 2020, #5

When strolling around checking on things a few evenings back I noticed a few positive changes…

We have courgettes on the way:

and some strawberries, though we won’t get many this year because they’re new plants.

And some tiny chiles in the polytunnel

Looks like something has been digging in one of the beds, too. I suspect it might have been a pheasant trying to have a dust bath. I shall have to do something to discourage that…

Posted in Smallholding, Veg plot | Leave a comment

Veg plot 2020, #4

A few photos from late May. I’d spent a fair bit of time over the previous few days getting bits and pieces done in the veg plot, though hadn’t entirely finished.

In this corner I have some butternut squashes with lettuces planted around them. By the time the squashes take over the lettuces will be well eaten. Behind them are a few different varieties of peas and beyond them the climbing beans, still in their protective cages to stop them getting out and attacking any passing deer (I even saw one — a deer that is — in the orchard in the middle of the day over the weekend). At the top right in the background it’s just possible to make out all the beehive kit I’ve been moving from the old apiary to what’s going to be the new apiary for a year or two (it’s actually the pig run, but I have fencing repairs to do before we can have any more pigs and I’m not sure I’ll get that done in the near future).

This is mostly potatoes, in need of a bit of earthing up. The nearest row is (mostly) the same variety as Jersey Royal, then there are Charlotte in the next row, then King Edward and Maris Piper. The really boisterous ones on the left are Picasso, which came to me indirectly from a local farmer who grows them commercially. I was given them for free, so it seemed a shame not to plant them 🙂 There are a few failures it seems, which is a bit disappointing, but not as bad as the peas where one variety has completely failed to germinate but for one seedling 🙁

And here I’ve got a mixture of red and white onions, lettuces, carrots, radish and a few other salad veg. Some of the plants haven’t done so well near the edges of the bed. I suspect that’s because of the sycamore trees that are out of shot to the right. Over the winter I may well dig a trench just outside the veggie plot to cut all the tree roots off. It will still be a good five or six metres from the trunk, so shouldn’t destabilise them at all. Massively over-exposed at the top left is the polytunnel, behind which we have storage for five thousand litres of water that we pump out of our well to use to water everything. To my surprise given that we’re pretty much on top of a hill and have had very little rain for a couple of months, water is still pouring out of the underlying rock and our land drains.

That evening for dinner we had a salad from some of the thinnings from the row of lettuces and radishes with home-made fish cakes which was lovely.

Posted in Smallholding, Veg plot | Leave a comment

One of the more unusual bee swarms I have collected

I received a phone call from a local chap who said he had a swam of bees that had just settled in a rusty 45 gallon drum in his yard and could I take them away because they were actually in quite an inconvenient place right next to the entrance to his yard. Just after lunch I nipped over there and this is what they’d moved into:

Both ends of the drum have rotted away a little giving access and they’d clearly found it and decided it would make a good place to live. Not entirely sure about that myself when the full sun got on it, but they don’t always make the best choices.

I decided the only way to deal with it would be to take the entire drum away and put it in the apiary where I could try to entice them out of it, so this evening I returned and cut all the surrounding vegetation away so I could lift it out. It turns out that even rusty 45 gallon drums are a bit awkward to handle when you’re trying not to disturb the contents 🙂 To stop the bees panicking and flying out which would have been a touch awkward I put the drum onto a couple of sheets and wrapped the entire thing up.

And I now know that such a drum will fit quite neatly into the back of an Octavia Estate 😀

The drive home was exceptionally gentle, and I stayed in my bee suit “just in case”.

Sadly I couldn’t persuade the bees to move out of the drum and a few days later they decided to leave altogether. I hope they’ve found somewhere else good to live.

Posted in Bee-keeping, Smallholding | Tagged | Leave a comment

NEQ6 belt mod, part #8

Prompted by someone else’s success at improving his RA axis backlash, this evening I returned to mine and ended up disassembling the entire axis once again just to make sure I’d put everything back together as well as I could.

In the process I discovered that whilst the instructions suggest that the entire process can be done with the mount on the tripod, actually to insert the RA axis back into the lower section of the mount I found it easier to take a different approach. The “middle” bearing on the RA axis can be a bit of a pig, it seems. In use it sits right next to the upper bearing (which is inside the brass RA gear) and fits into place in the lower section of the mount. If it goes in anything other than perfectly true however, eventually something ends up binding and it isn’t possible to get the mount head into place properly. So what I ended up doing was sitting the entire RA and DEC assembly on a flat surface so the polar scope cap is down and the RA axis pointing straight up, like this:

The bearing can then be fed onto the RA axis all the way down. I found it still “grabbed” a bit in places, but rotating the bearing seemed to make that easier. I assume the RA axis isn’t perfectly round. I then took the lower section off the pier and fed that over the top as well. This is much easier because it’s lighter and it’s now possible to see the end of the RA axis as it passes through the mount, so it’s possible to keep everything pretty well lined up. The tapered thrust bearing can then be dropped into place easily followed by the retainer. With everything done up finger tight it can be returned to the pier/tripod for final reassembly.

I suspect the backlash I was seeing was due to poor engagement of the worm and RA gear ring. I couldn’t see any particularly obvious end float in the worm, certainly. Now it is significantly reduced, to the point where I’m not sure I could get it any better.

Posted in Astro Equipment, Astronomy | Tagged , | Leave a comment

NEQ6 belt mod, part #7

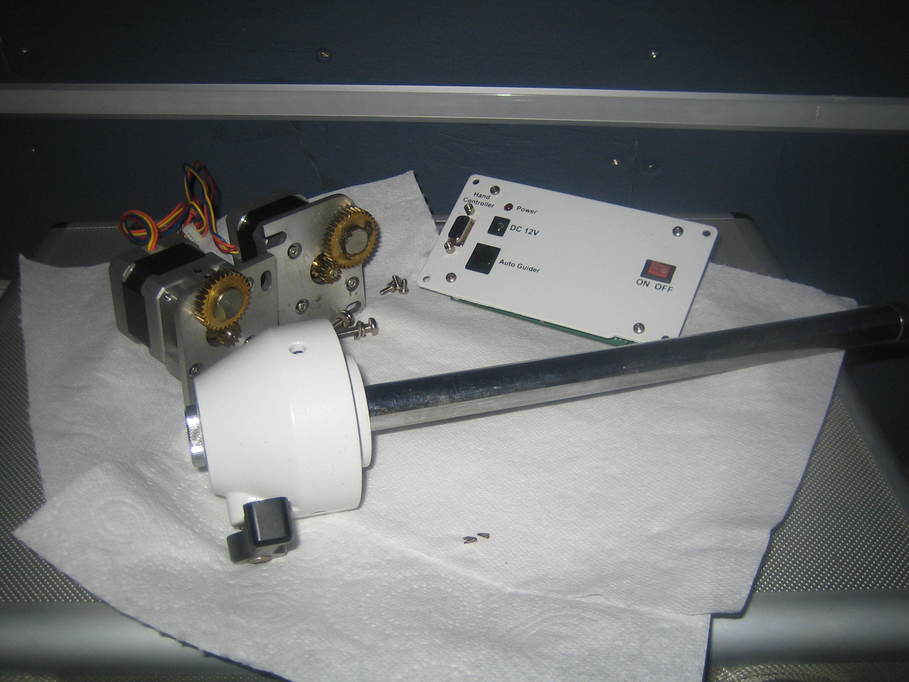
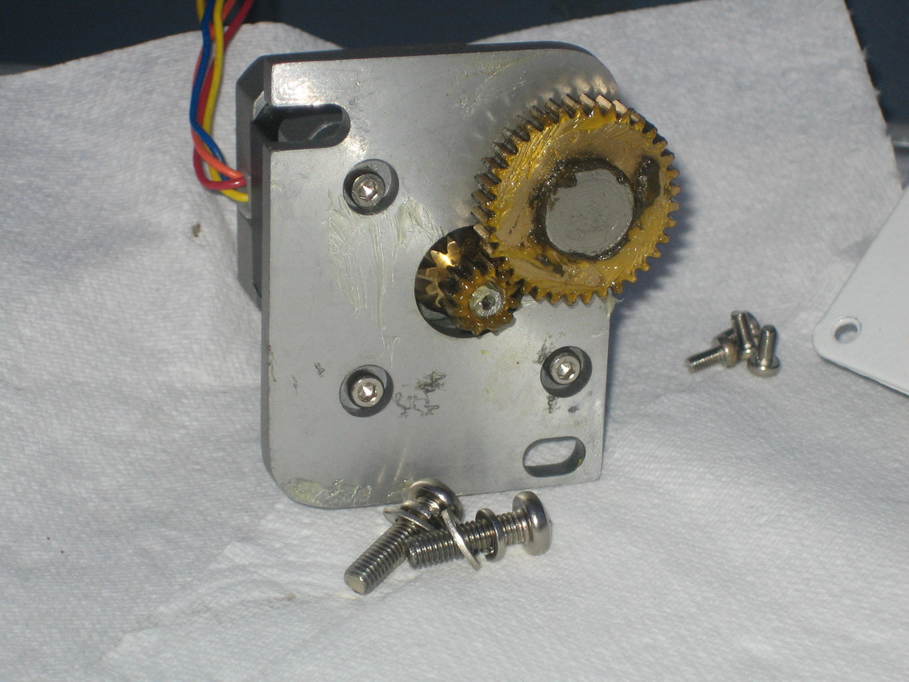
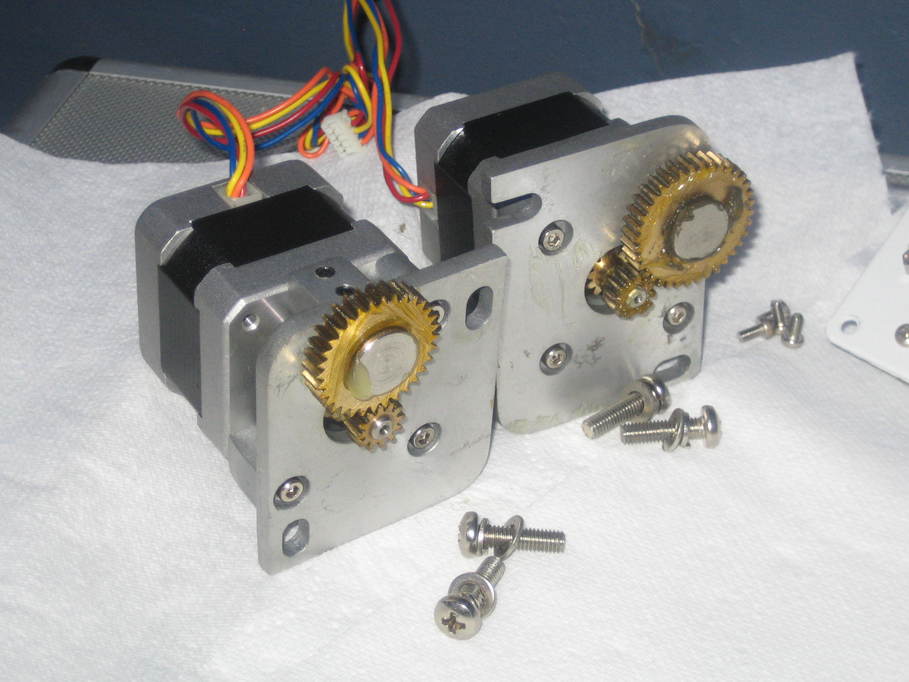
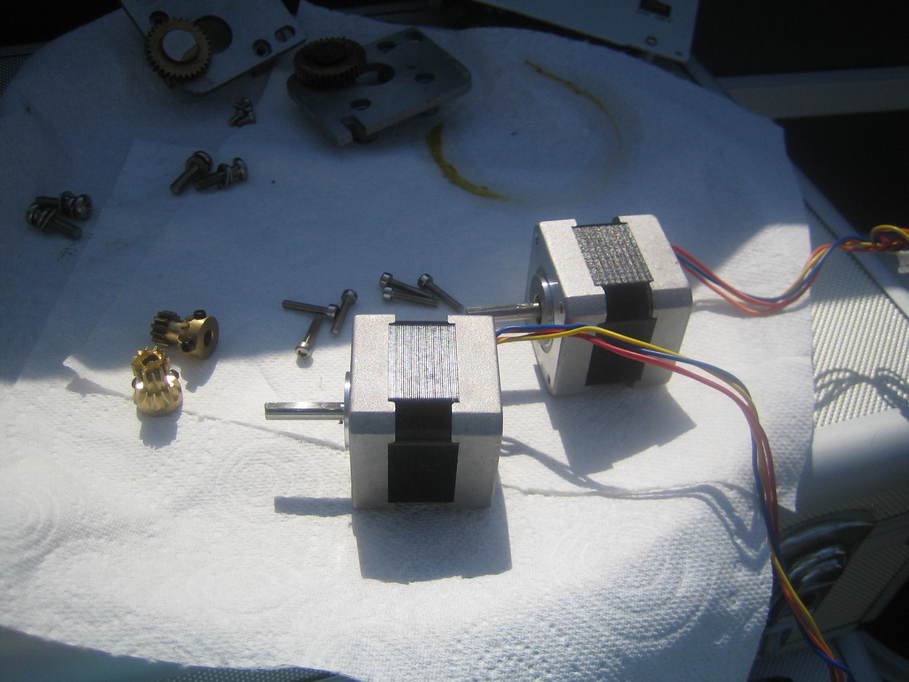
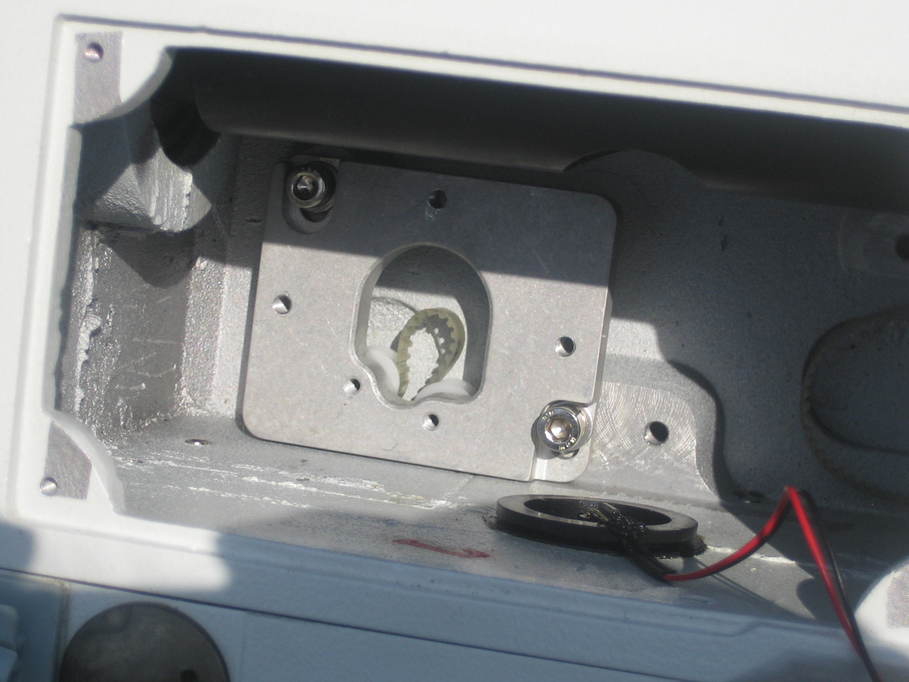
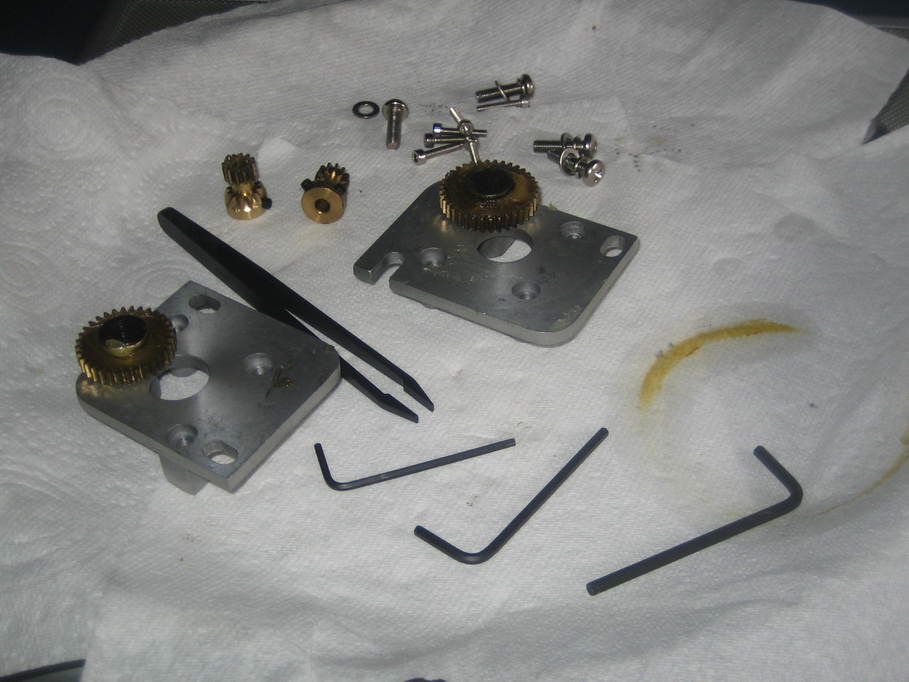
The first step with the motors is to remove the mounting plate and idler gear.

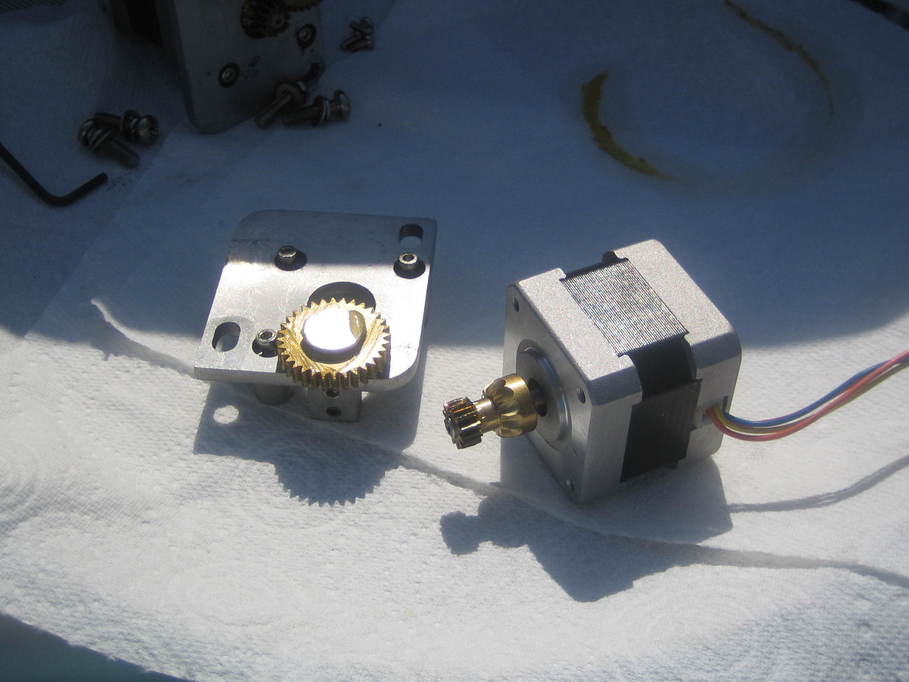
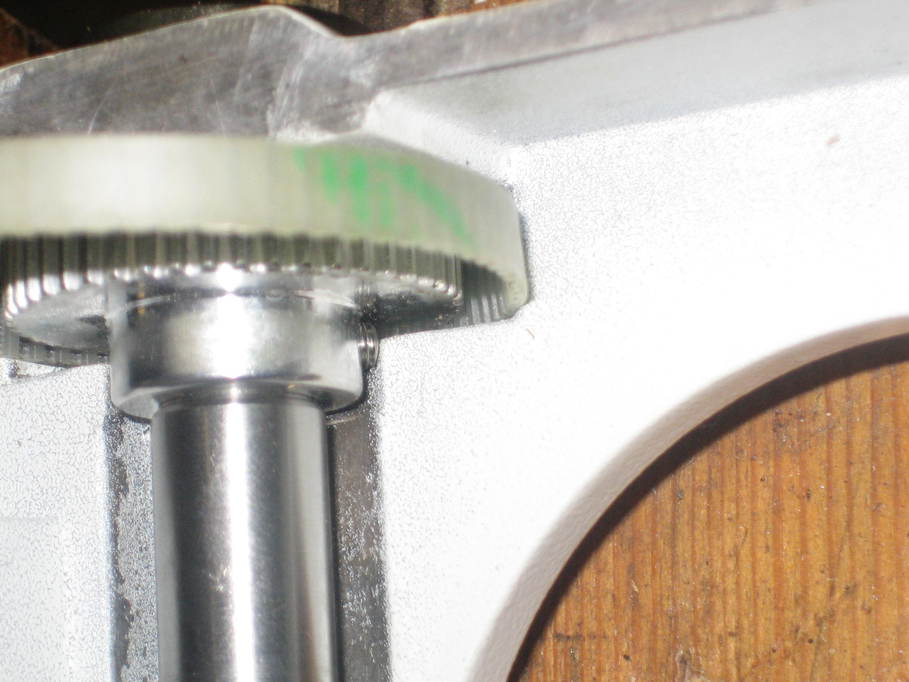
And then the gear comes off the end of the motor drive shaft.

The new pulleys go on, together with the mounting plates. Orientation is apparently important here, especially for the RA motor as the cable probably won’t reach any other way. I actually labelled my motors when I removed them just to make sure I got the correct mounting plates etc. on the right motor (the plugs are different on the cabling, so if you get them the wrong way around they won’t go back on the controller board properly).

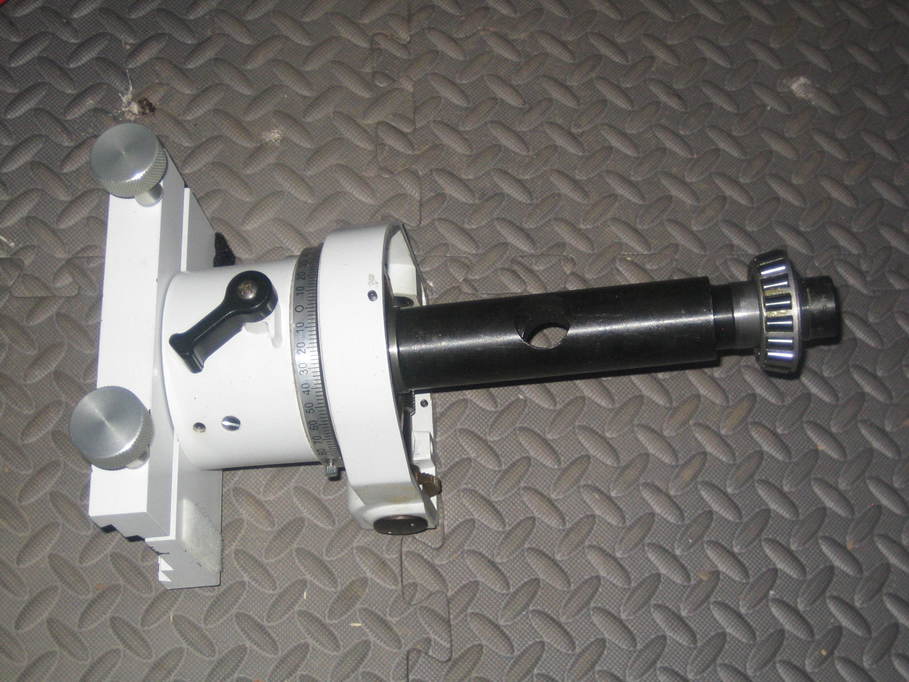
The plates holding the idler wheels go into the motor housing. This was perhaps the most awkward part of the entire job for me. The idea is that the tweezers in the kit are used to pinch the sides of the belt together and then the idler wheel plate is threaded onto the end of the tweezers and slid down their length so the belt feeds between the wheels. My hands are just not small enough to make this easy in such a small space. I have seen it suggested that an elastic band is looped around the drive belt before the axes are reassembled and that is used to pull the belts into place. It’s entirely possible that makes it easier. Anyhow, after “quite a few” attempts, I ended up with this:

The DEC belt was an equal measure of fun, but I got there in the end.

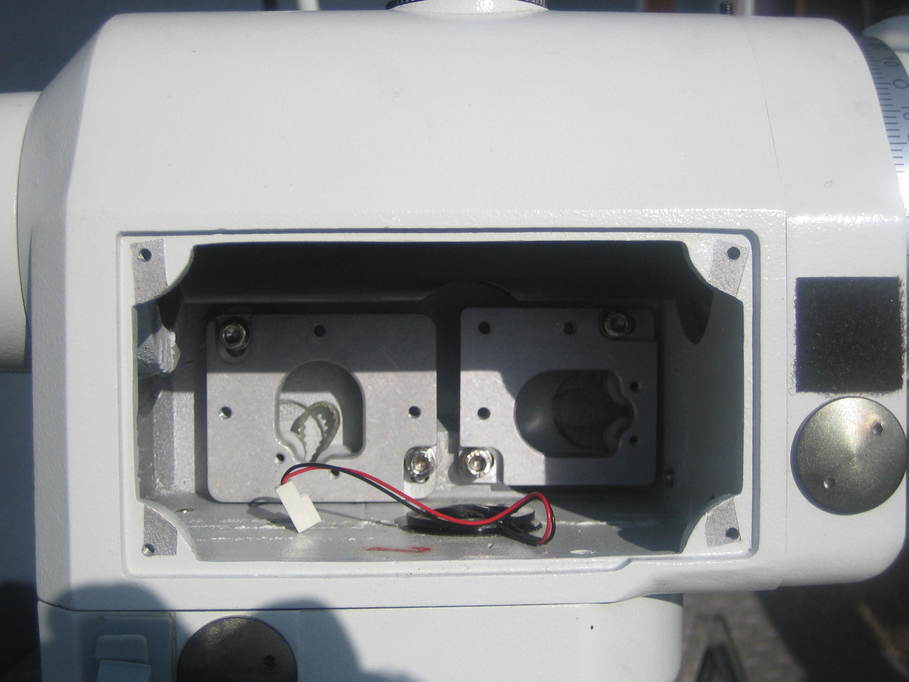
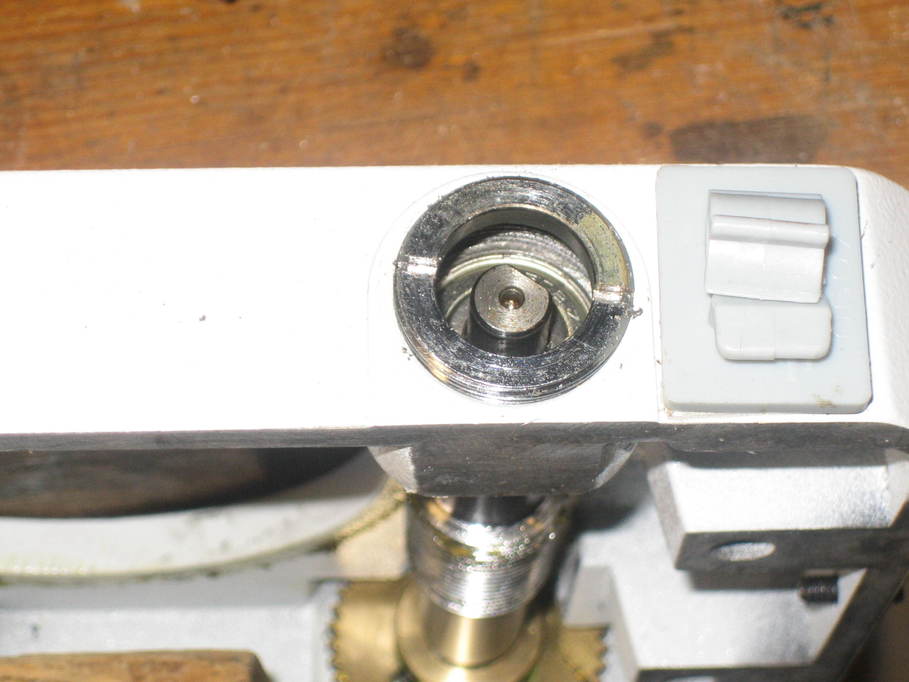
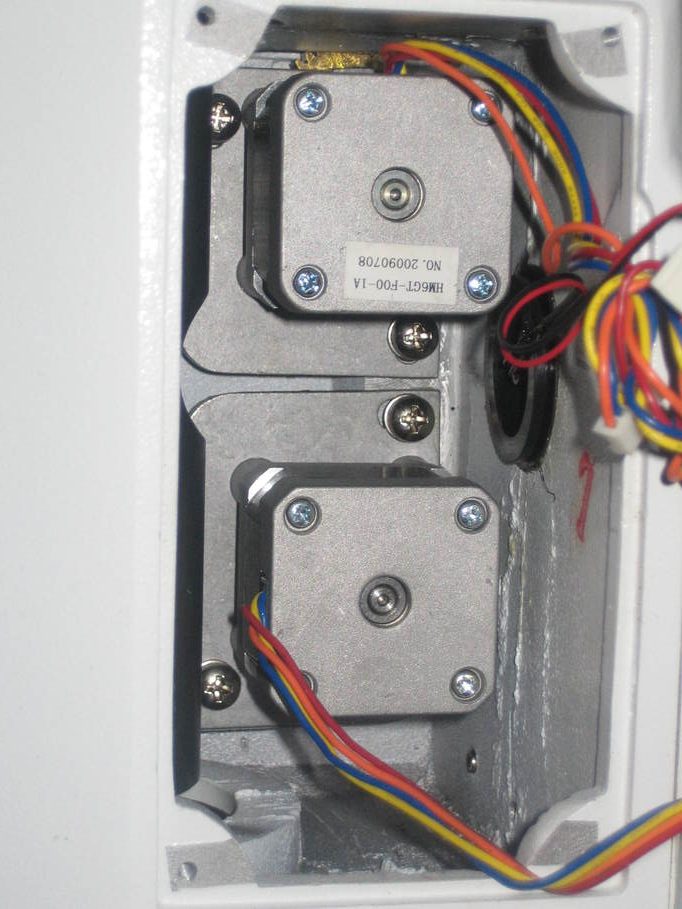
Into the finishing straight now… Refitting the motors was pretty straightforward although you do need a very long allen key or something similar to be able to reach far enough inside to be able to tighten the screws. It is also a bit strange because you can’t actually see if the motor pulley has engaged with the belt at all. I removed the worm end caps again (only those on the side showing here) and turned the end of the worm with a pair of pliers whilst watching the end of the motor drive shaft to see if it was also turning, whilst using a flat-bladed screwdriver to very gently adjust the tension on the belts by moving the mounting plates, but it’s still hard to know if you have enough (or too much) tension. In the end I decided I was happy enough.

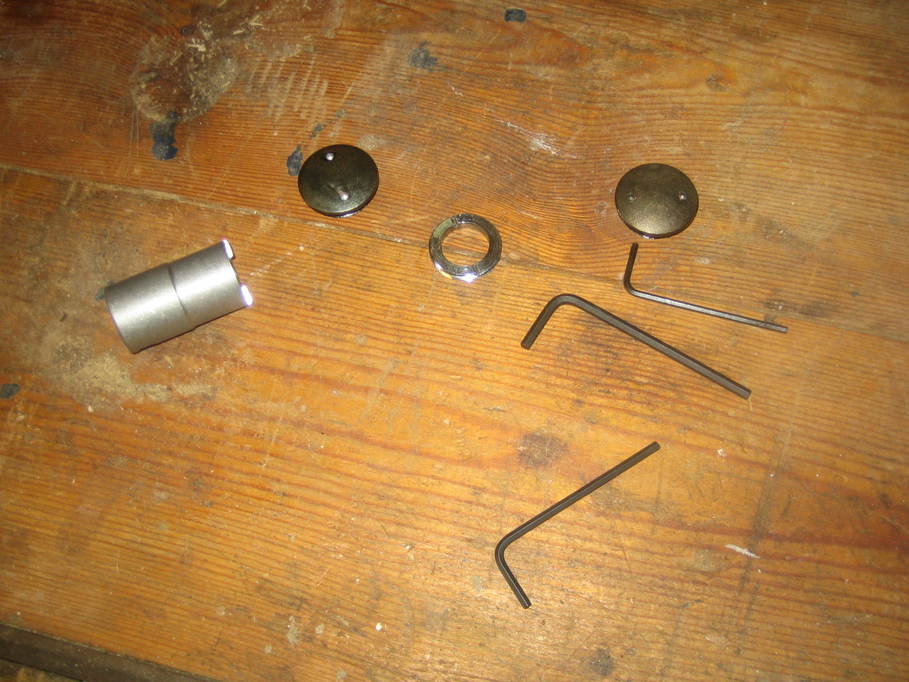
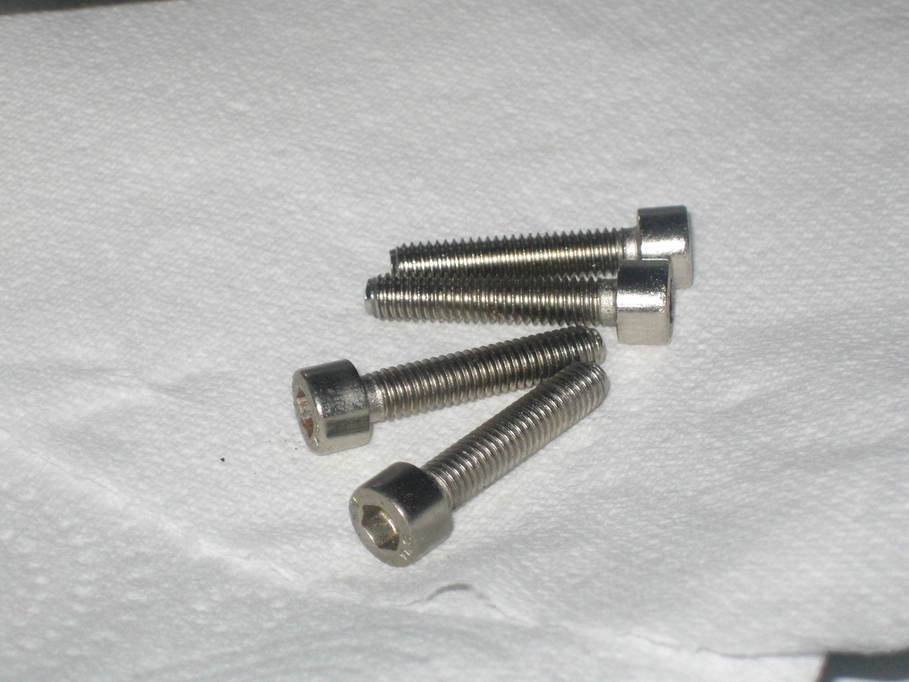
My kit was also missing a flat washer and a spring washer for one screw for the idler mounts, so I took them off one of the old screws that were not being reused.

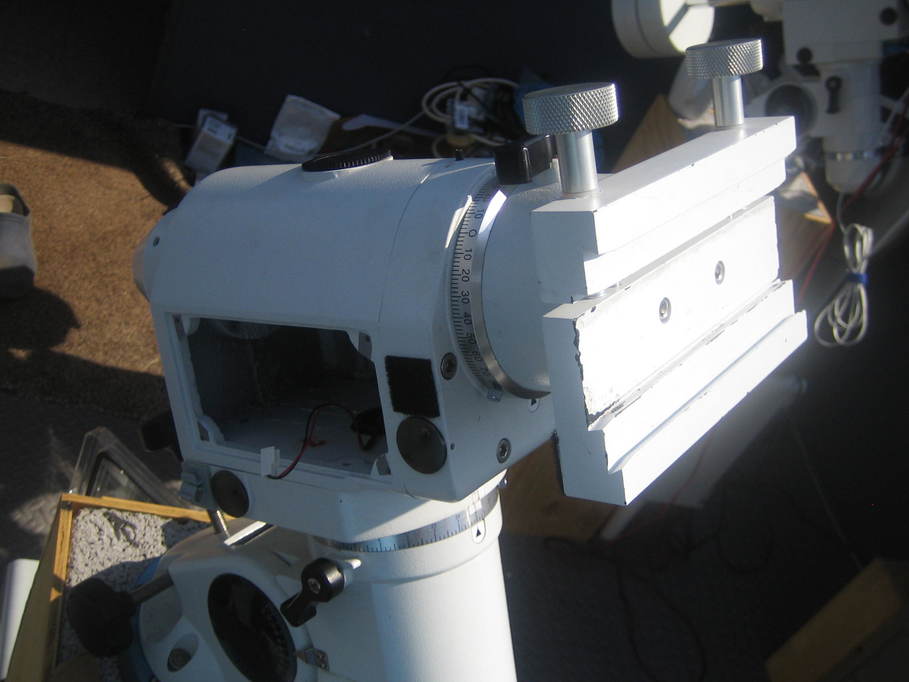
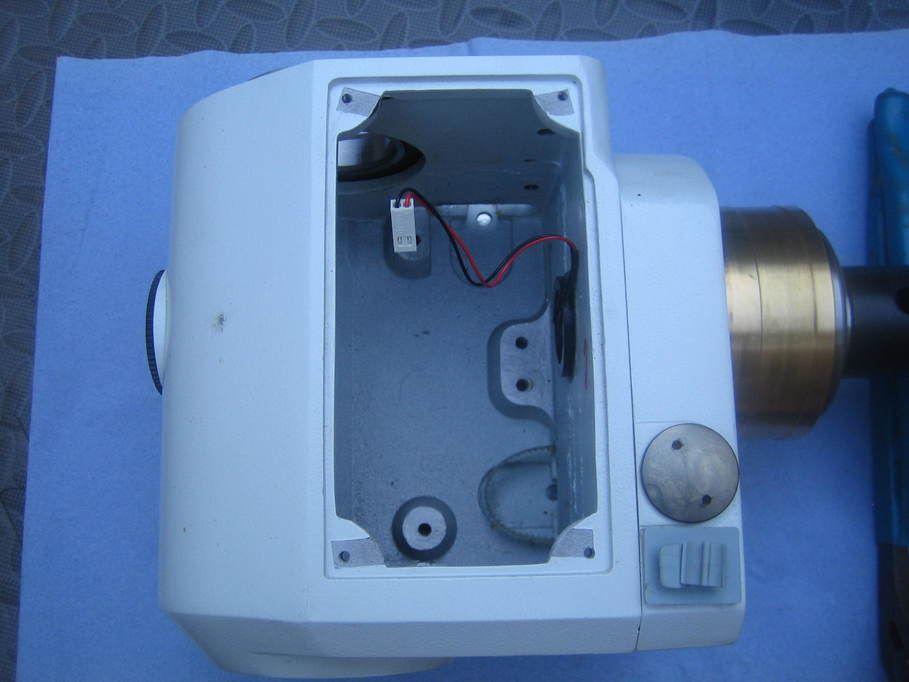
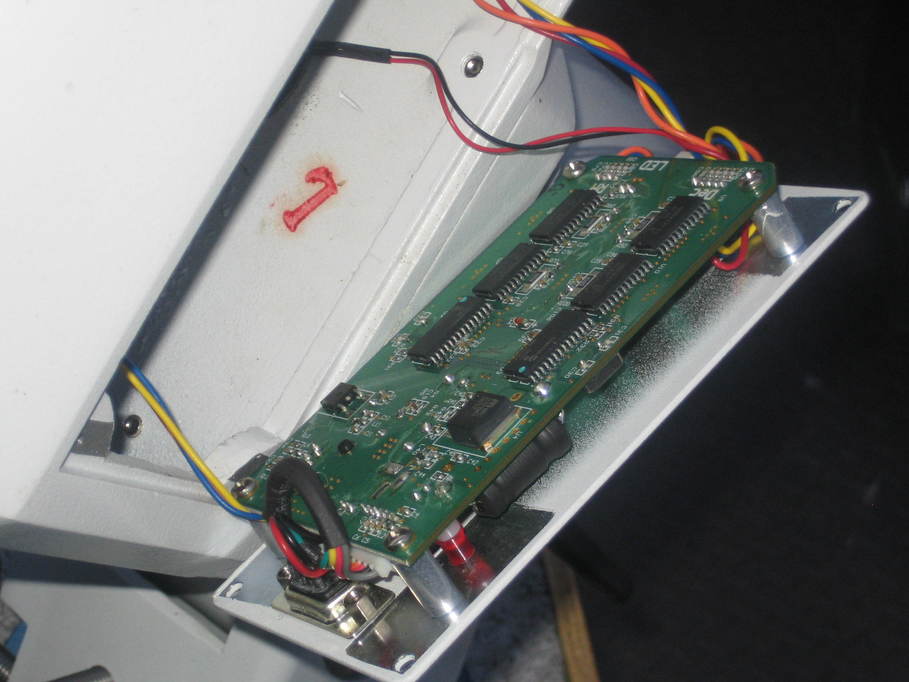
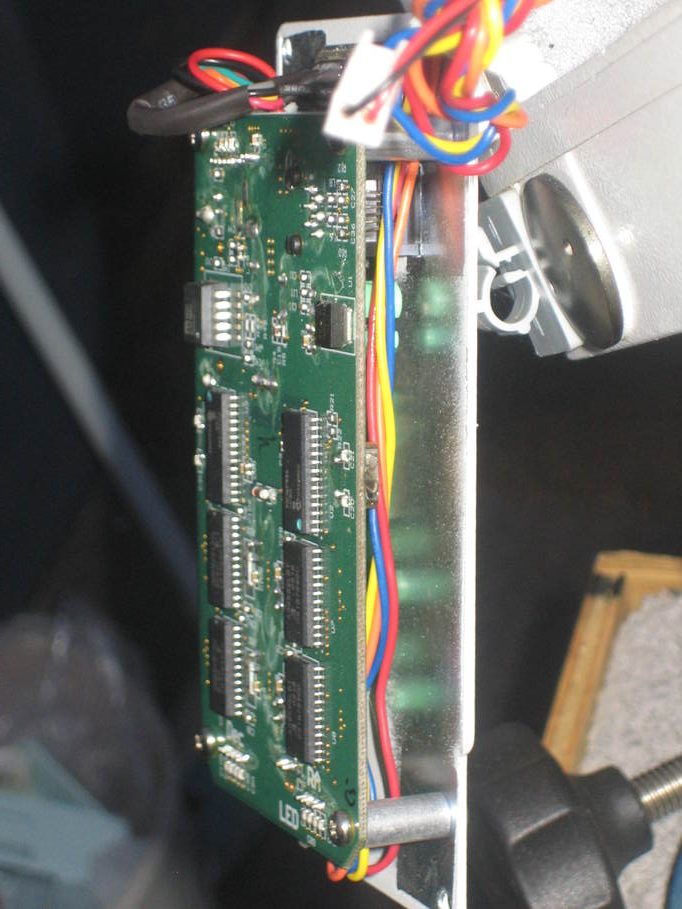
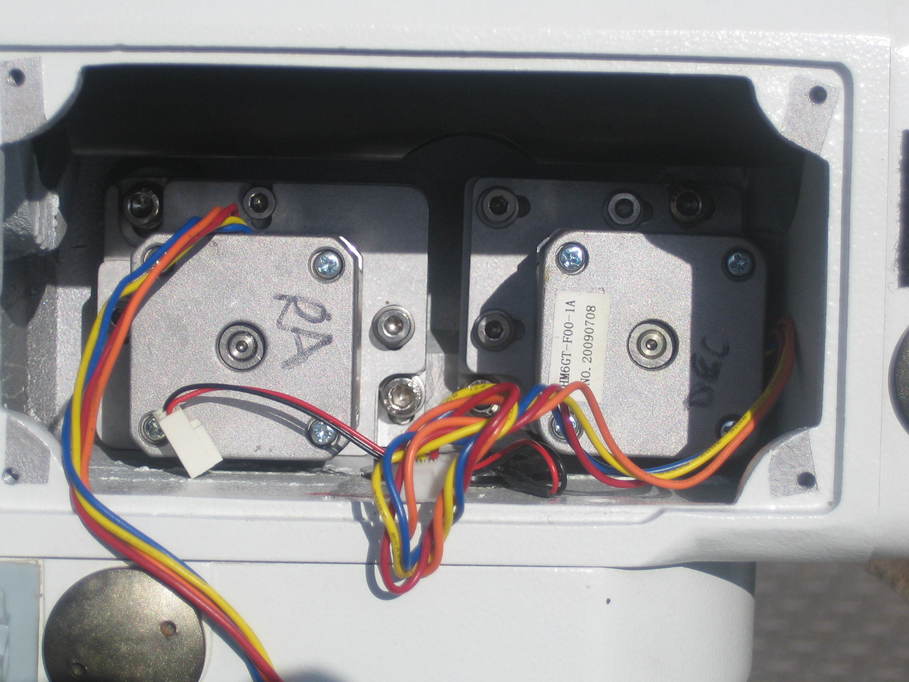
After that it was just a case of re-routing the RA motor leads, plugging everything back in and refitting the fascia.

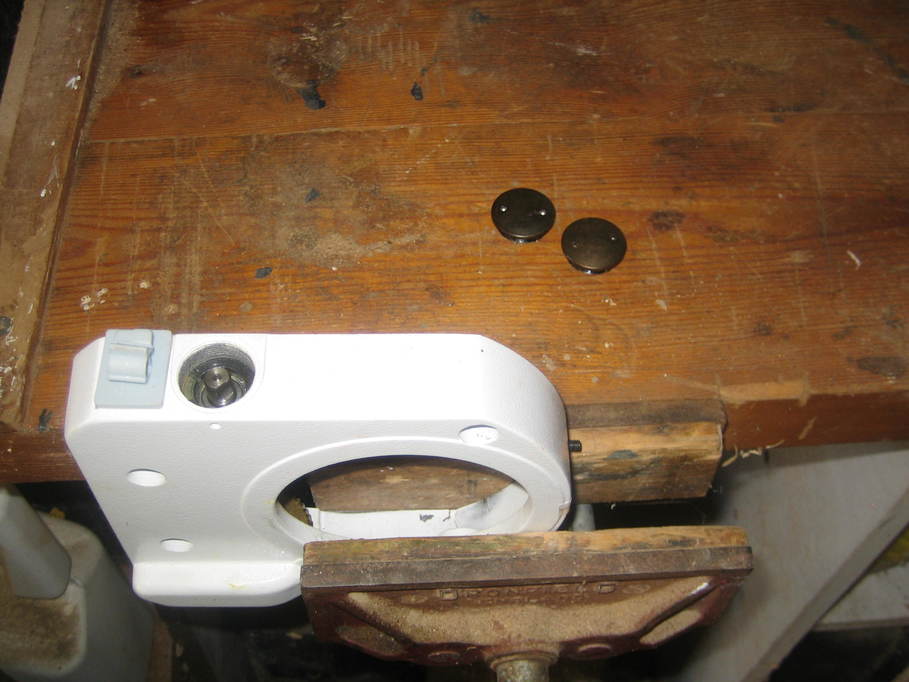
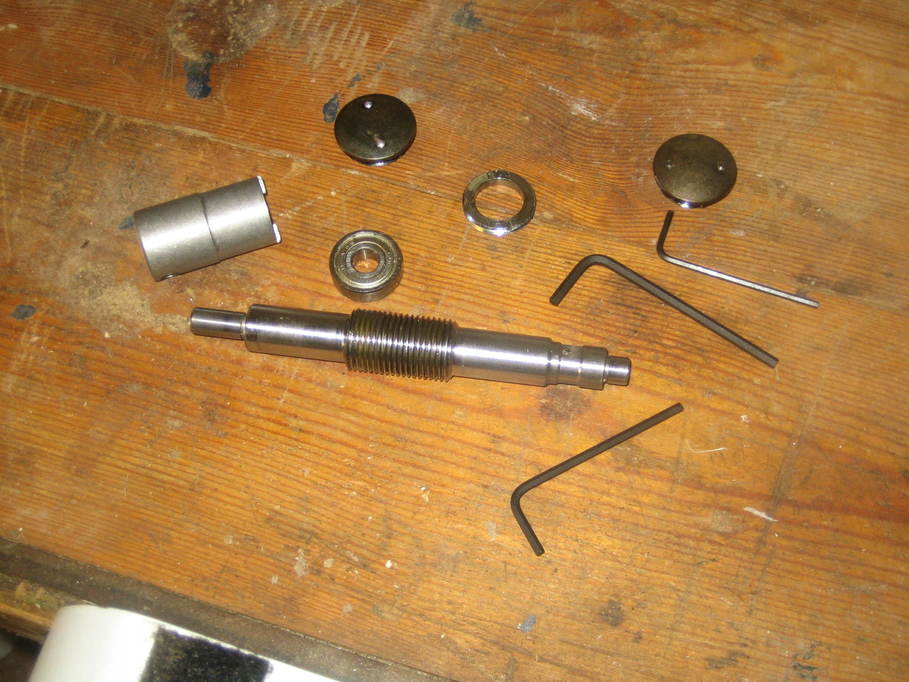
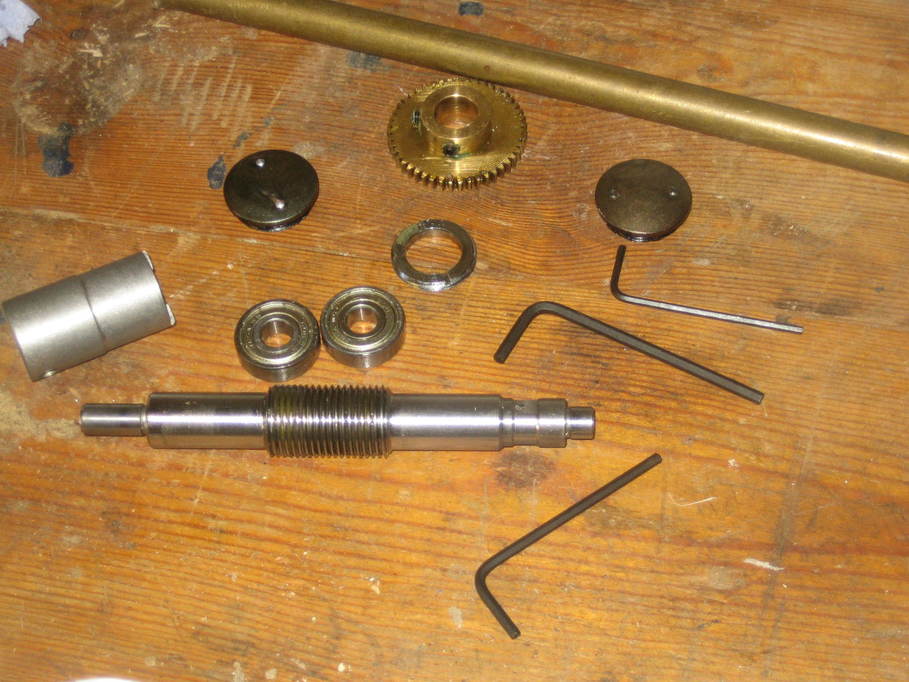
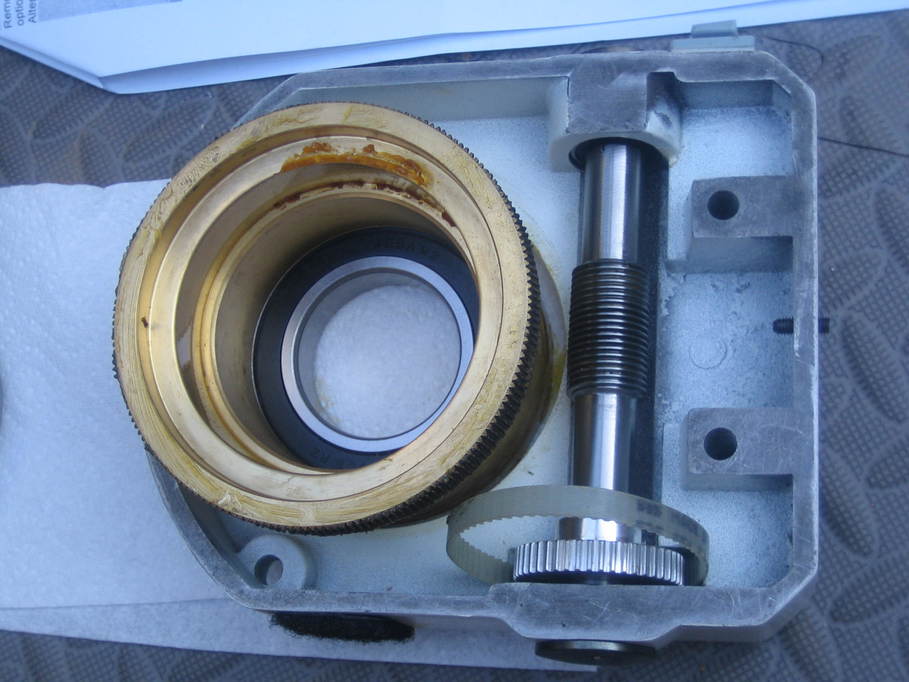
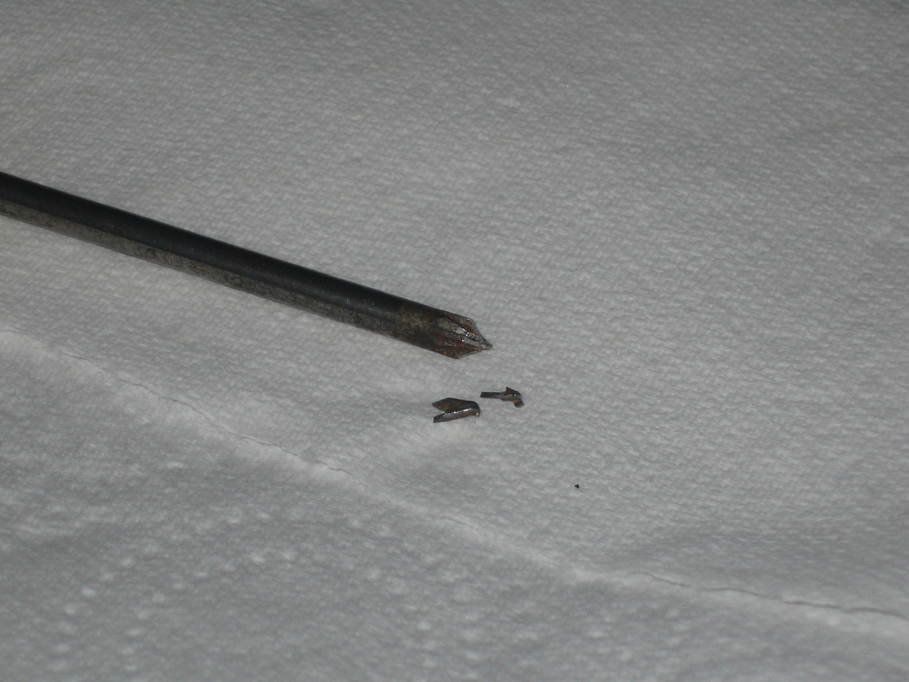
And this is what’s left over:

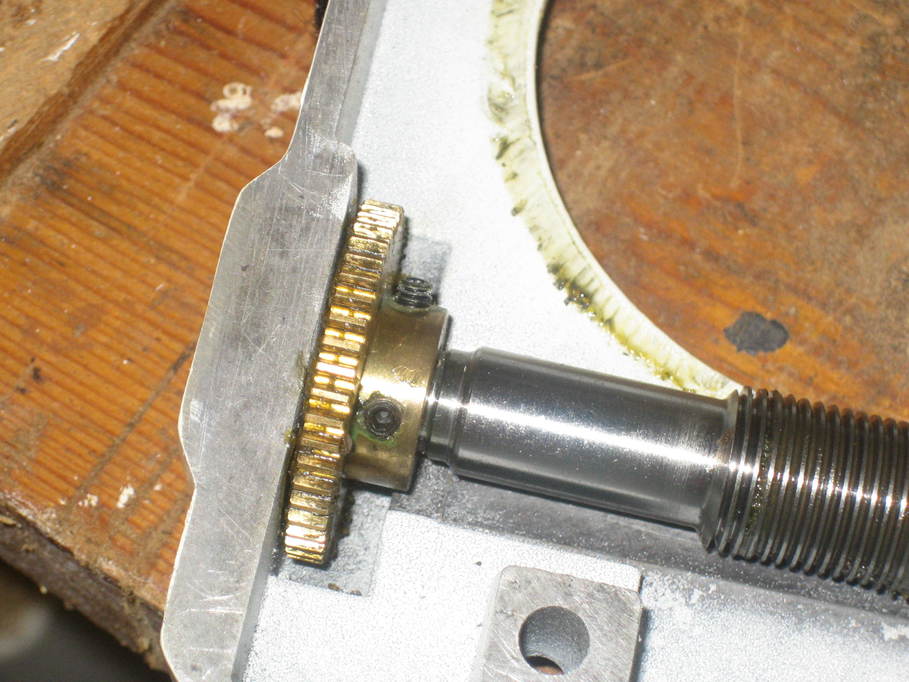
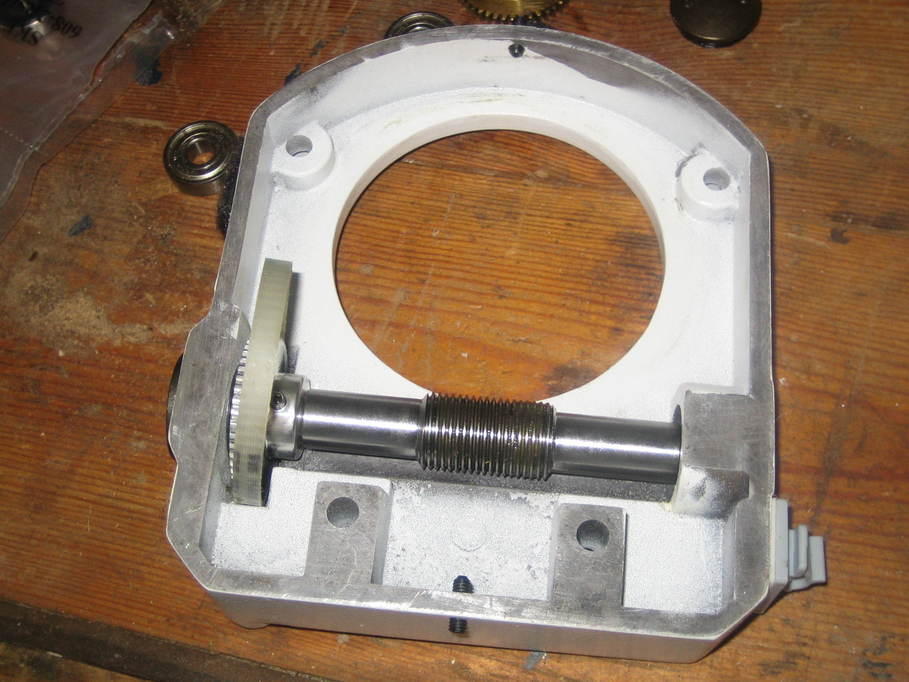
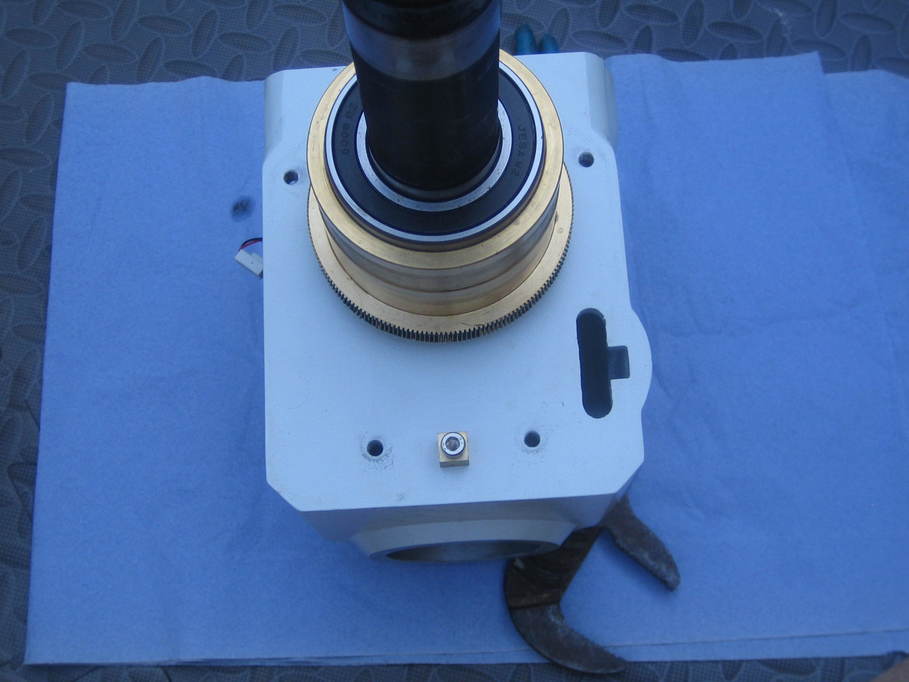
Of course this isn’t quite the end of the job. There’s still the worm adjustment to do. I twiddled with the grub screws on each side of the worm housing (the one on the curved side moves the worm closer to the gear, the one on the flat side moves it away) until there was absolutely no play in the axis and then backed them off by about one turn, which gave a lot of backlash. I could then spin each axis through 360 degrees and check it ran freely. Each time it did I increased the gear engagement by at most an eighth of a turn and tried again. If the motor stalled or jumped at 800x slew speed then I backed it off a fraction until it didn’t.

What I’ve found is that the motor might jump at 800x, but at lower speeds it seems fine. I don’t feel that adjusting it for the slower speeds is sensible though. I don’t want high speed slews stalling or jumping. Unfortunately because there are clearly three or four very small spots where the meshing of the gears is just a little tight, this has meant that there’s still obvious backlash in the RA axis. A very small amount, certainly, but enough to be obvious. The DEC axis on the other hand is very good. There is backlash, obviously, but it is absolutely minimal. I think this may need more work. I have, for instance, been wondering if I can move those tight spots to a position where they’d never be used as they’re all in the same quadrant of the RA gear. I’m not sure that’s feasible, but I’m not sure it isn’t, either 🙂

The other thing I must mention is how astonishingly quiet the mount now is. Even kicking off an 800x slew there’s just the quiet hum of the motors. If I can I’ll try to post “before” and “after” recordings, but that’s for another day.

Posted in Astro Equipment, Astronomy | Tagged , | Leave a comment

NEQ6 belt mod, part #6

Now it’s time to return to the DEC axis. The process is pretty much the same as for the RA axis, starting with the removal of the clutch lever (having remembered to release the clutch first).

The worm housing should then just lift off (note the plastic shims here, too).

At this point, replacing the gear driving the worm is exactly the same as for the RA axis, so here we are again with that all done.

Reassembly is pretty much identical too, at which point the DEC axis can be put back on the mount. This was a touch awkward. I had to try three or four times before everything dropped into place correctly. I think it must be very sensitive to alignment and once I got it right everything just dropped into place easily.

That’s most of the hard disassembly/reassembly work done. All that remains is to modify the motors and refit them.

Posted in Astro Equipment, Astronomy | Tagged , | Leave a comment

NEQ6 belt mod, part #5

With the worm housing in a vice (protected from damage by the vice) I used circlip pliers to remove the worm end caps. I do actually have the additional tool from Rowan Astronomy for doing this, but circlip pliers were easier.

Then the retaining grub screws for the gear driving the worm need to be released. I’ve seen people fighting with these in videos, but in my case they came out without too much pain. Certainly they were tight and my allen key did flex a little until they first released, but they really weren’t that bad.

Then the retaining collar for the worm needs removing. I did use the Rowan Astronomy tool for this. It’s just a lot easier in this case to have something that fits perfectly.

The tool itself is on the left here:

After that the worm dropped out (together with the bearing at that end) after the lightest possible tap with a drift. Again you need one hand for the drift, one for the hammer and one to catch the worm so it doesn’t drop on the floor. If you have a fourth hand to catch the gear as well, even better. Or try to do the entire removal process with the housing laid down (my workbench has a handy lip on one end, fortunately).

I then used a larger drift to remove the remaining worm bearing as I’d decided to replace the worm bearings at the same time as doing the belt mod.

The new bearing for the gear end went into place very easily and after that it really was just a simple case of following the instructions to reassemble everything. When fitting the new belt pulley I very lightly tightened the grub screw that bears against the flat on the end of the worm, stopping as soon as I felt any resistance. Then I wiggled the pulley about a bit to get it pretty much central on the flat, lightly tightened it again and repeated the process until it wouldn’t wiggle any more, finally tightening both grub screws fully.

The second grub screw protrudes a fair way out of the pulley collar even when fully tight. It only just clears the inside of the motor housing. I reckon there’s no more than 0.5mm in it:

Then it’s back down to the observatory to refit the worm housing.

In fact I decided this was more easily done by propping up the RA casting, dropping the RA gear into place and then feeding the worm housing over the top:

(I also cleaned off all of the unnecessary grease and re-greased the DEC gear ring.)

The little brass block in the above photo is actually part of the adjustment mechanism for the worm engagement. The grub screw in the worm housing pushes against it.

With the worm housing back in place I put the four retaining screws back in, but only tightened them just enough to stop the housing being able to move. They get fully tightened after the worm adjustment is done.

Here you can see the belt drive where it comes through into the main motor housing.

With that all done, the entire housing can be replaced on the mount.

Posted in Astro Equipment, Astronomy | Tagged , | Leave a comment

NEQ6 belt mod, part #4

So, RA axis next, starting with the polar scope. This just unscrews. I was almost tempted not to put it back at the end. Now I have an observatory I only used it for a rough polar alignment before doing the rest with Ekos.

After that the collar with the pointer for the polar scope scale has to come off. Just three screws this time.

And then the retaining collar for the bottom end of the RA axis. This was a bit more awkward. I’ve seen people use oil filter removal tools for this, but I wrapped some thick card around the collar and used a large adjustable wrench. It wasn’t actually that hard to turn once I’d got a grip on it so I didn’t have to get out the Stillsons, and in fact once loosened by quarter of a turn I could turn it off using my fingers.

The RA clutch mechanism needs to be released at this point so it’s free to turn easily and then the lever can be removed by undoing the screw holding it on.

The clutch mechanism can then be unscrewed by hand. I wound it out a fair way so there was no chance of it getting caught on anything as the RA axis was disassembled, but there’s a small brass disc on the end that might drop somewhere awkward if it’s undone all the way, so it’s probably best left in place.

After that the entire RA axis lifts out and you’ll once again need to use your third hand to catch the tapered roller bearing at the bottom end in case it falls out.

A quick peer down the end of the remainder of the mount shows grease in places I’m sure it wasn’t meant to be and some fairly dodgy casting at the bottom end.

Removing these four retaining screws from the worm housing allows it to be removed just by lifting it off:

Above the remaining bearing on the RA shaft you can just see a white plastic shim which needs to stay there, but I’m not going to touch that. When I lifted the top bearing off the worm housing I found a couple more.

So I made a note that they need to go back between the two. There’s also an awful lot of grease here that doesn’t seem to be serving any purpose whatsoever.

After undoing the screws that hold the DEC collar with the hour markings on, the worm housing just lifts off and it’s time to visit the workshop.

Posted in Astro Equipment, Astronomy | Tagged , | Leave a comment

NEQ6 belt mod, part #3

Next the entire DEC axis has to be removed, starting by unscrewing the collar for the counterweight bar, which comes off very easily.

There’s a tapered roller bearing at this end of the axis which could potentially fall out when this is removed, though mine didn’t and I’d generally expect it to stay in place. It is likely to fall out when the entire DEC end is now lifted out of the mount though, so you need to have one hand ready to catch the bearing whilst using the other two to lift the DEC axis out of the mount. Some videos show the removal being quite awkward and I was prepared for a bit of a fight, but mine lifted out very easily and I fitted the bearing that I dropped caught back on the end of the axis for the time being.

The instructions suggest leaving this to come back to later, so that’s what I did, though if you’re just congenitally unable to follow instructions exactly there’s no reason the rest of the conversion work couldn’t be done on this axis now.

Posted in Astro Equipment, Astronomy | Tagged , | Leave a comment

NEQ6 belt mod, part #2

The first job was to remove the control panel by undoing the four outer screws (the inner ones hold the circuit board in place). What’s inside is actually pretty uncomplicated:

That actually looks less threatening than the inside of the EQ3-2/EQ5 after-market motor handset 🙂

The cables that have to be unplugged are all that the end near the top of the photo, neatly labelled, though actually all the plugs are different and keyed so it wouldn’t be possible to put them back the wrong way. The RA connection is a bit odd in that it runs down the inside of the mounting posts for the circuit board.

It was a bit fiddly to get back on at the end, but nothing major.

With the circuit board removed access to the motors is pretty straightforward:

The RA motor came out very easily by undoing the two large screws.

There was a small disaster when I tried to do the DEC motor though.

Fortunately I was able to fish all the broken bits of screwdriver tip out of the inside of the mount without them disappearing anywhere awkward. And then I found a better quality screwdriver to complete the job 🙂

Posted in Astro Equipment, Astronomy | Tagged , | Leave a comment