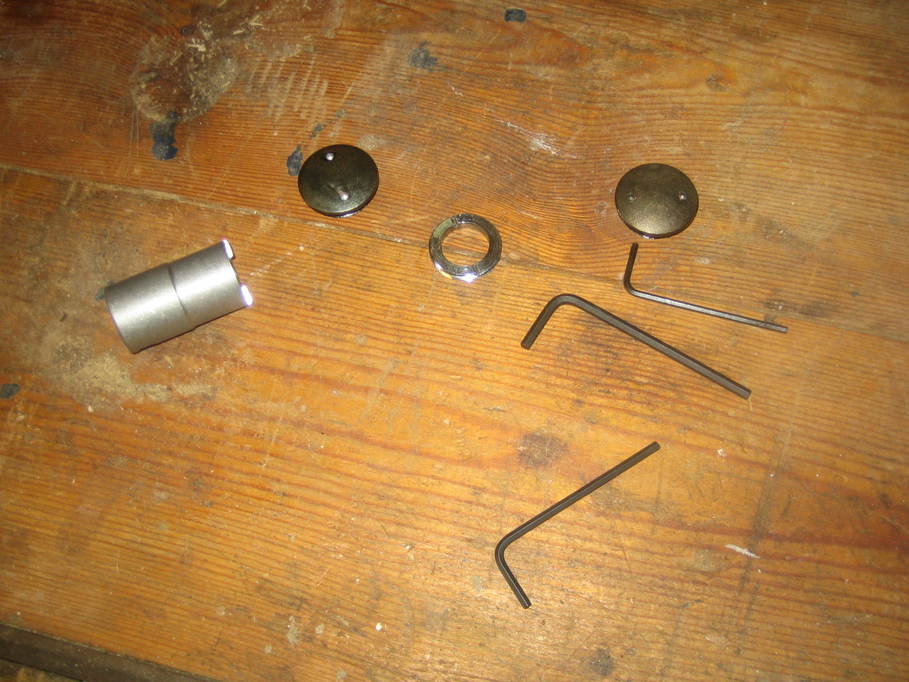
With the worm housing in a vice (protected from damage by the vice) I used circlip pliers to remove the worm end caps. I do actually have the additional tool from Rowan Astronomy for doing this, but circlip pliers were easier.
Then the retaining grub screws for the gear driving the worm need to be released. I’ve seen people fighting with these in videos, but in my case they came out without too much pain. Certainly they were tight and my allen key did flex a little until they first released, but they really weren’t that bad.
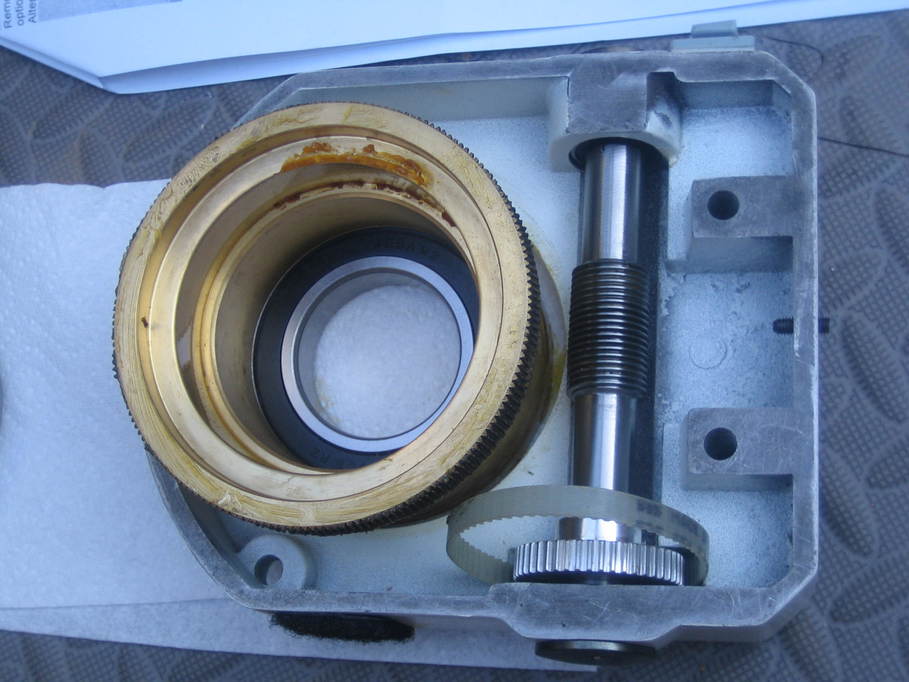
Then the retaining collar for the worm needs removing. I did use the Rowan Astronomy tool for this. It’s just a lot easier in this case to have something that fits perfectly.
The tool itself is on the left here:
After that the worm dropped out (together with the bearing at that end) after the lightest possible tap with a drift. Again you need one hand for the drift, one for the hammer and one to catch the worm so it doesn’t drop on the floor. If you have a fourth hand to catch the gear as well, even better. Or try to do the entire removal process with the housing laid down (my workbench has a handy lip on one end, fortunately).
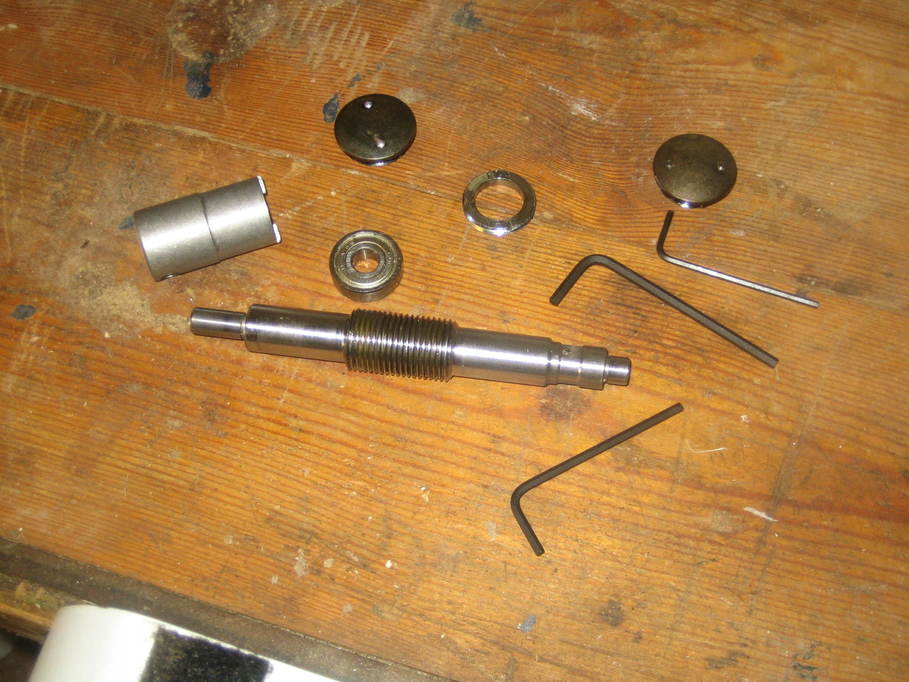
I then used a larger drift to remove the remaining worm bearing as I’d decided to replace the worm bearings at the same time as doing the belt mod.
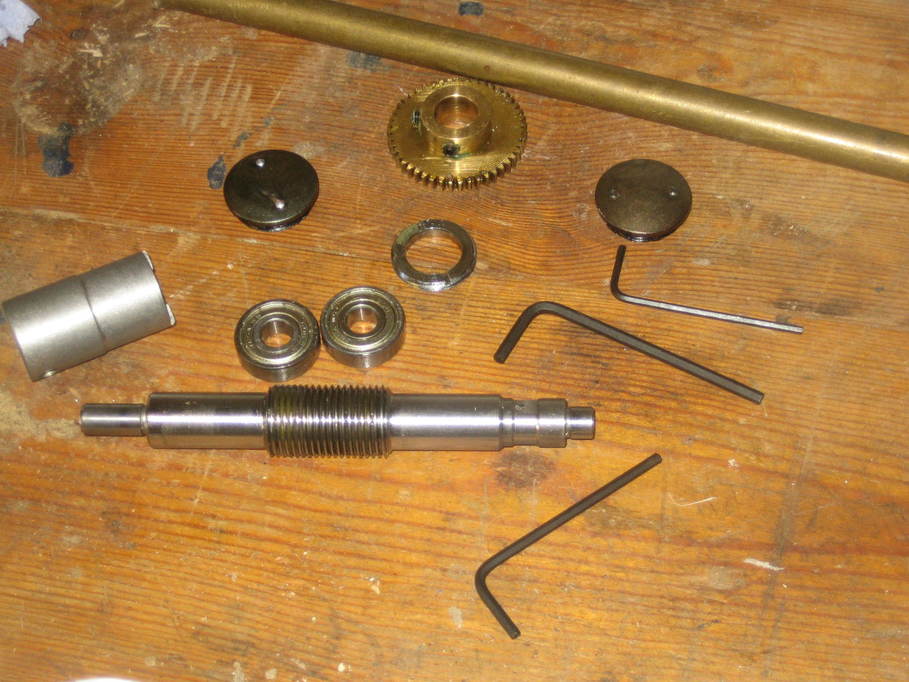
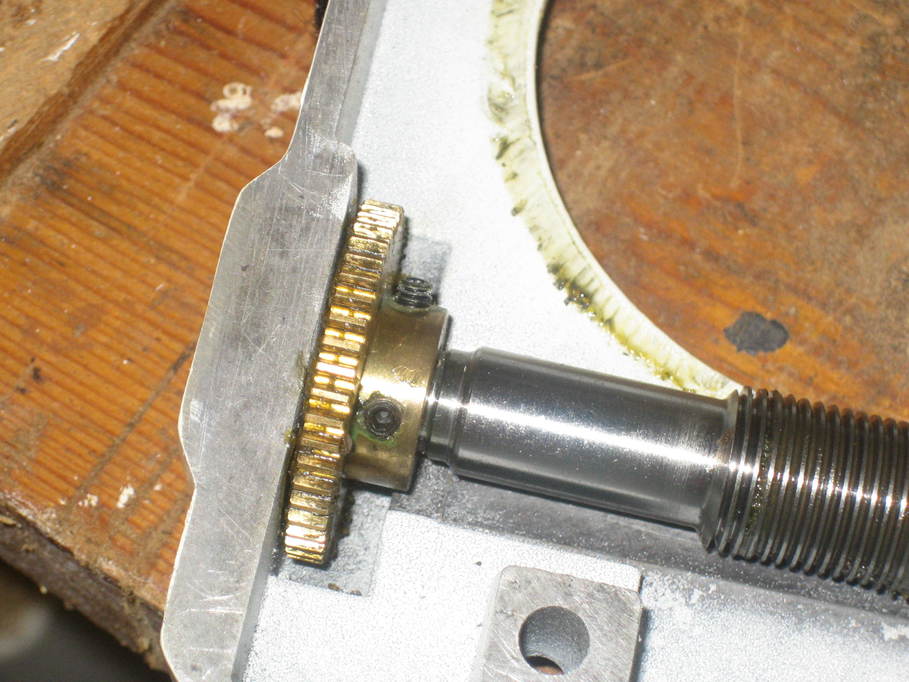
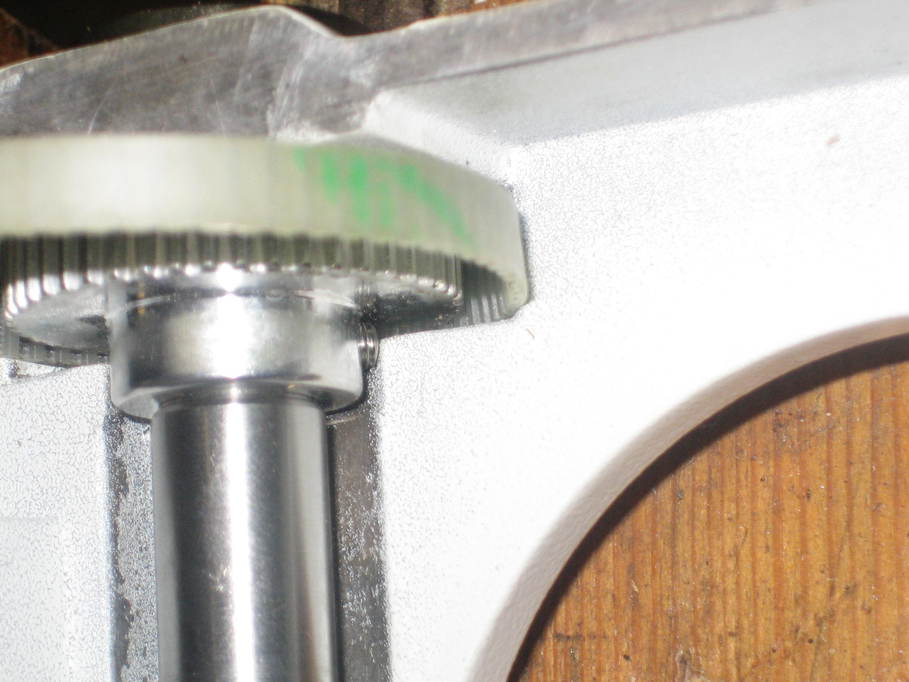
The new bearing for the gear end went into place very easily and after that it really was just a simple case of following the instructions to reassemble everything. When fitting the new belt pulley I very lightly tightened the grub screw that bears against the flat on the end of the worm, stopping as soon as I felt any resistance. Then I wiggled the pulley about a bit to get it pretty much central on the flat, lightly tightened it again and repeated the process until it wouldn’t wiggle any more, finally tightening both grub screws fully.
The second grub screw protrudes a fair way out of the pulley collar even when fully tight. It only just clears the inside of the motor housing. I reckon there’s no more than 0.5mm in it:
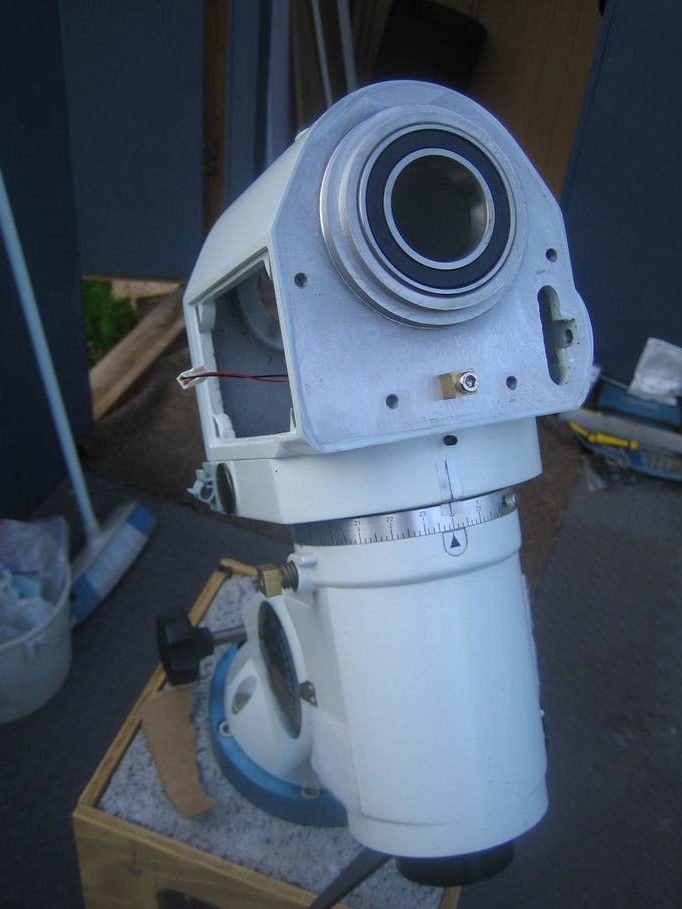
Then it’s back down to the observatory to refit the worm housing.
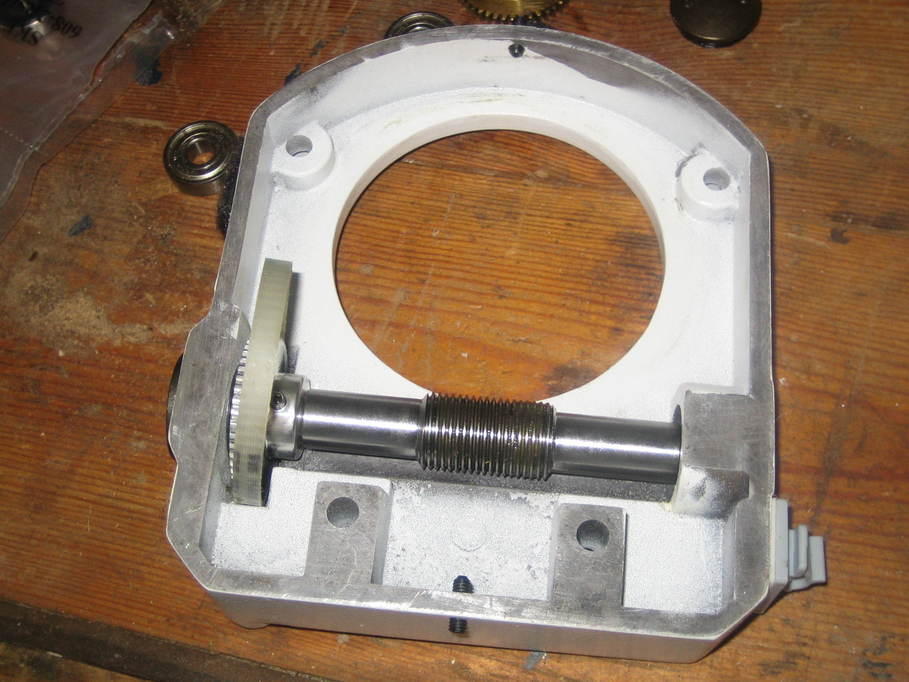
In fact I decided this was more easily done by propping up the RA casting, dropping the RA gear into place and then feeding the worm housing over the top:
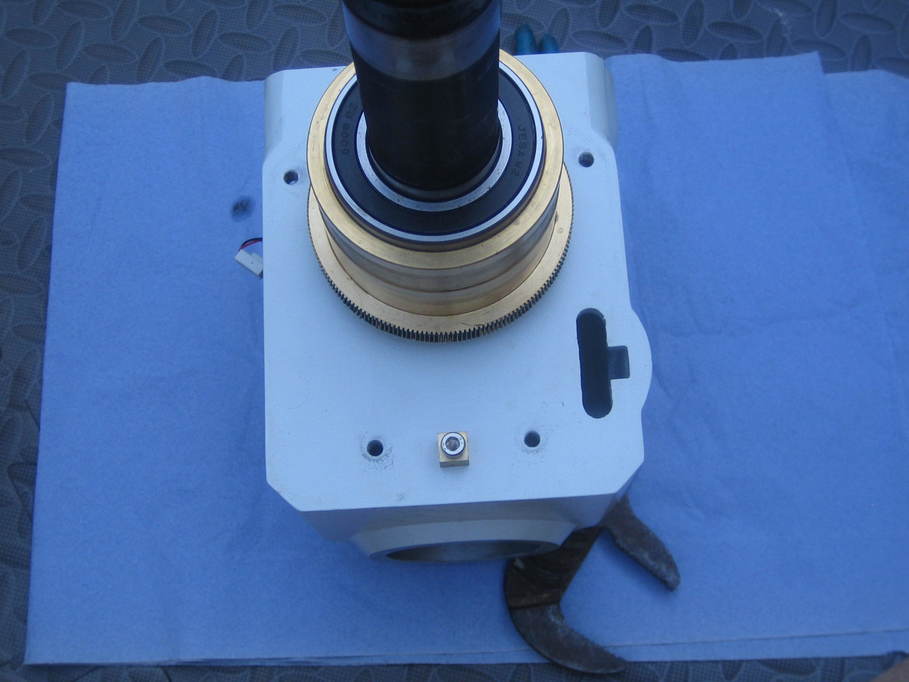
(I also cleaned off all of the unnecessary grease and re-greased the DEC gear ring.)
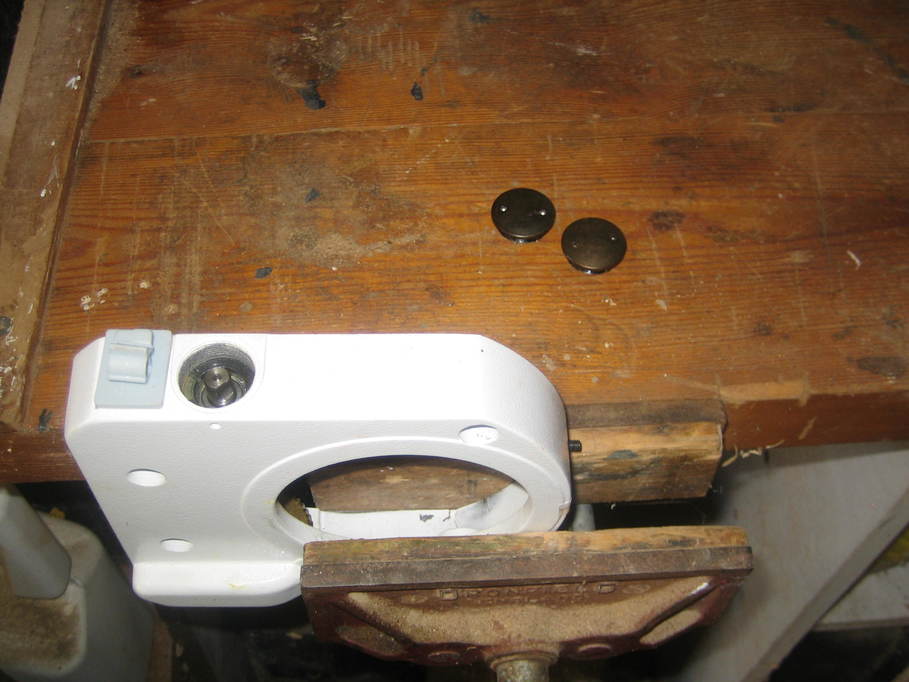
The little brass block in the above photo is actually part of the adjustment mechanism for the worm engagement. The grub screw in the worm housing pushes against it.
With the worm housing back in place I put the four retaining screws back in, but only tightened them just enough to stop the housing being able to move. They get fully tightened after the worm adjustment is done.
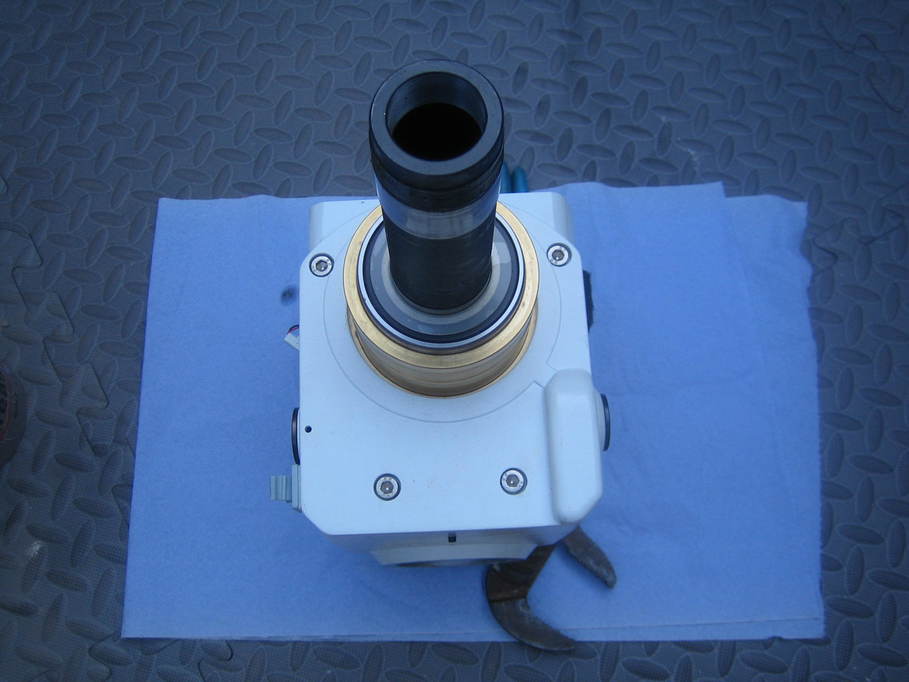
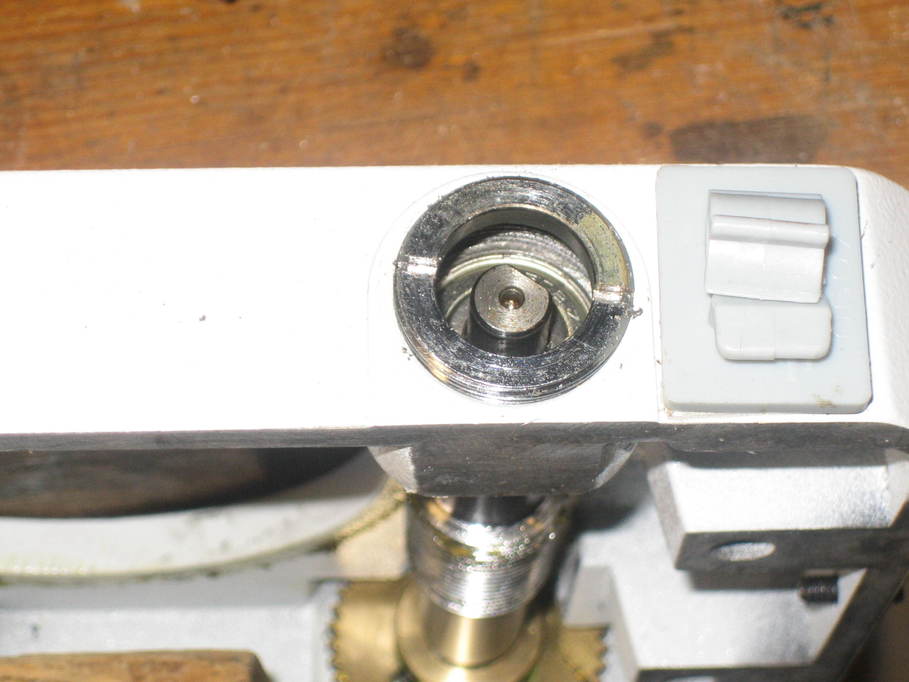
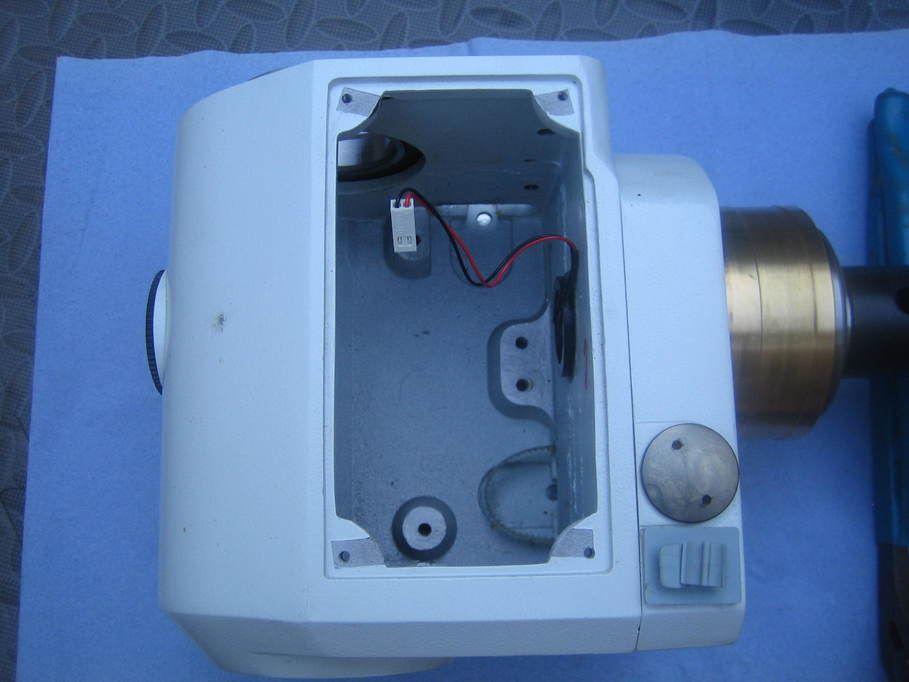
Here you can see the belt drive where it comes through into the main motor housing.
With that all done, the entire housing can be replaced on the mount.