The first step with the motors is to remove the mounting plate and idler gear.
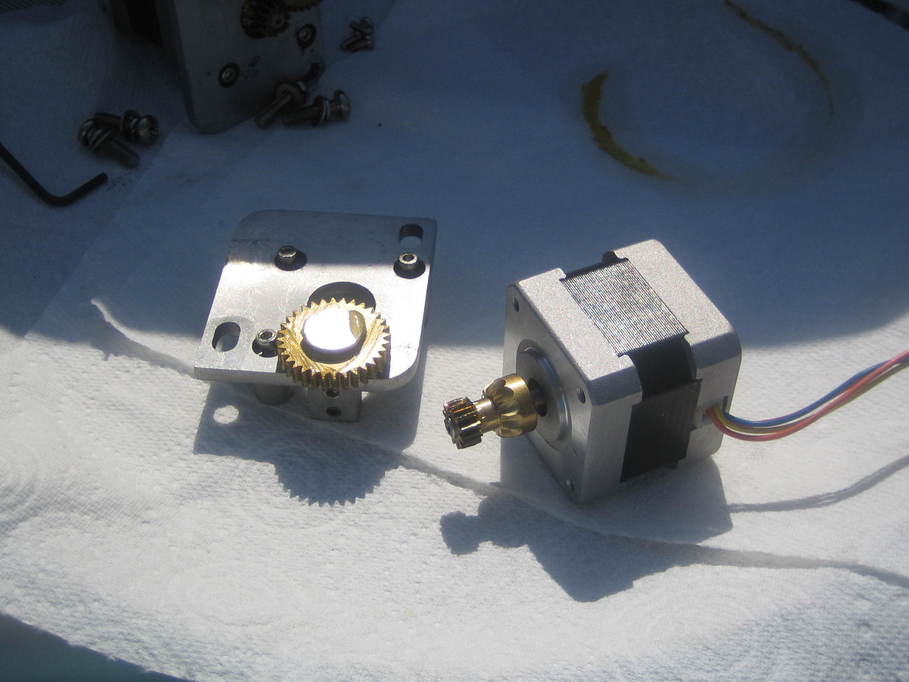
And then the gear comes off the end of the motor drive shaft.
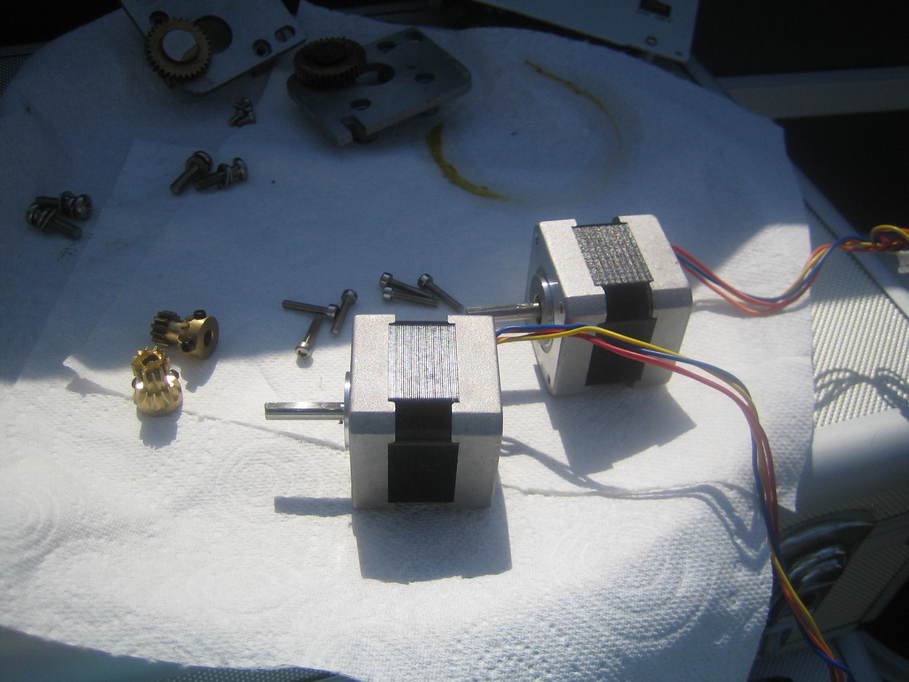
The new pulleys go on, together with the mounting plates. Orientation is apparently important here, especially for the RA motor as the cable probably won’t reach any other way. I actually labelled my motors when I removed them just to make sure I got the correct mounting plates etc. on the right motor (the plugs are different on the cabling, so if you get them the wrong way around they won’t go back on the controller board properly).
The plates holding the idler wheels go into the motor housing. This was perhaps the most awkward part of the entire job for me. The idea is that the tweezers in the kit are used to pinch the sides of the belt together and then the idler wheel plate is threaded onto the end of the tweezers and slid down their length so the belt feeds between the wheels. My hands are just not small enough to make this easy in such a small space. I have seen it suggested that an elastic band is looped around the drive belt before the axes are reassembled and that is used to pull the belts into place. It’s entirely possible that makes it easier. Anyhow, after “quite a few” attempts, I ended up with this:
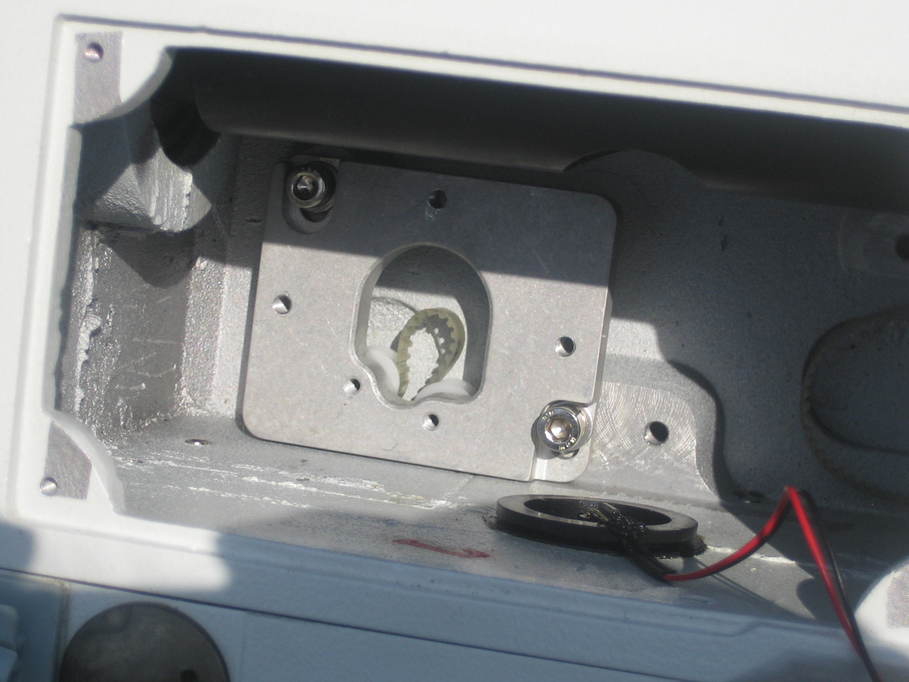
The DEC belt was an equal measure of fun, but I got there in the end.
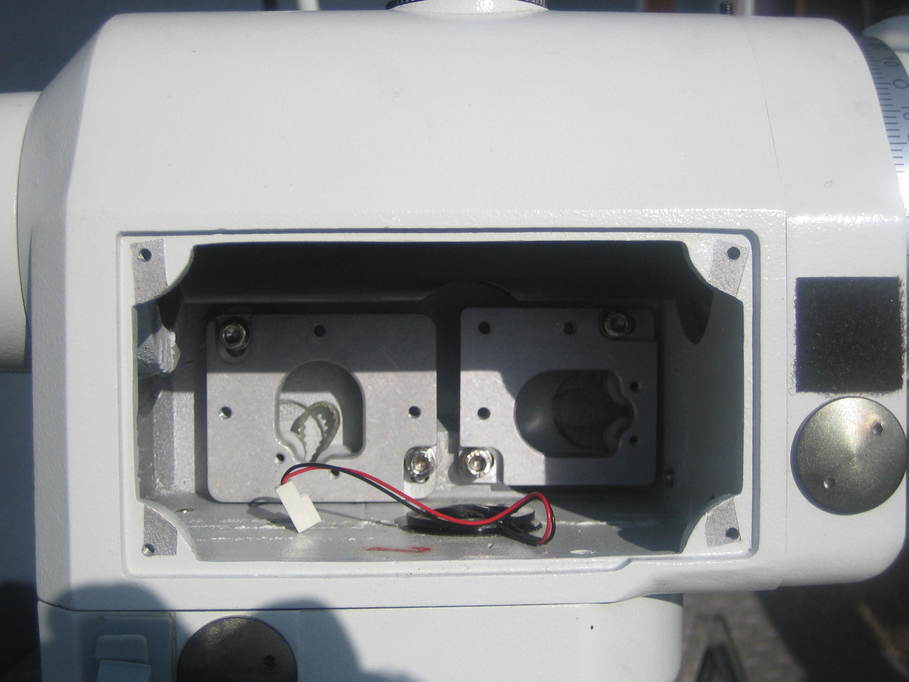
Into the finishing straight now… Refitting the motors was pretty straightforward although you do need a very long allen key or something similar to be able to reach far enough inside to be able to tighten the screws. It is also a bit strange because you can’t actually see if the motor pulley has engaged with the belt at all. I removed the worm end caps again (only those on the side showing here) and turned the end of the worm with a pair of pliers whilst watching the end of the motor drive shaft to see if it was also turning, whilst using a flat-bladed screwdriver to very gently adjust the tension on the belts by moving the mounting plates, but it’s still hard to know if you have enough (or too much) tension. In the end I decided I was happy enough.
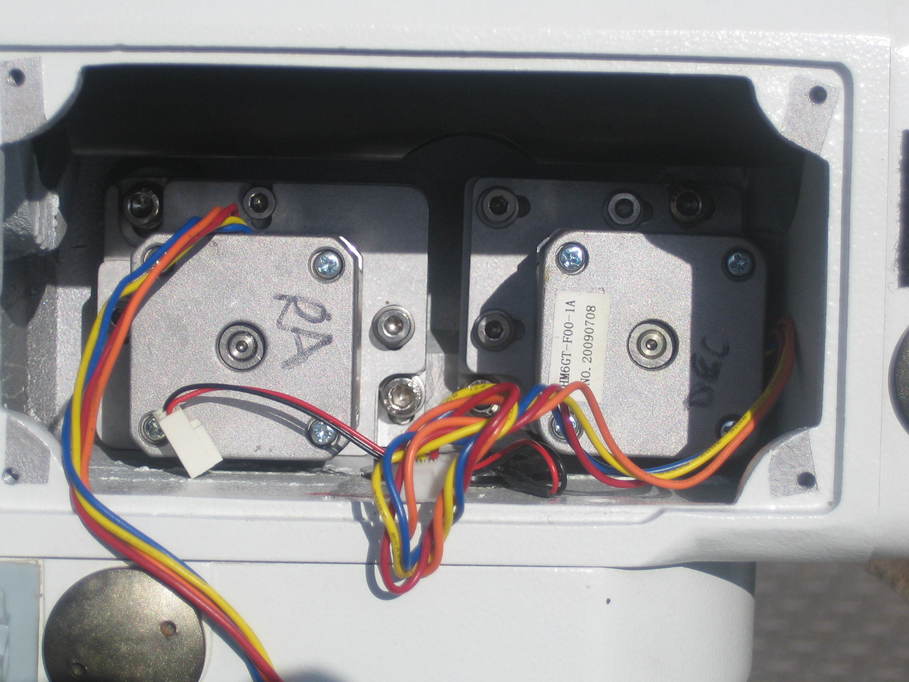
My kit was also missing a flat washer and a spring washer for one screw for the idler mounts, so I took them off one of the old screws that were not being reused.
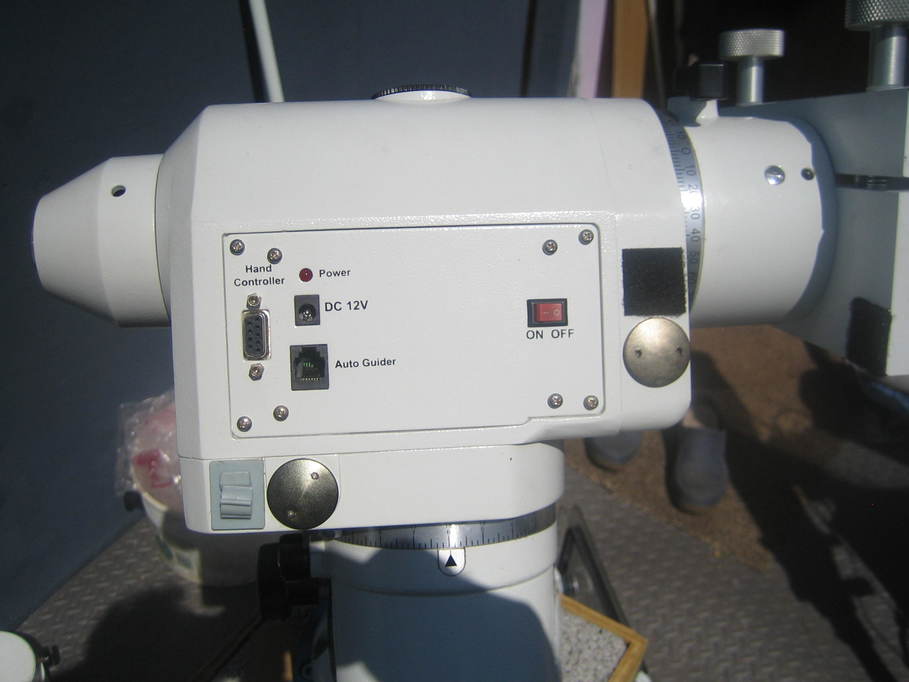
After that it was just a case of re-routing the RA motor leads, plugging everything back in and refitting the fascia.
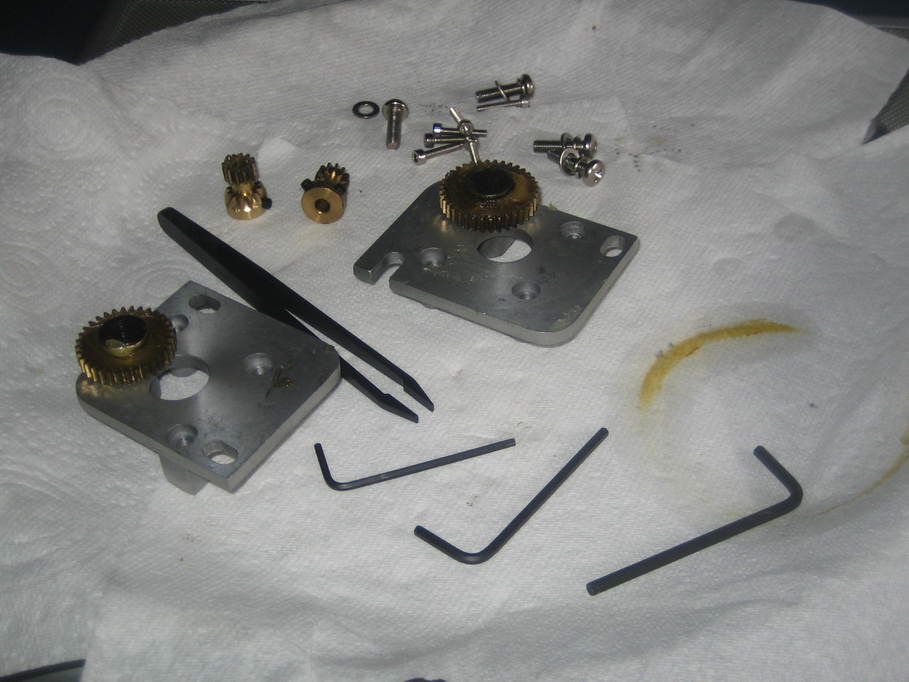
And this is what’s left over:
Of course this isn’t quite the end of the job. There’s still the worm adjustment to do. I twiddled with the grub screws on each side of the worm housing (the one on the curved side moves the worm closer to the gear, the one on the flat side moves it away) until there was absolutely no play in the axis and then backed them off by about one turn, which gave a lot of backlash. I could then spin each axis through 360 degrees and check it ran freely. Each time it did I increased the gear engagement by at most an eighth of a turn and tried again. If the motor stalled or jumped at 800x slew speed then I backed it off a fraction until it didn’t.
What I’ve found is that the motor might jump at 800x, but at lower speeds it seems fine. I don’t feel that adjusting it for the slower speeds is sensible though. I don’t want high speed slews stalling or jumping. Unfortunately because there are clearly three or four very small spots where the meshing of the gears is just a little tight, this has meant that there’s still obvious backlash in the RA axis. A very small amount, certainly, but enough to be obvious. The DEC axis on the other hand is very good. There is backlash, obviously, but it is absolutely minimal. I think this may need more work. I have, for instance, been wondering if I can move those tight spots to a position where they’d never be used as they’re all in the same quadrant of the RA gear. I’m not sure that’s feasible, but I’m not sure it isn’t, either 🙂
The other thing I must mention is how astonishingly quiet the mount now is. Even kicking off an 800x slew there’s just the quiet hum of the motors. If I can I’ll try to post “before” and “after” recordings, but that’s for another day.
