I said recently that I’d try to write something up about the way I do full disc lunar imaging with my DSLR, so here it is. This isn’t the only way to do it. It’s possibly not even the best way to do it. But it’s the way I do it.
First a bit about kit. I’m currently using a Canon 450D connected to a laptop via the USB connector and running AstroPhotography Tool (APT) to control it. Given a programmable remote it’s entirely possible that the laptop would be unnecessary. I have the camera connected directly to the visual back of a Skywatcher 127 Mak using a T-ring (no diagonal). The 1500mm focal length of the Mak gives me an image that fills the frame of the 450D just about perfectly. Unless you have a full-frame camera or a focal reducer you’d probably not want to go beyond this focal length. If you use a shorter focal length them the image size on the sensor will reduce proportionally. That is, using a scope with a 750mm focal length you’ll get an image that about half covers the frame height of a 1.6x crop sensor DSLR. I’ve modified my 127 Mak to fit a Skywatcher motorised focuser with a 5:1 drive reduction which means I can tweak the focus in tiny amounts whilst sitting at the laptop.
The telescope sits on my EQ3-2 with the after-market dual axis motor kit fitted. If you’re using a short focal length then you might get away with an alt-az mount, but at the focal length of the Mak my experience is that poor tracking fouls up the stacking process.
There’s no reason not to use another type of DSLR if it there’s a way to get it to take the required images in the first place. In any case what’s required is a good number of RAW images taken in quick succession.
I start by getting the scope lined up fairly centrally on the Moon visually and worry about getting the focus right with the camera later because I can use the Live View in APT to focus. Working without a laptop or with a non Canon camera it may be easier to focus on a bright star using a Bahtinov or Y mask first, then move to the Moon without touching the focus.
With APT started up and the camera connected I enable live view and centre the image using the motor controls, turning down the default Live View ISO And shutter speed settings if required to give a clear but not overly bright image. If the image is a long way out of focus I first get reasonably close based on the image I can see. I then find a good group of craters near on the terminator, click on them to move the 5x magnification box and go to 5x magnification. In anything but absolutely stunning seeing the Moon may appear to ripple and drift in and out of focus. Running the focuser in and out I try to find a point where the focus is similarly bad either side of focus, then home in on where “perfect” ought to be. Occasional moments of good seeing allow this to be fine tuned until I have things the best I can. If the seeing is near perfect I might then repeat the process at 10x magnification though I usually find it doesn’t help matters that much.
With Live View now turned off I start a plan configured in APT to take 120 frames of 1/1000th second at ISO800 with a three second delay between each. Depending on your telescope it may be that you need to change those figures. I like to keep the exposure time high to “beat” the seeing which mandates a high ISO rating to get bright enough images. Given a smaller image that may not be required. Images are stored on the PC in RAW mode. Using a programmable remote it’s possible to do the same. Given a frame with plenty of space around the Moon image I’d just leave it to run, but because there are only a few tens of pixels top and bottom of my images I keep an eye on the images as they come off the camera and tweak the tracking accordingly until the run is complete.
That’s the easy part done, but the rest can at least be done in the warm.
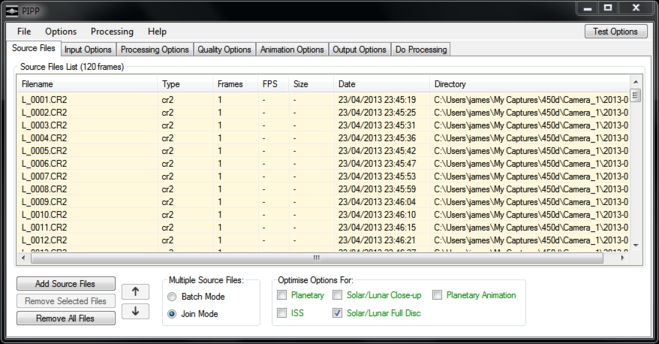
Once the images are on the PC my first step is to convert them to monochrome TIFF files, crop them down and centre the image in the frame using PIPP. The latest versions of PIPP can take RAW files from a wide range of cameras and convert them to TIFF which Registax can read happily. First I load them into PIPP and select the “Solar/Lunar Full Disc” option, ignoring any message it gives me about join and batch mode:
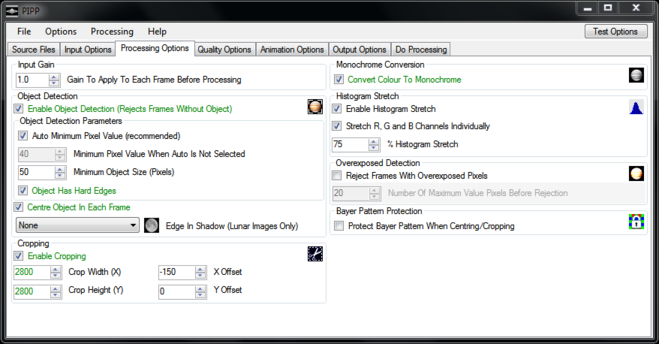
In the “Processing Options” tab, I make sure “Enable Cropping” is selected and change the crop height and width to suit my image. In this example because part of the Moon is dark I also use the “X Offset” to shift the image to the right of the frame a little. Finally I make sure “Convert Colour to Monochrome” and “Enable Histogram Stretch” are checked. It is possible to create colour images of the Moon, but that’s for another time.
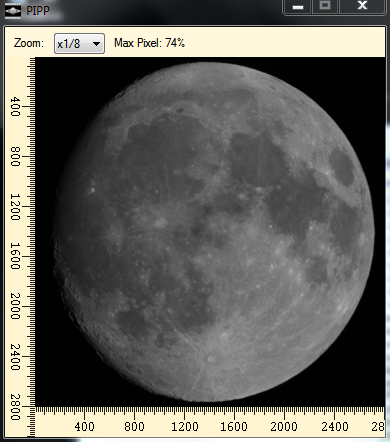
Under the “Quality Options” tab I make sure “Enable Quality Estimation” and “Reorder Frames In Quality Order” boxes are checked and that’s pretty much it. Clicking the “Test Options” button confirms that the output will look as I expect:
And then it’s just a question of doing the processing, which may take a few minutes:
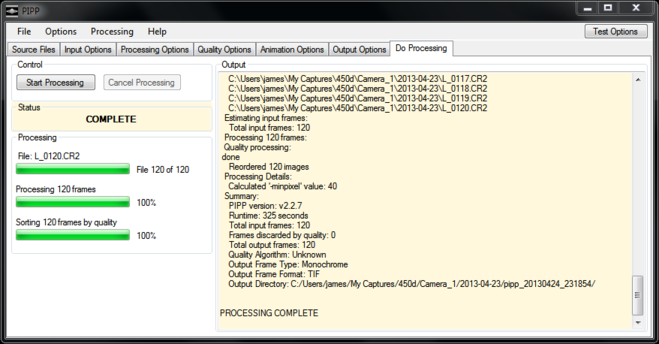
PIPP creates a new folder beneath the one from which the images were loaded containing its output TIFF files.
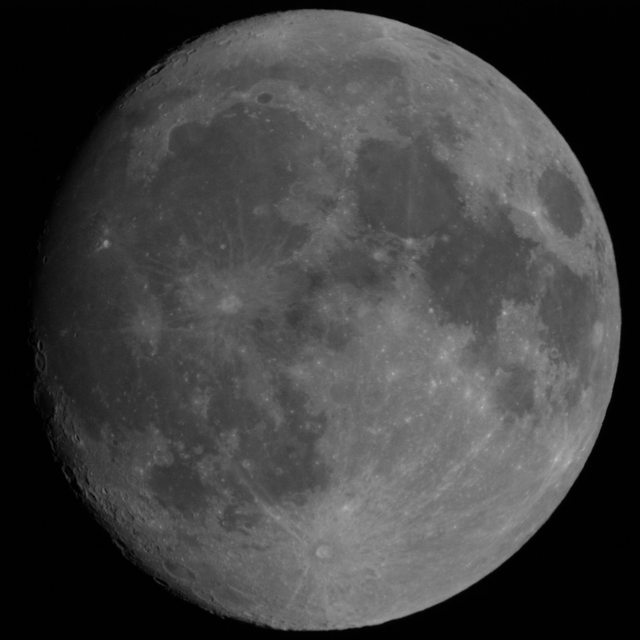
That’s it for PIPP. Just for interest, here’s a single frame from the output of PIPP:
Now the images are converted to TIFF Registax v6 can be used to stack them. Start it up and using the “Select” tab, load the images in all in one go. If there are images affected by cloud they’ll have been renamed to come last in the list. Ones that are obviously dark or that have dark areas due to clouds, aeroplanes or local wildlife should just be ignored. For this set I took the best 100 from my original 120 frames. Should Registax offer to stretch the intensity levels, choose “No”.
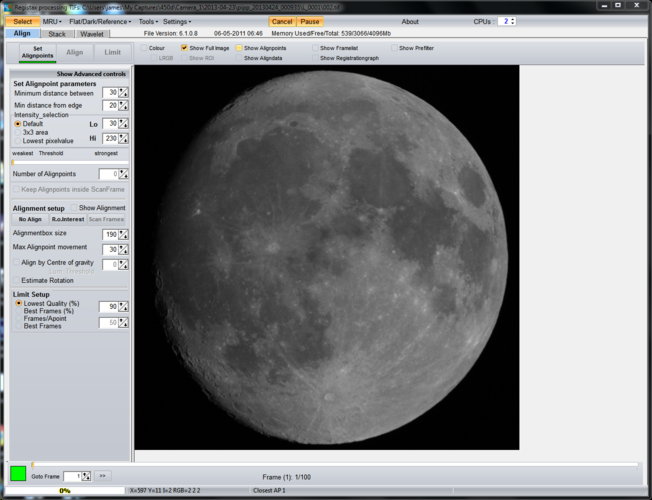
The first step is to scan through the frames you have captured and find a high quality one. To do this I uncheck the “Show Full Image” box and use the scroll bars so I can see the same area of craters that I used for focusing, though any area near the terminator would probably work just as well. Either the “Goto Frame” box or the scroll bar just above it can then be used to step through the images to find a good one. It’s hard to say exactly what constitutes “good”, but I usually compare features such as the definition of the craters and their shape. Experience really helps here, so the more often you do it the better you get at it. Here’s the frame I chose for this stack:
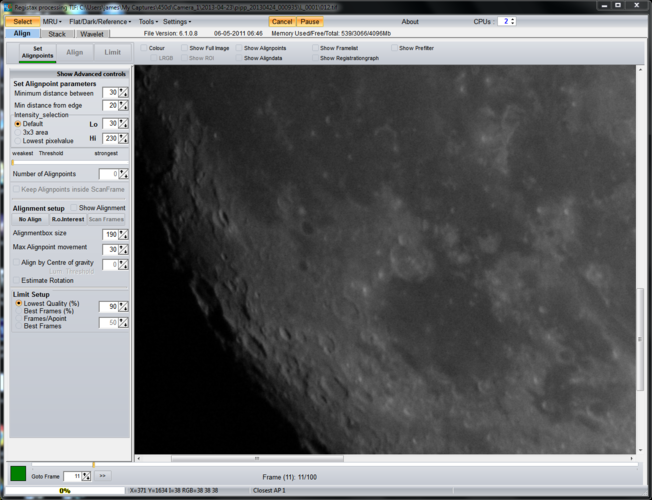
Next I click “Set Alignpoints”. Registax will usually come back with 1799 for my images which is far too many. I lower to 200 or 300 at the most in the “Number of Alignpoints” box and click “Align”. Now may be a good time to go and make a cup of tea.
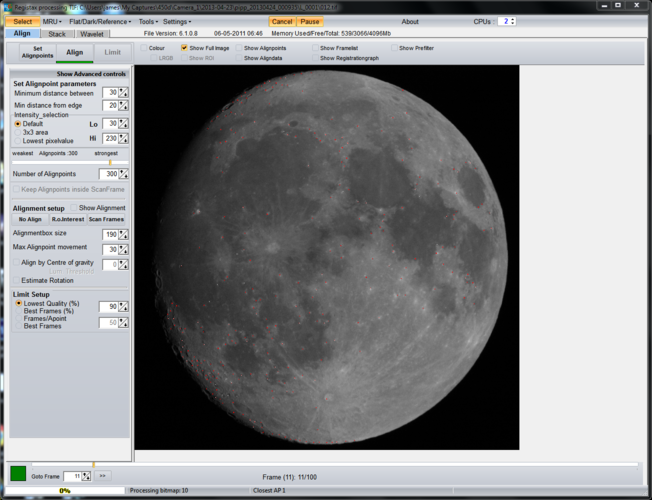
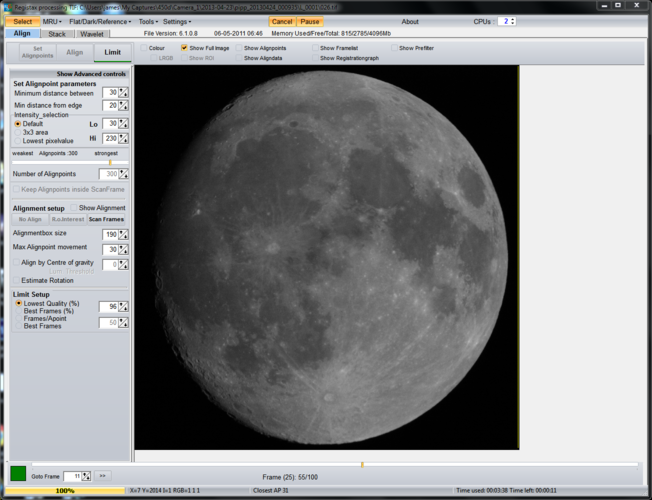
One the alignment is done its time to decide how many frames are going to be stacked. I do this using the “Limit Setup” box. Ideally I want the lowest quality frame to be no lower than 95%, so I select that in the relevant box. The legend underneath the image then shows which frame is being displayed and how many out of the full set will be stacked. In this case 95% gave me 83 out of 100, so I tried 96% which gave me 55/100. That’s a fair place to start. I checked 97% which gave me 29/100 which I think is rarely enough, so 96% was where I stopped and clicked “Limit”:
After being transferred to the “Stack” tab you’ll see an image with the align points shown and often little green lines showing the movement between frames. Ideally those should be as short as possible. I just select “Stack” here.
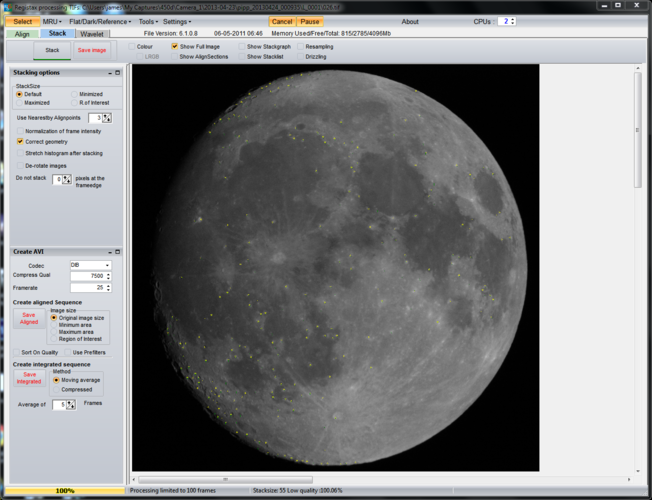
Once the stacking is complete it can be worth saving the image (as a TIFF) to allow it to be tinkered with later. Then it’s on to the “Wavelet” tab and the black magic starts.
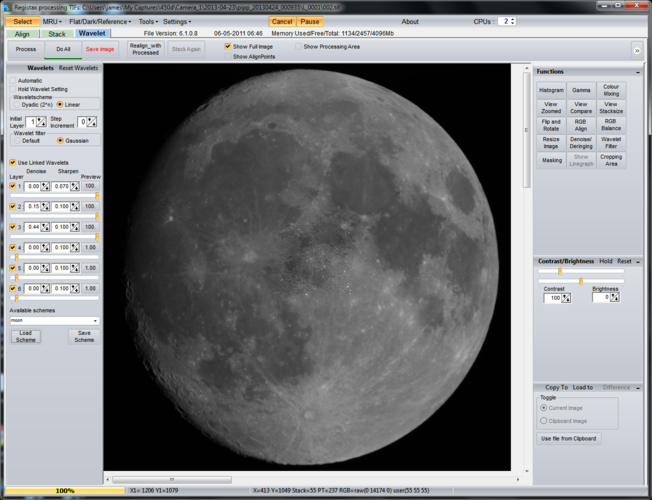
Unless I want to rotate or flip the image, wavelets is all I touch here. For the Moon I have a default set using just layers 1, 2 and 3 that I load which are very aggressive and then I tend to back them off until I’m happy with the overall image. For speed Registax only shows you a small part of the image with the transform applied, but clicking elsewhere will move the effect around. Unclick “Show Full Image” to see what it looks like in detail. If the image starts to look speckled then it’s overcooked and the sliders need backing off. The point at which the image starts to look unnatural and is probably overdone is often down to personal taste. “Do All” applies the transform to the entire image.
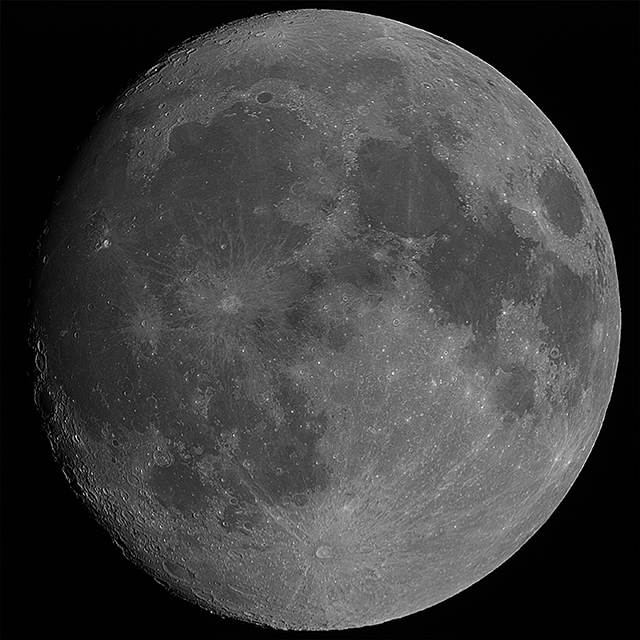
I usually save the image as a TIFF and reduce the size for display on websites using Photoshop, but the resize could also be done in Registax. Here’s my final image from this stack: