First brew in the beer shack

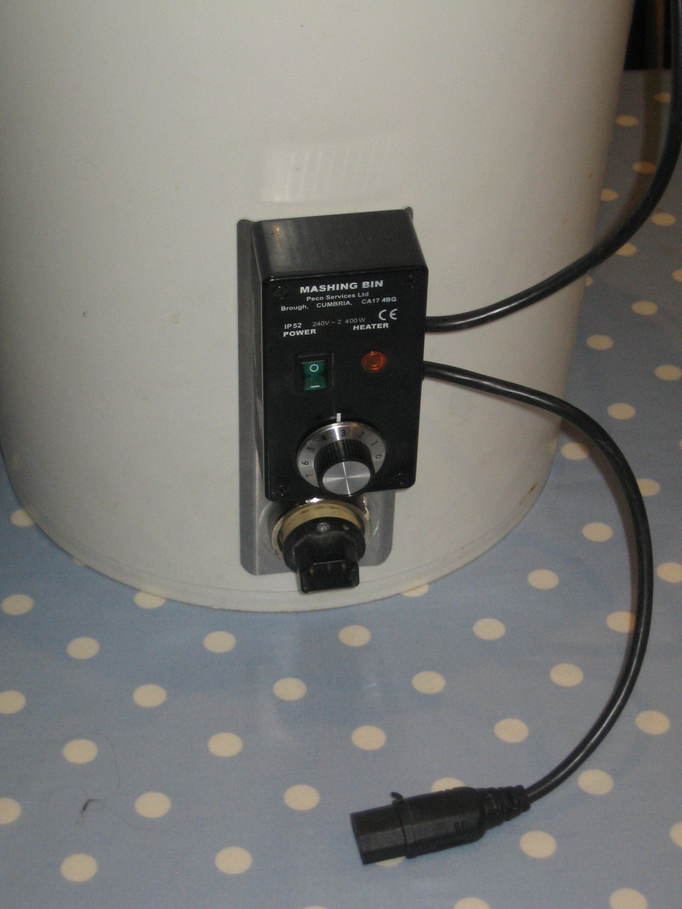
The conversion of my stainless pots to brewing vessels still awaited, so with the beer shack at the point of usability (by some definition — there’s still no water supply) and my old boiler repaired I had to go for a trial run. The planned brew was the Morland’s Old Speckled Hen clone from Graham Wheeler’s “Brewing Great British Beers” book.

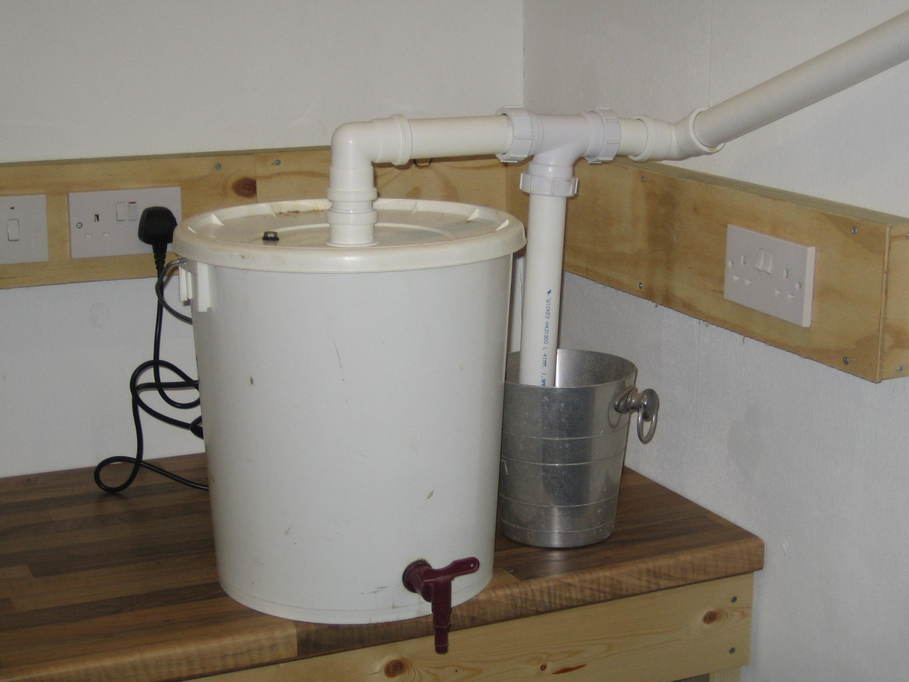
The brew generally followed the same procedure as I’ve been using for the last twenty years, with the important changes coming with the boil and for fermentation. In the fullness of time I intend to have a “chimney” taking the steam and other volatile products of the boil directly outside the shed, but for the short term I sat the old boiler in place of the new one and bodged up some piping to allow the steam to escape outside.

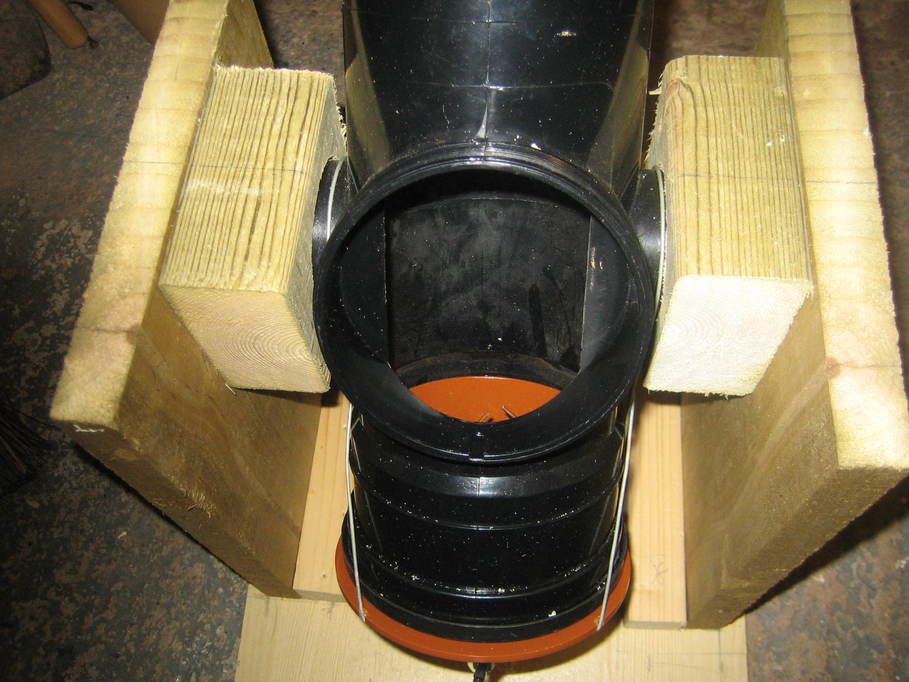
This meant I could do my first ever proper rolling boil. To stop condensed gases (some of which you really don’t want, such as DMS — dimethyl sulphide) running back down to the boiler I created a sort of trap, so they’d run into a separate bucket instead:

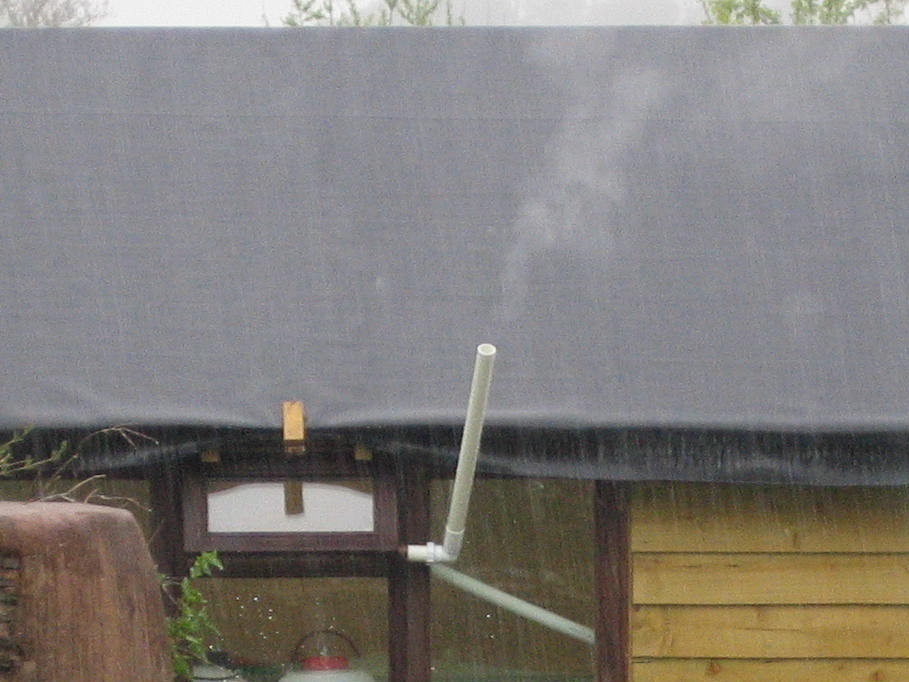
The top end of the pipework is demountable and just pokes out of a window when I need it to. Here you can see it working well (and you can see that this is before I’ve glued down the EPDM roof covering). The graininess of the photo is down to our weather. It’s been like that for a lot of the last few years 🙁

Posted in Beer-making | Tagged | Leave a comment

Quad Erat Demonstrandum

They’re all the rage at the moment, obviously, but I’ve always fancied having a remote controlled aircraft since I used to make model aeroplanes as a child. I recall a rubber-powered balsa wood biplane that I made with my dad and some sort of wire-controlled petrol-engined plane too. So, with children of my own now it seemed like a fun thing to get involved in. We’re fortunate in having loads of space to fly one in and no immediate neighbours so the only things likely to be irritated by its presence are the local fauna. Note to self: I wonder if our visiting roe deer would be distressed by the presences of a quad?

I didn’t feel the need to start with anything big and would rather learn to fly with something cheap and painless if it breaks, so after taking a bit of advice and hunting around on the internet I opted for a Hubsan X4 H107C:

There are a few things I particularly like about this quadcopter. First it’s small enough that we can learn to fly it indoors or in a barn in relative safety. Across the diagonal it’s less than 150mm from propeller-tip to propeller-tip. Also, the controller has adjustable sensitivity, so whilst we get the hang of flying it’s possible to back off the sensitivity of the pitch, yaw and roll controls to make allowances for being a bit heavy-handed. And finally, it has a camera. It’s just a simple thing built into the body so it can only view in the direction the quad is pointing, but it still leaves room for a bit of fun creating videos.

In addition I ordered a pack of spare parts to fix breakages (which I have to admit is taking its time to arrive) and five additional batteries with a USB charger:
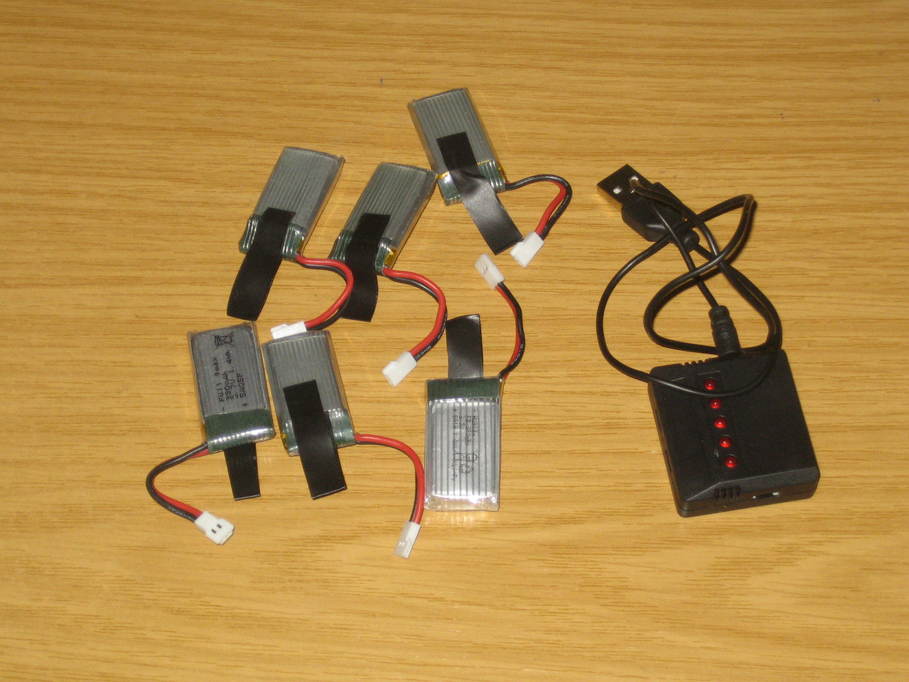
The charger does feel a bit cheap and nasty and the sockets for the battery connectors are very stiff, to the point where I didn’t realise at first that they weren’t fully inserted leading to frustration when they kept falling out.

Also in the above photo you can see the first mod I’ve made, adding a little folded insulating tape to the end of each battery to make it easier to remove from the quad when it needs replacing.

Having the five spare batteries works well as at learner indoor speeds if they are recharged immediately then once all six have been discharged the first is pretty much ready for use once again.

First impressions are that it really helps to wind the sensitivity back on the controller. It was a bit of a handful for us novices otherwise. The battery position is critical. If it isn’t fully pushed into its slot then the quad tends to drift backwards. For that reason the spare batteries I purchased are the same capacity as the originals. There are batteries available that should last longer (from memory, 500mA rather than the standard 380mA), but my understanding is that they are longer and shift the centre of gravity of the quad backwards meaning it will drift backwards unless the drift is trimmed out, which in turn makes it awkward to mix battery sizes. The camera is not brilliant, but actually it’s nowhere near as bad as I expected. I have been pleasantly surprised by my tests. Obviously it’s never going to be as great as a gimbal-mounted camera, but for the price I have no complaints at all. The controller is quite comfortable to use, but it would be nice if the tops of the levers weren’t quite so hard and spiky. Obviously it’s important to have a good grip on them, but they could be a little more comfortable. The quad has also proved remarkably robust. There is a prop guard in the spares kit I ordered, but even without one fitted we’re still on the original set of propellers. Generally I’m very pleased with it and it’s been a great deal of fun.

Oddly our cats, who are brothers from the same litter, have taken to it quite differently. Once is very fearful and will leave the house if he hears it. The other will quite happily sit in its downdraught and when landed will place a careful paw on it just to make sure it can’t get away.

I’m told that a larger and more expensive quad would be easier to fly and it’s certainly taken a while to get the hang of flying, but I have at least now reached the point where I can keep it in the air indoors for as long as it takes for the battery to discharge from full. From there I think we’re going to have to move outdoors as and when the weather allows. Hopefully we’ll be able to get some video of the barn roof replacement as it takes place.

Posted in Quadcopters | Tagged , | Leave a comment

Barn roofing project

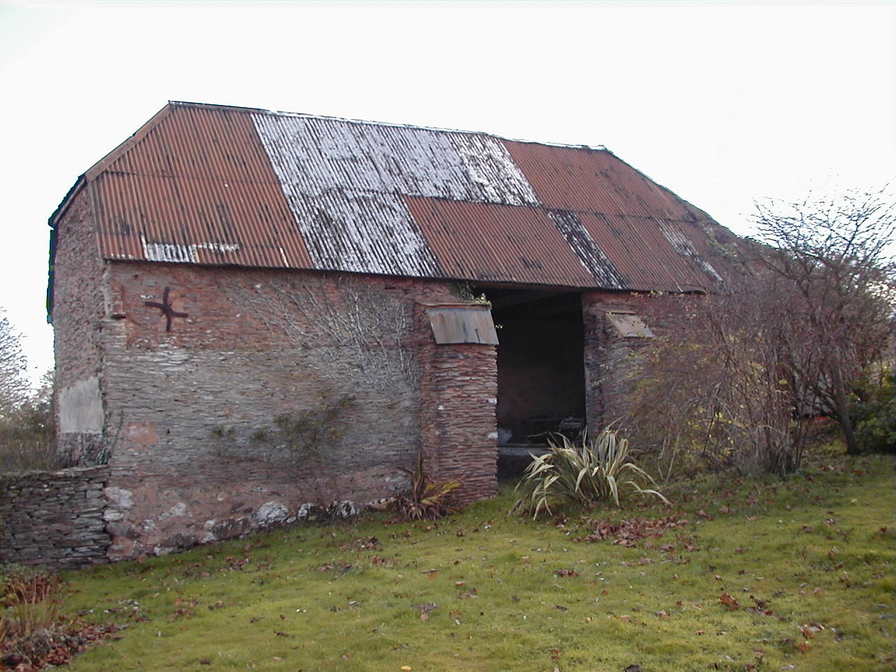
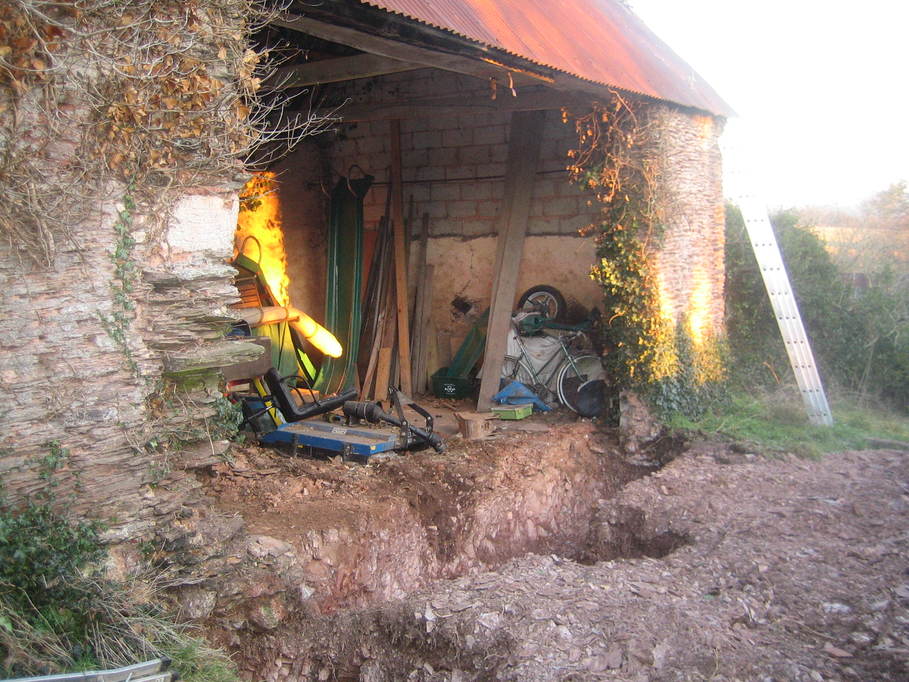
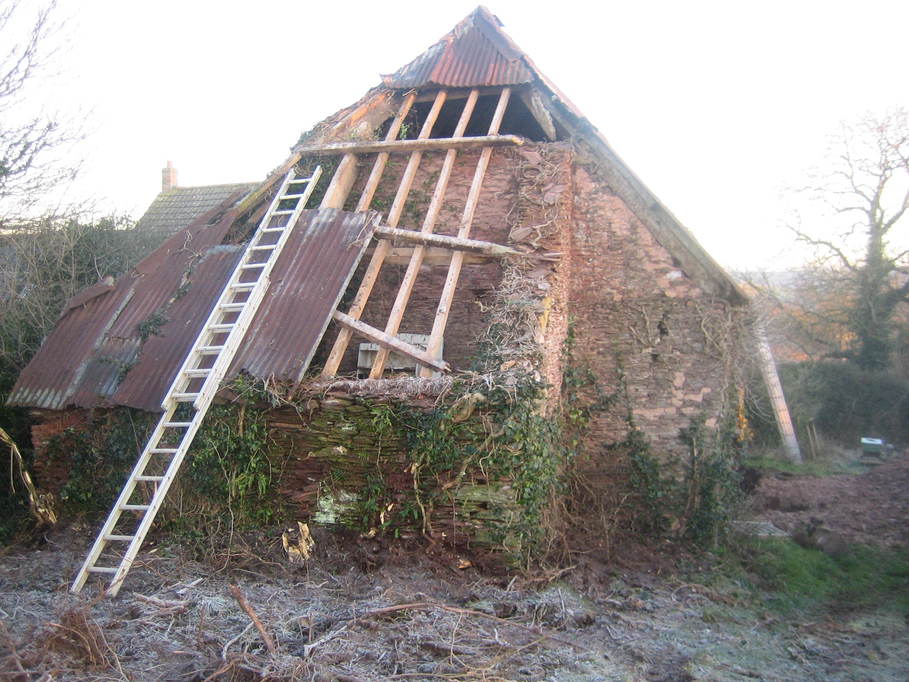
We have a barn that I believe was at some point in its life used for threshing grain, though it shows signs of having been extended a number of times and may not originally have had that purpose:

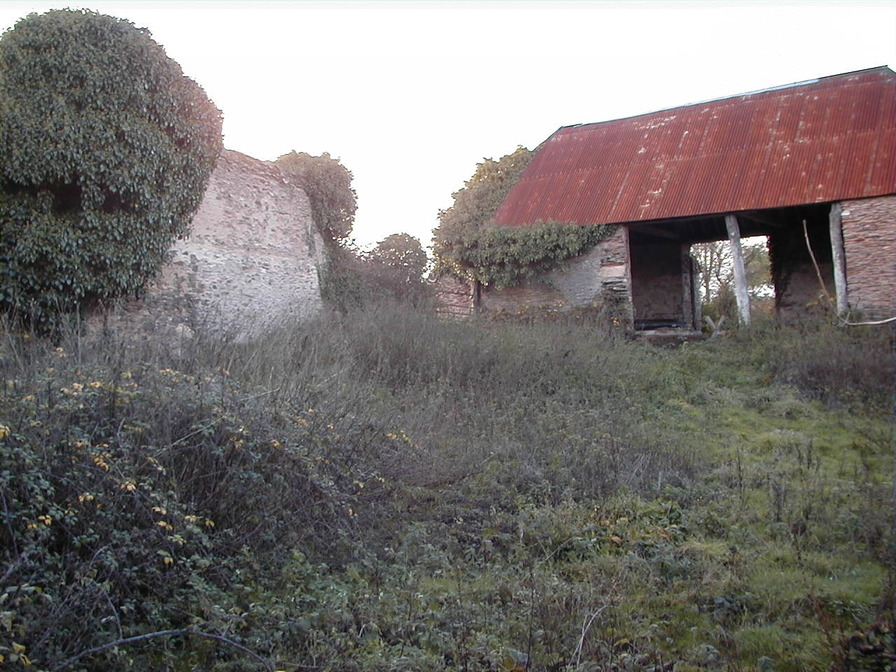
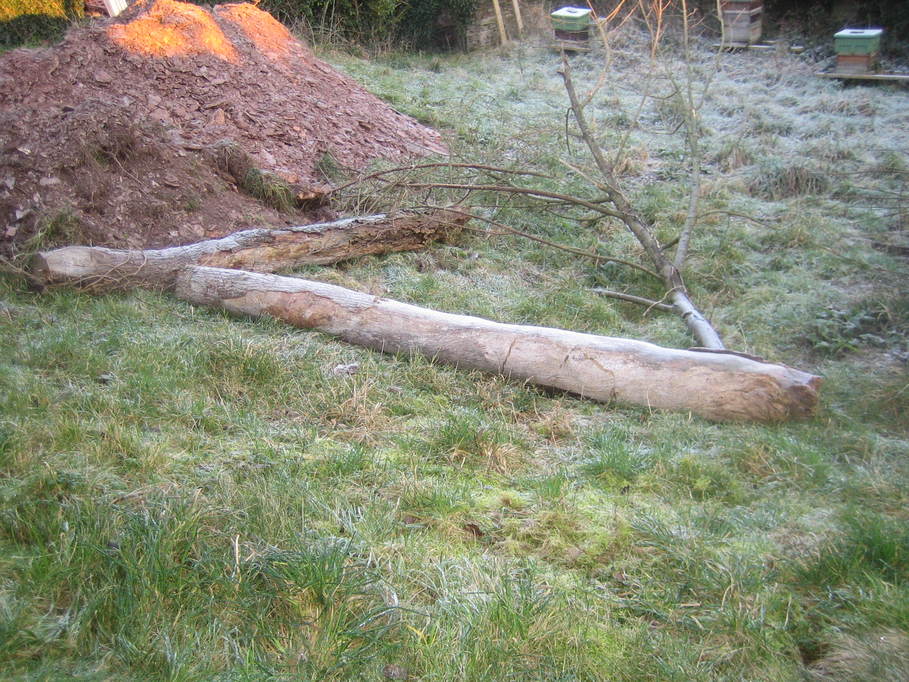
Over the last couple of years the stormy winter weather has made it quite obvious that it’s time to replace the roof, especially as it’s become obvious recently that the two timbers supporting the central section of the roof in the second photo were completely rotten, to the point that they could be removed:

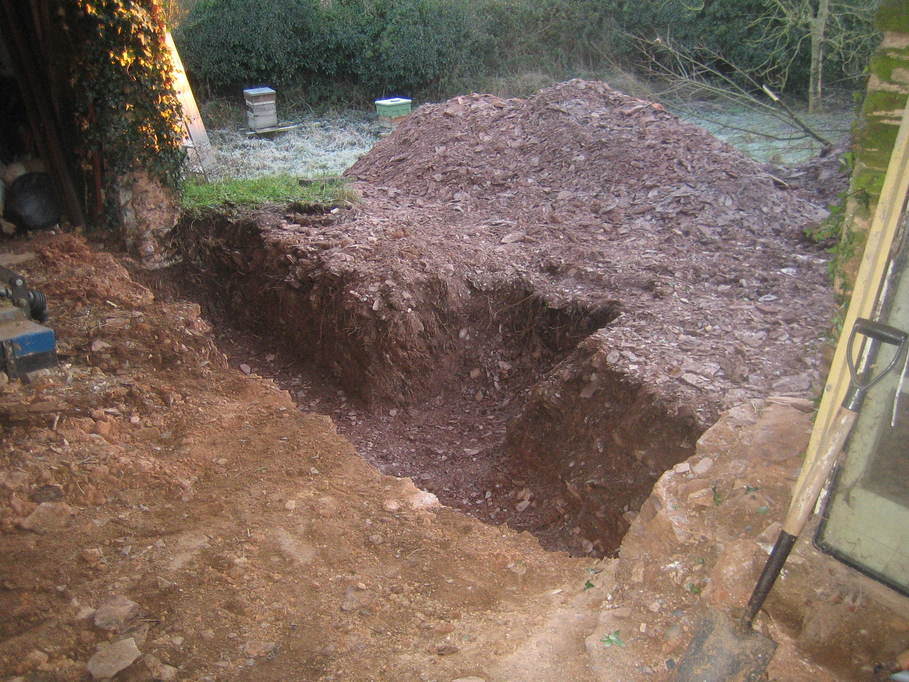
So, as part of the operation to replace the roof the first step is to build new buttresses on that side of the barn to match the ones on the other side (it appears those buttresses did exist at one point, but have since disappeared) and create an arch between them to support the new roof. First step is to make some proper foundations. There’s no need to go too deep here as there’s not a huge amount of soil on top of the rock of the hillside. Just clearing off the loose stuff and backfill is sufficient.

To make room for the scaffolding the roof has to come off the hipped end of the barn too.

Next stage is to get the concrete into the trench for the foundations.

Posted in Projects | Tagged | Leave a comment

Life in the old boiler yet…

I’d given up on the old boiler I used to use for brewing when the thermostat died. When I initially checked, to replace it was going to cost almost as much as a new boiler. Some time after it failed however I came across replacement thermostats on the website of The Brew Shop for a far more reasonable amount and bought one. I also bought a stainless backnut for the heating element which is far easier to work with than the original plastic one.

Having this 25l boiler back in service means I can work with smaller experimental batches more easily than I would be able to in my new boiler. I’ll probably convert to a small stainless version at some point, but for now it will do the job.

Posted in Beer-making | Tagged | Leave a comment

Fermentation cabinet and brewing vessel stand

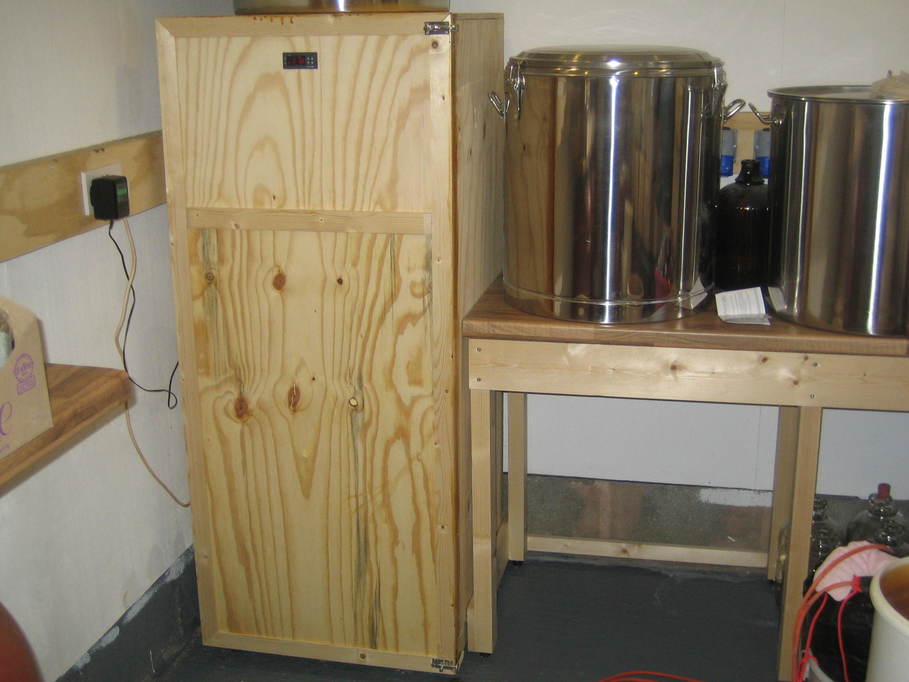
With the paint dry it was time to build a stand for the brewing vessels and an insulated (and heated) fermentation cabinet.

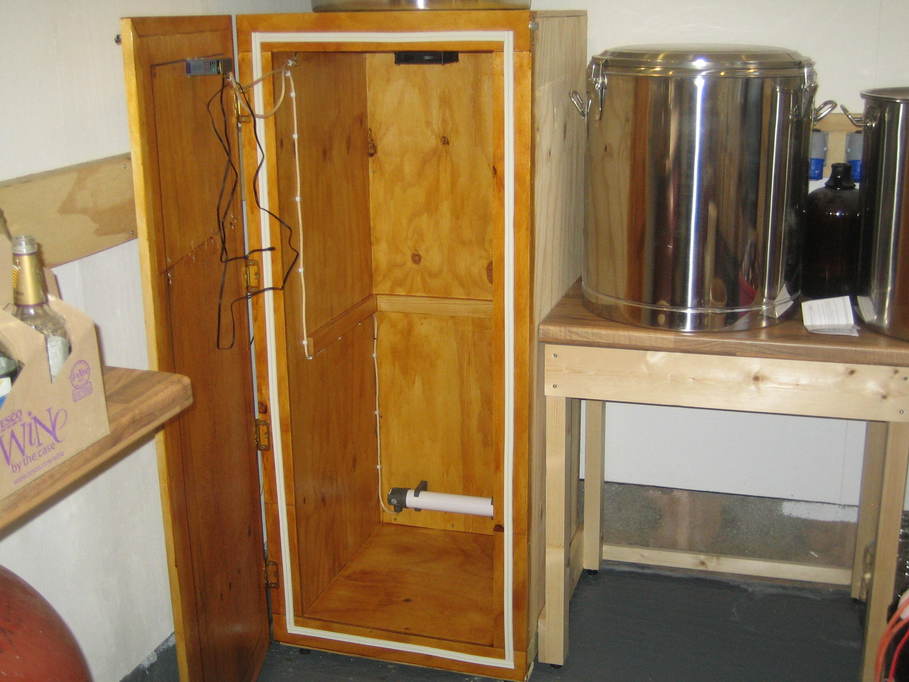
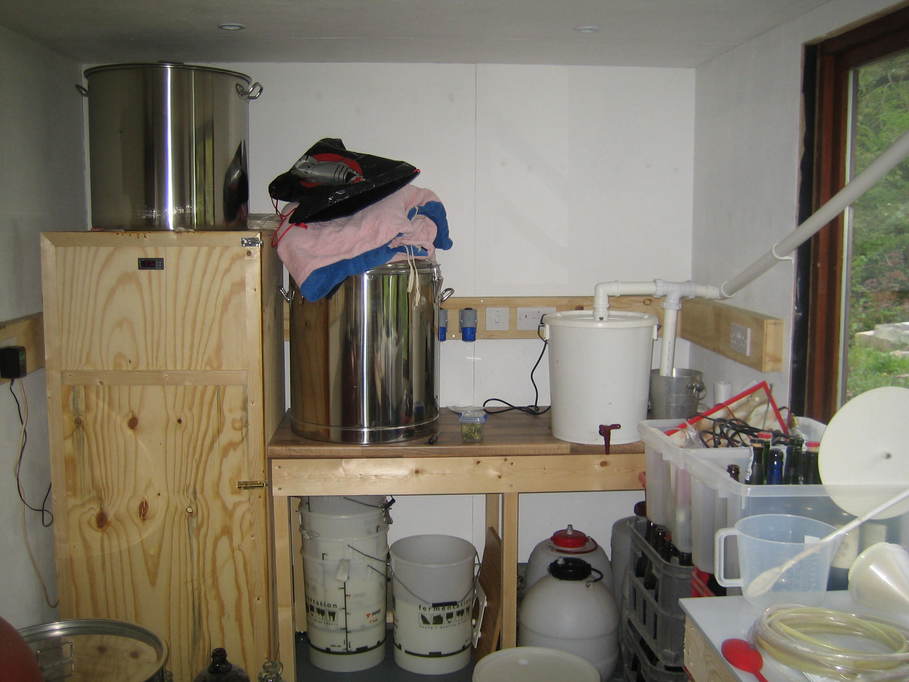
The fermentation cabinet is really nothing more than a double-skin cupboard insulated with 50mm of cellulose board insulation. Inside it is heavily varnished to make and spillages easier to clean and there’s support for a shelf, a 40W greenhouse heater and a 100mm PC fan to circulate the air. The greenhouse heater is controlled by an STC-1000 temperature controller, meaning I have some control over the temperature inside the cabinet. There’s no cooling system, so there’s little I can do if the temperature inside rises above the required level, but most of the time here it will be colder than required for fermentation. I fixed the STC-1000 into the door so I can operate it from the outside and easily see the temperature.

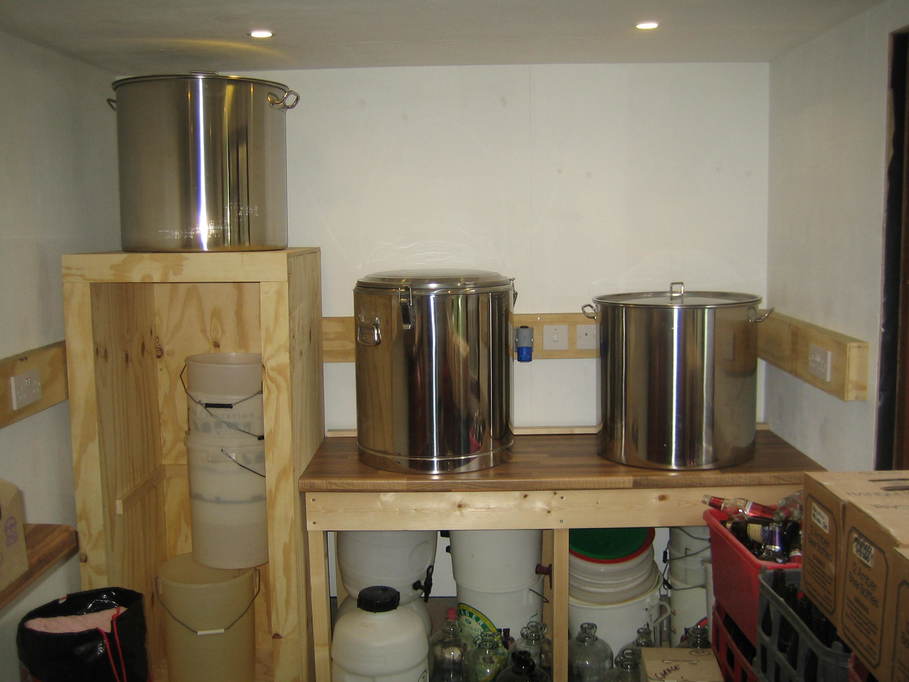
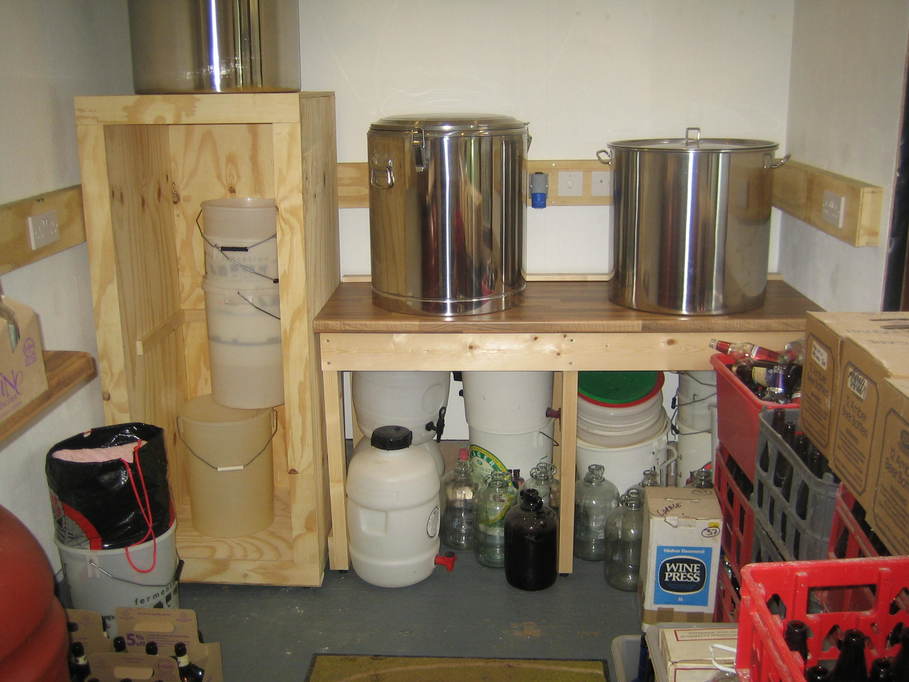
The HLT will stand on top of the fermentation cabinet to allow a gravity feed into the mash tun placed on a stand alongside. The stand is just a wooden frame with a spare piece of kitchen worktop fixed on top.

(The migration of kit from the house into the shed has already started 🙂

Posted in Beer-making | Tagged | Leave a comment

Beer shack progress

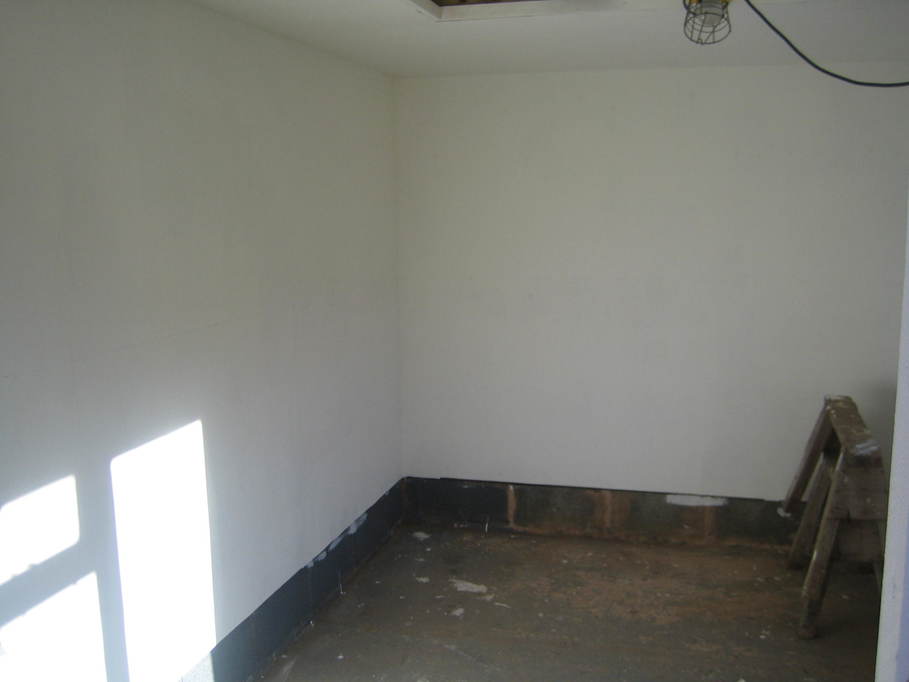
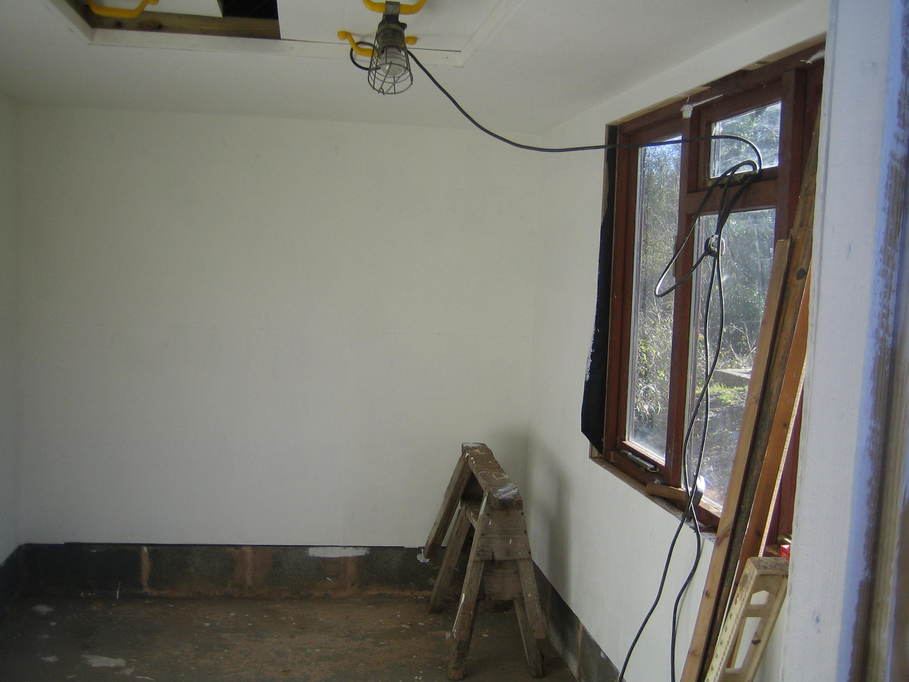
Once the walls were insulated and lined they needed painting. I used an exterior grade white paint including a fungicide for the walls and ceiling as there will certainly be some condensation once I start using it.

The floor has also been painted to help keep dust under control.

Posted in Beer-making | Tagged | Leave a comment

New brewing pots arrive

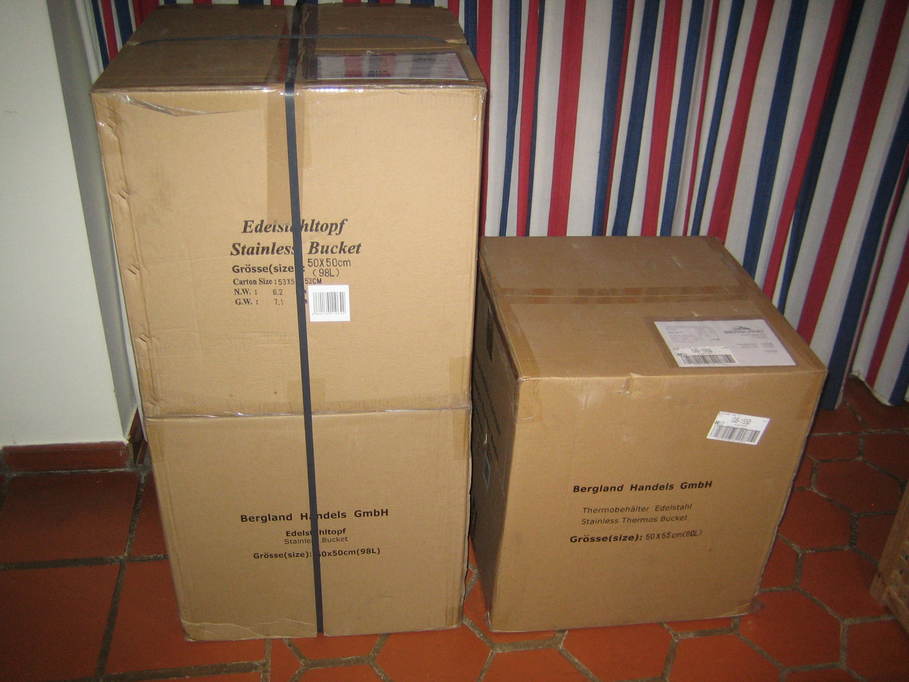
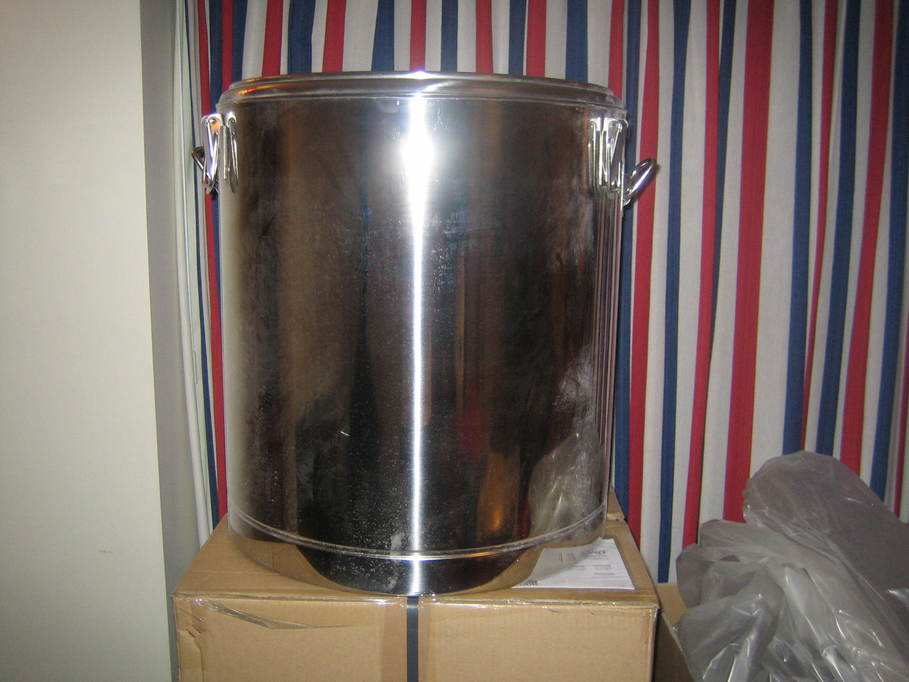
As part of my move to a dedicated brewing space I decided to build a new brewing setup with dedicated vessels for different stages of the process. Rather than use the plastic “buckets” that I’ve made do with so far I decided to move to stainless steel for these new items. Discussion at the time seemed to point to Bergland as a good source of large cooking pots that would be suitable. I found them on the German ebay site and contacted them to arrange the purchase and delivery of three pots: a 100l stock pot to build the HLT (hot liquor tun), an insulated 80l pot for the mash tun and another 100l stock pot for the boiler.

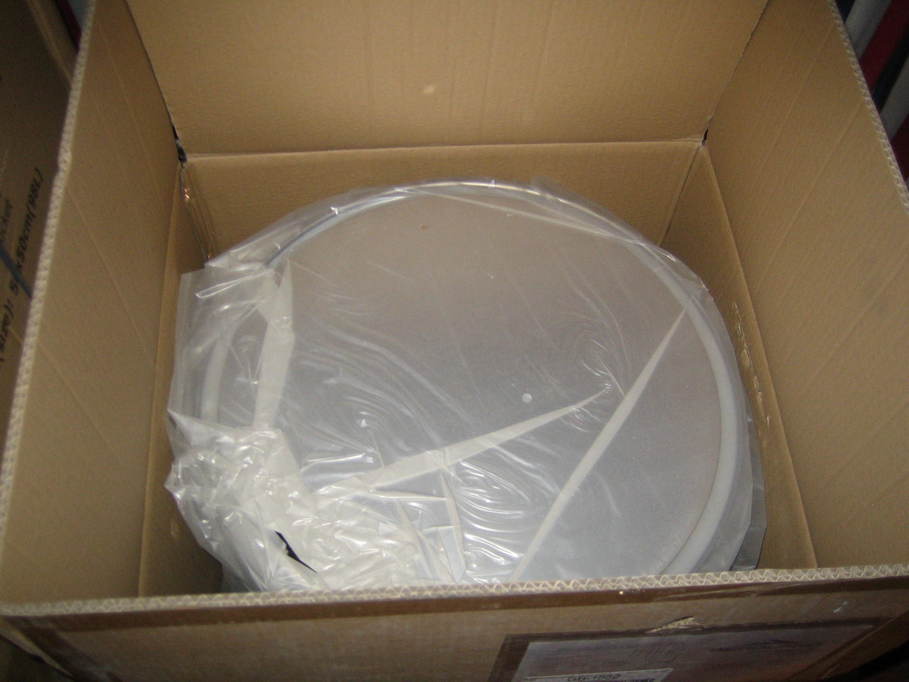
A short while later three boxes arrived:

There wasn’t really much in the way of protection for the pots other than the cardboard box which did worry me, but they all seemed to be ok:

And here’s the 80l insulated pot in all its glory:

Posted in Beer-making | Tagged | Leave a comment

Swimming, 20th January 2017

Unlike yesterday, a quiet session in the pool again for my third Swimfit session. In the end I did:

5 x one length front crawl, one length backstroke, easy pace
One minute rest
6 x one length breaststroke, medium pace, 20 seconds rest
Four lengths quick front crawl
15 seconds rest
Four lengths front crawl kick
15 seconds rest
Four lengths front crawl pull
15 seconds rest
Four lengths front crawl
15 seconds rest
4 x 1 length front crawl sprint, 30 seconds rest
Four lengths front crawl, easy pace

After that I swam 500m front crawl practising turns at the deep end and a final easy-paced 100m front crawl.

I’ve not swum backstroke for a while and found it very hard physically. My breaststroke seems to be improving though. I’m thinking more about keeping my heels together from the end of the kick through the recovery phase so that my lower legs are as far as possible behind my body and not generating any more drag than necessary. My feeling is that my arm pull is a bit variable though. I shall be trying to work on that.

Total distance this month: 27,700m
Total distance this year: 27,700m

Posted in Swimming | Tagged | Leave a comment

Mark 1 Potato Cannon

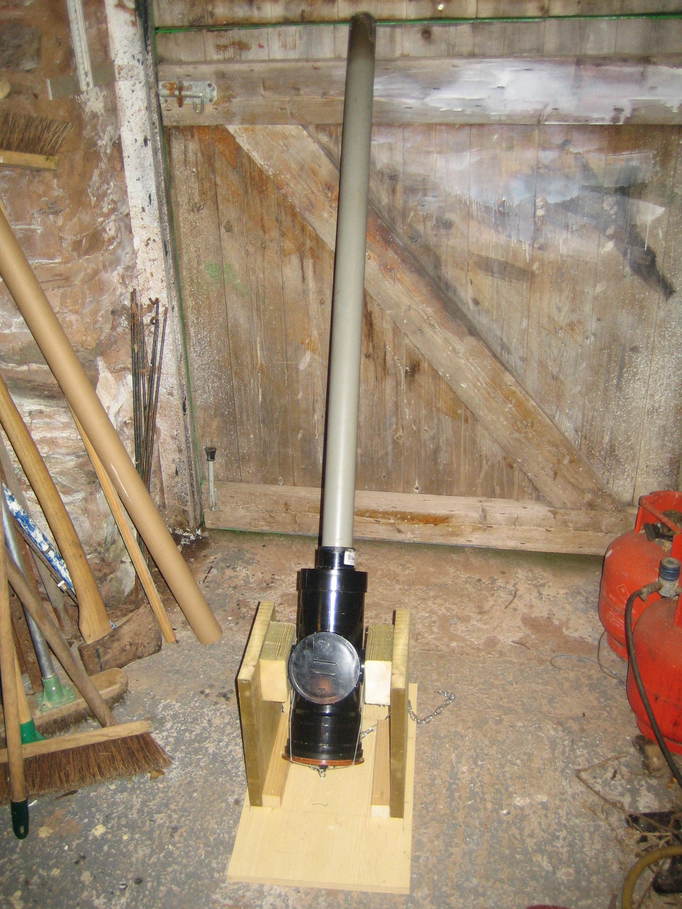
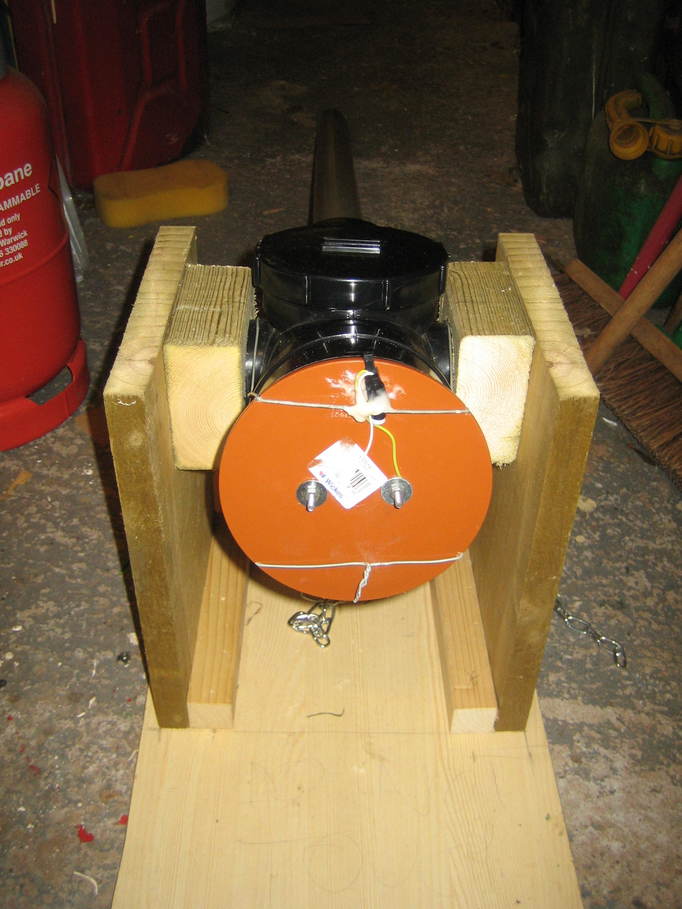
Search youtube for potato cannon and you’ll find loads of examples. My son was keen to try building one so we came up with a plan to build this one from bits of pipe we had lying about. It didn’t really need much. The “combustion chamber” is a 100mm waste water rodding fitting. One end is completely closed off with a blanking plate and the other with a reducer down to 2″. The entire thing is mounted on a wooden carriage. That’s pretty much it:

We put a couple of bolts through the blanking plate on the end and wired each one to the wires of the spark generator from a barbeque lighter. The button for the spark generator was just glued to the blanking plate using Araldite. I also wired the blanking plate in place as unlike the reducer which was a solvent-weld fitting, it was just a push fit piece:

On the inside a couple of bare copper wires are fixed on the bolts and bent so they produce a nice fat spark when the button is pressed. They’re just visible at the bottom of the rodding eye here:

To fire the cannon, a potato is rammed down the barrel to the end. A quick burst of hairspray is squirted into the chamber through the rodding eye and the cover is screwed on. Push the spark generator button and away you go. Or the potato does, at least.

The first test firing wasn’t entirely successful. The potato did shoot out, but the rodding eye cover also blew off. There was clearly also a lot of stress on the barrel.

We shortened the barrel by about 30cm and fitted a retaining chain to the cover to keep it in place.

The second test was far more successful. The potato cleared some well-grown sycamore trees about 60m away and was still travelling upwards when we lost sight of it.

Next we should make a video of it in operation.

Posted in Projects | Tagged | Leave a comment

The Beer Shack is born

I’ve been brewing my own beer for years, but doing a ninety-minute rolling boil of five gallons of wort in the kitchen has never made me the most popular person in the house so when the thermostat on the boiler died I decided to have a rethink of how I did everything. I came up with a plan to move everything to an insulated shed in the garden which would solve the issues with steaming up the kitchen (not to mention the occasional sticky floor) and allow me to organise all my kit in one place rather than storing it all over the house. My son christened the shed “The Beer Shack”.

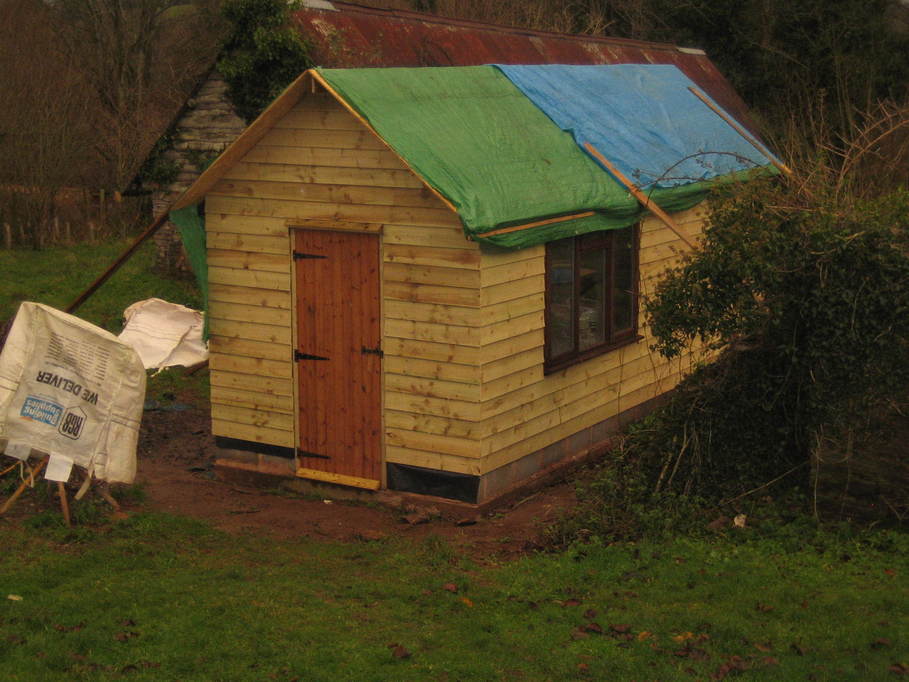
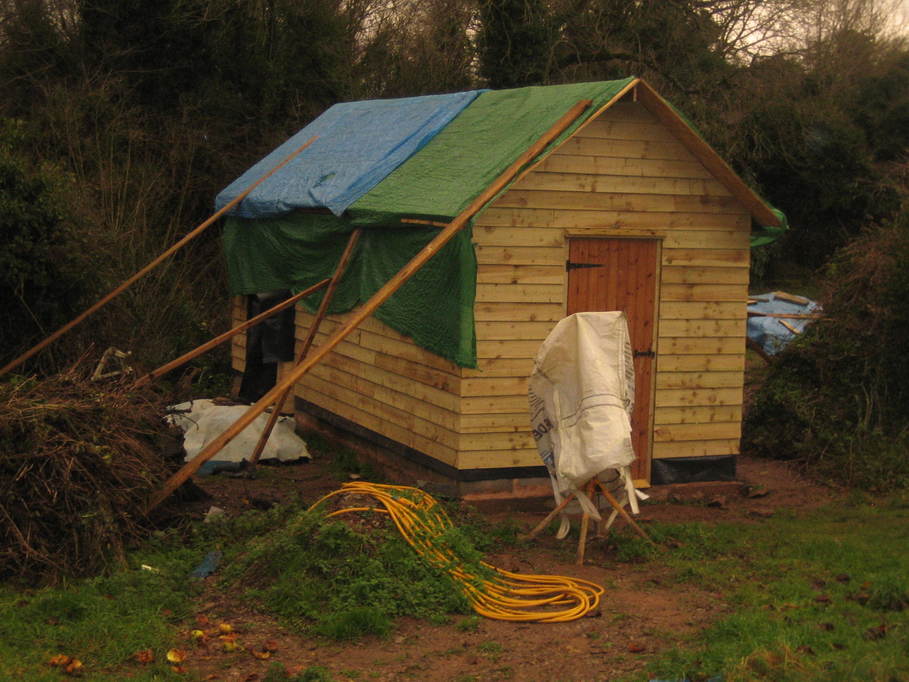
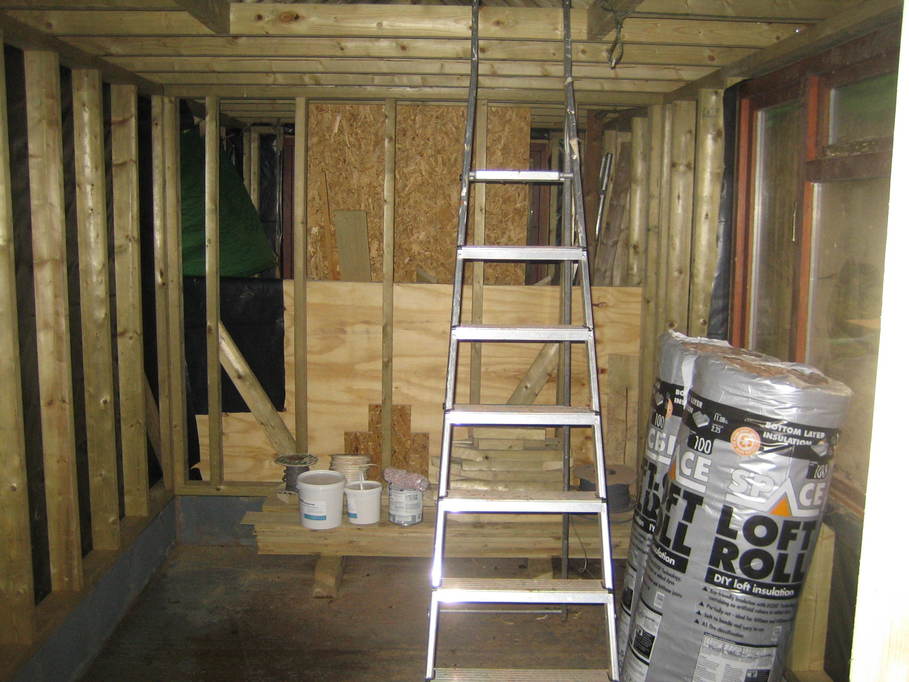
The following pictures show the start of the project, before the EPDM roof went on and waiting to fill the walls with insulation before lining the inside.

Posted in Beer-making | Tagged | Leave a comment