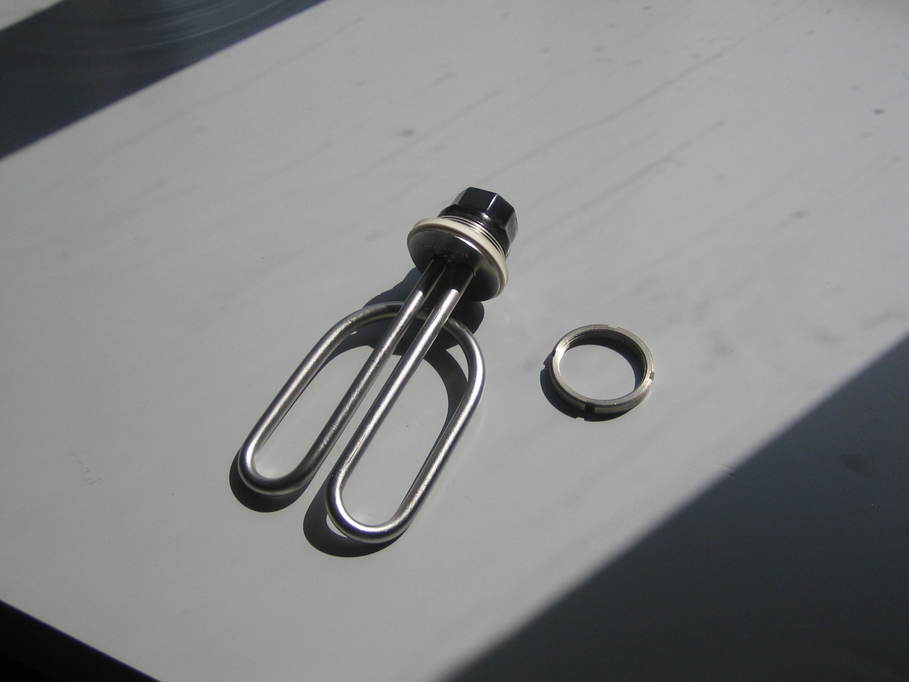
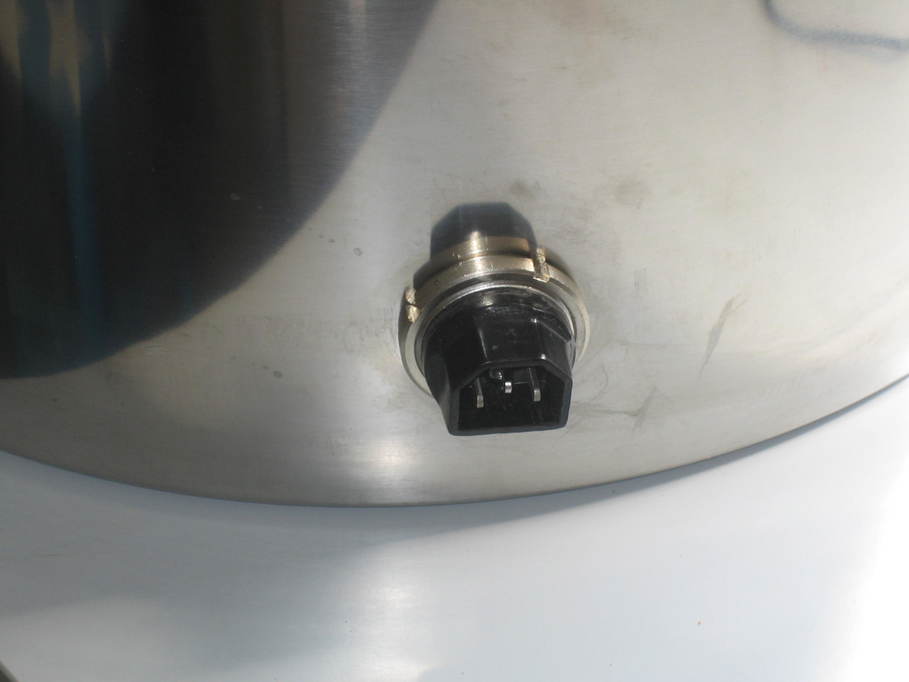
Starting with the easier one first. The first part of the plan was to fit a 2.4kW heating element:
It needs a big hole, obviously and stainless isn’t the easiest of stuff to work with, so I used a Q-Max cutter of the appropriate size:

A pilot hole is still required, so to help in keeping the drill bit in place I put a few layers of masking tape on the metal.

The cutter works by pulling the cutting bit through the metal into a socket on the opposite side using a bolt passing through the pilot hole. Once the bolt is engaged, it’s just gradually tightened up using an Allen key:
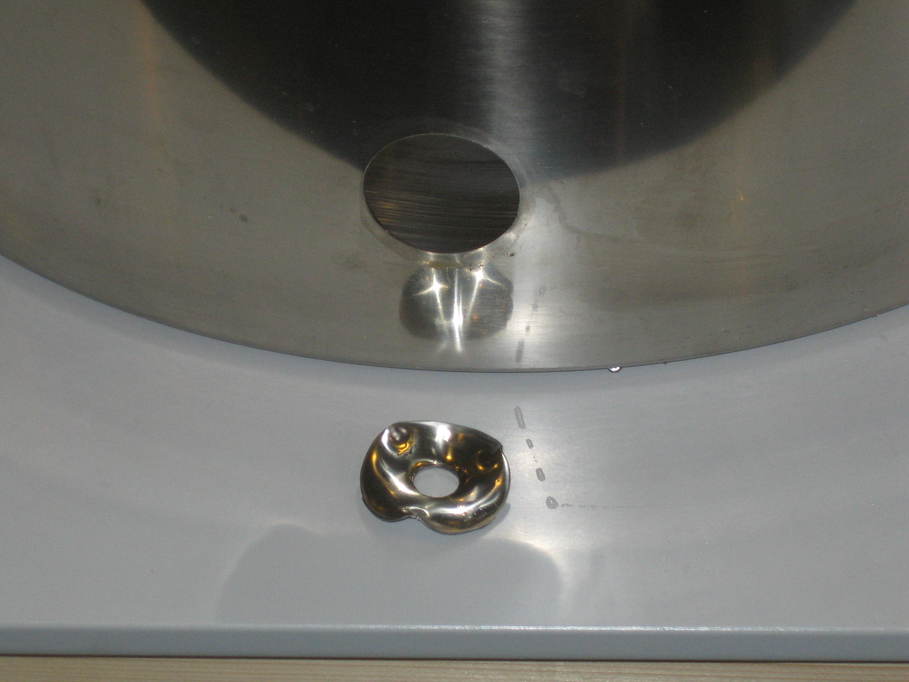
It pierces the metal several times and gradually enlarges the cut, eventually pulling all the way through leaving an oddly-shaped waste piece and a beautifully clean cut:
That done it was just a case of fitting the element.

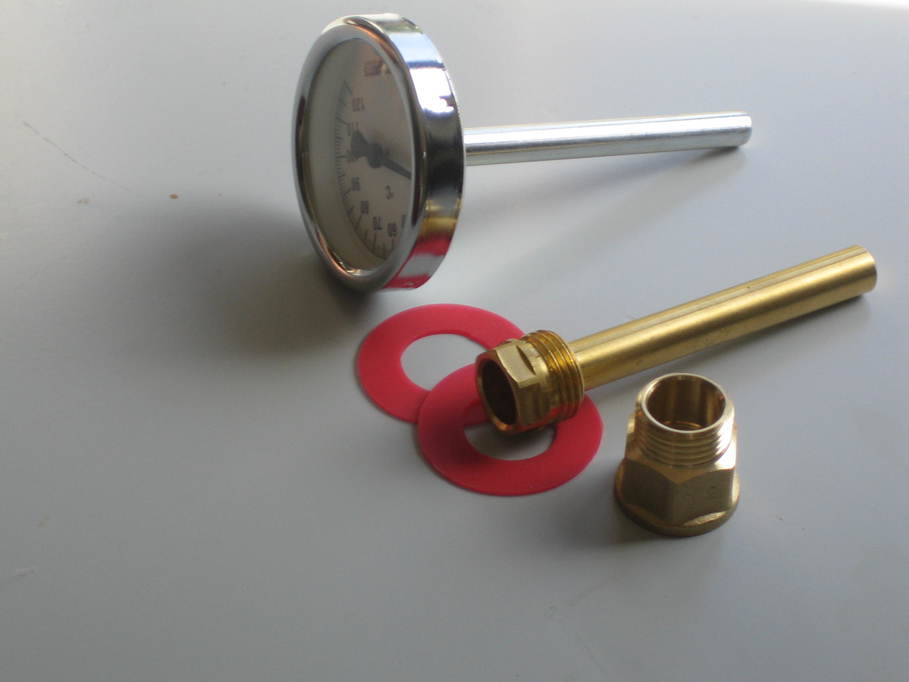
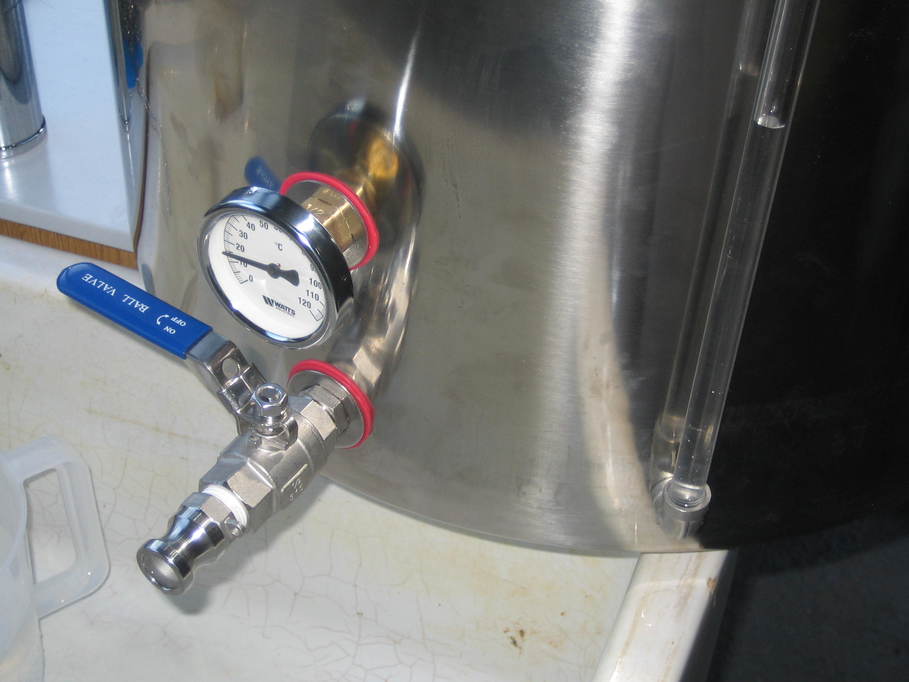
The holes for the other fittings were also made in the same way. I had a thermometer housing:
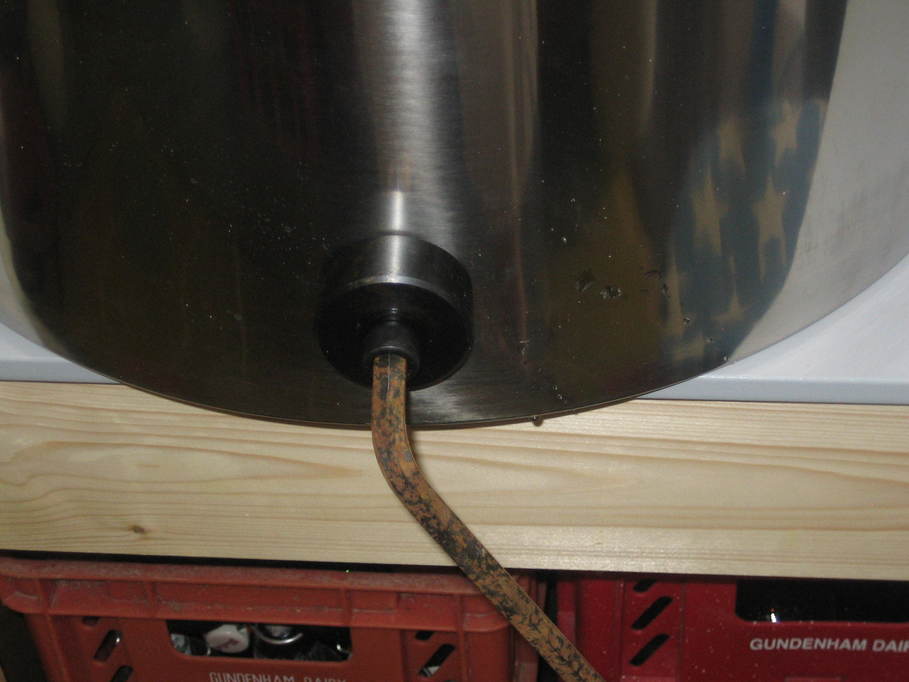
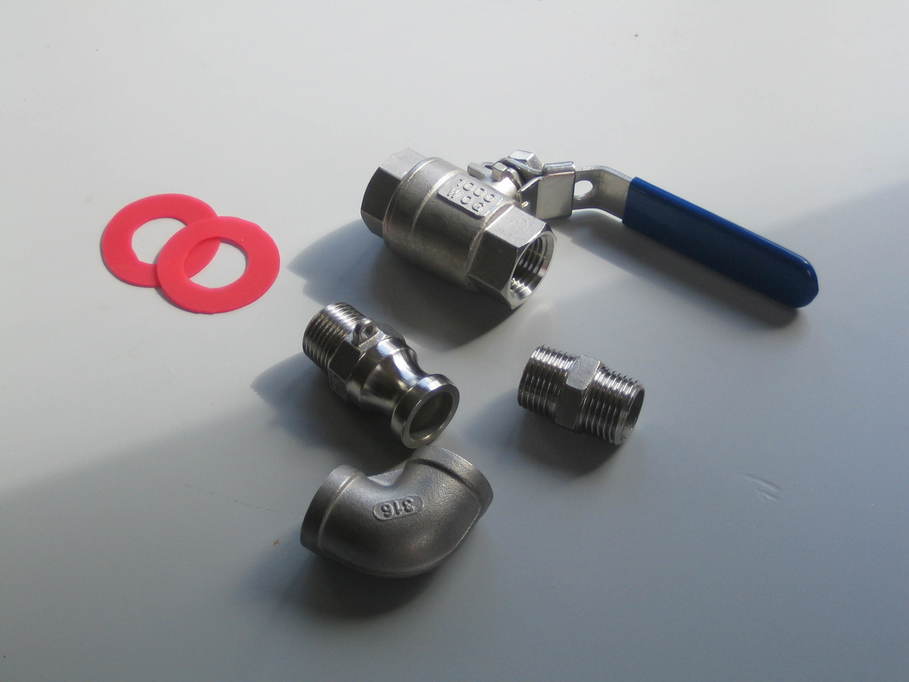
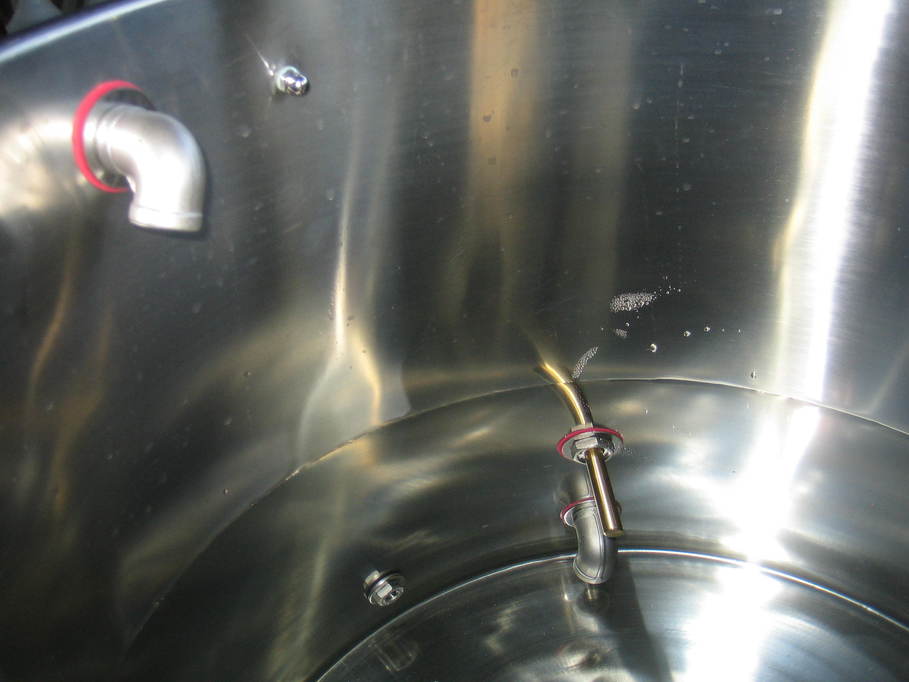
The tap (with an elbow on the inside so the tap actually draws from very close to the bottom of the pot):
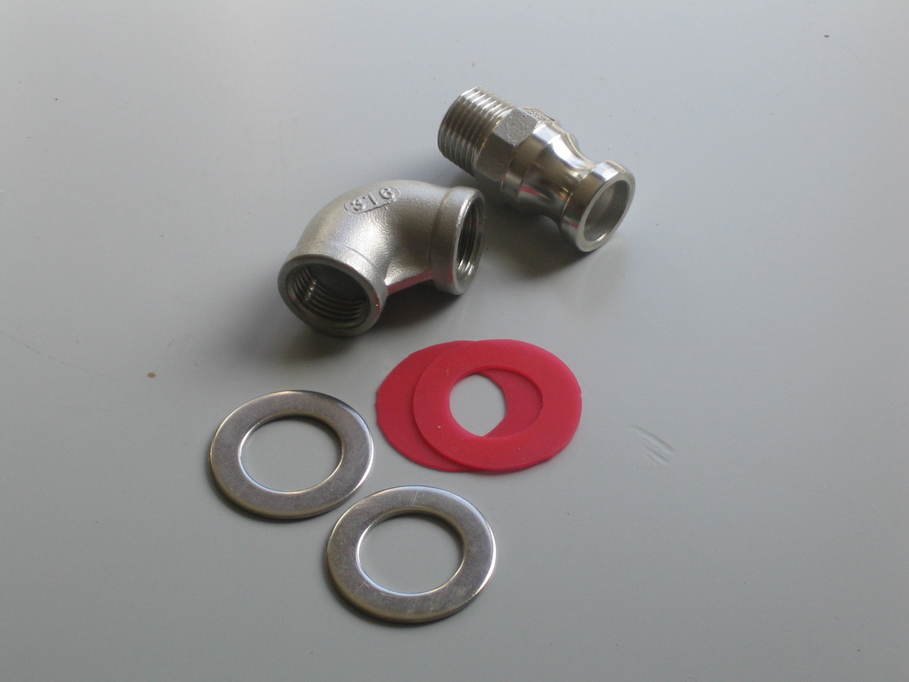
The water inlet:
And the sight tube:
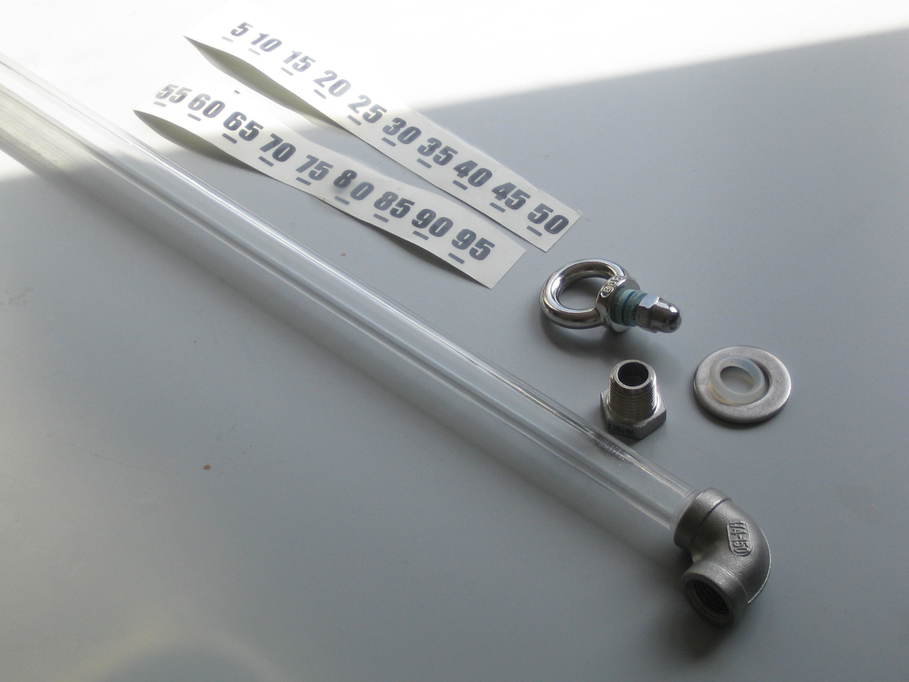
(The red seals for the fittings were cut from a silicone baking sheet, using a compass cutter sold by craft shops for cutting discs from cardboard and paper.)
It took a little while, but eventually I had all the holes cut.
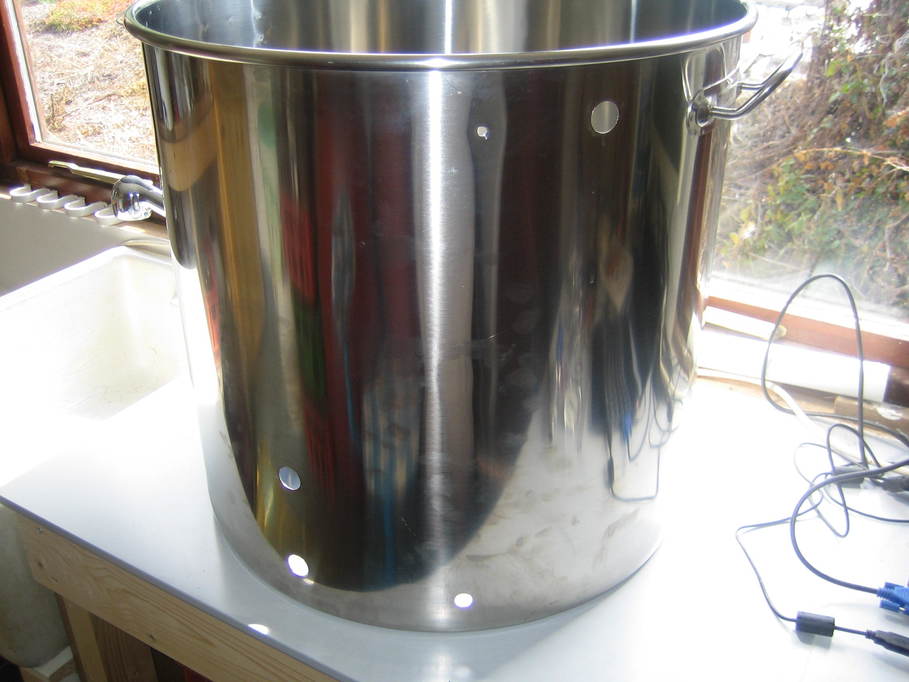
That was all the hard work over, really. From there it was just a case of fitting the parts and nipping up the threads.
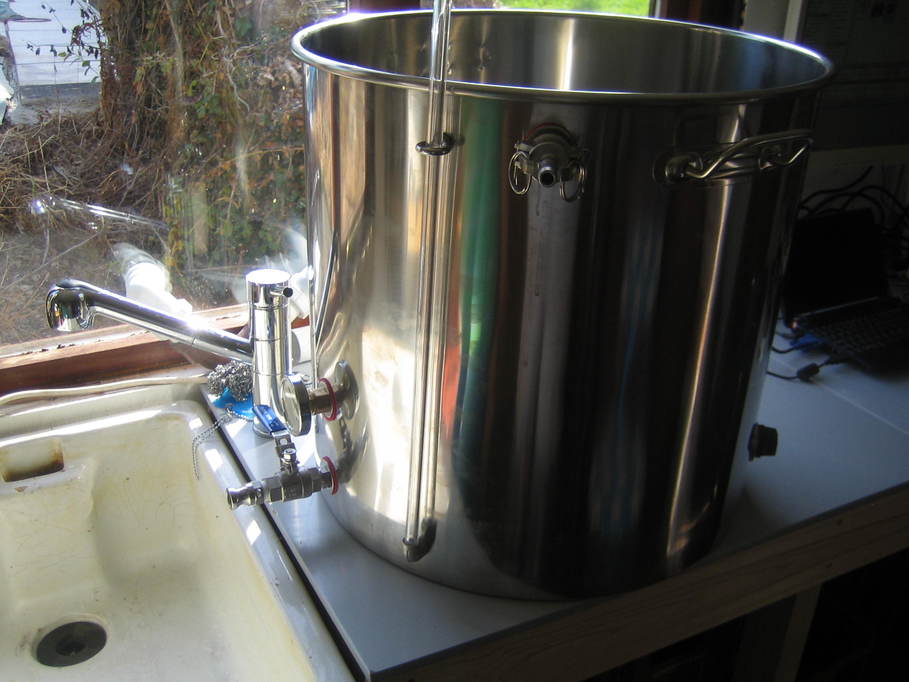
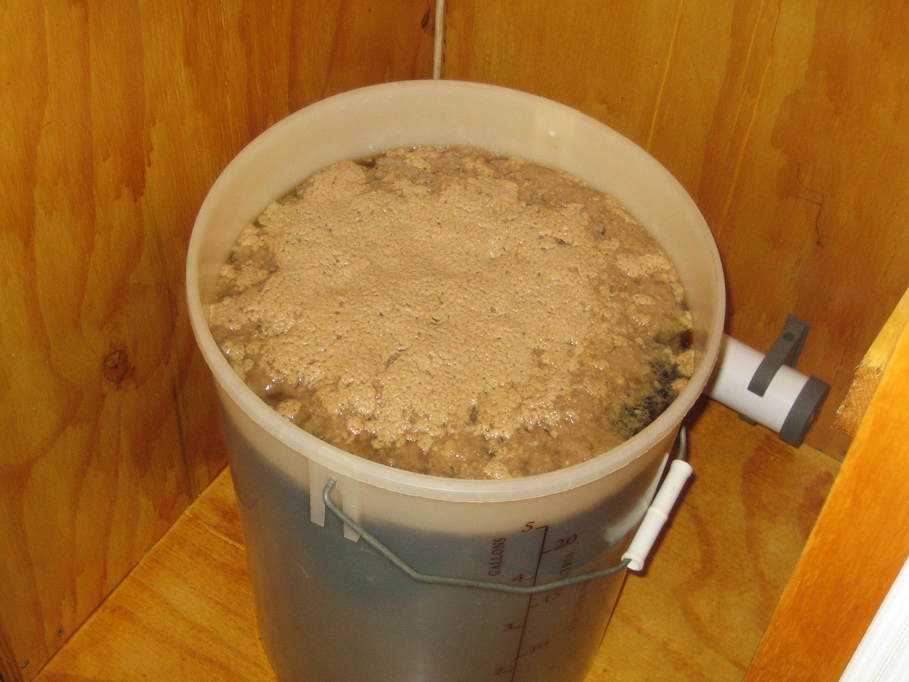
That done I poured in water so it was above all of the holes to check for leaks:
The boiler conversion was in fact pretty much the same. There’s no upper inlet or thermometer and there are two heater elements, but really that’s the only thing that is different.