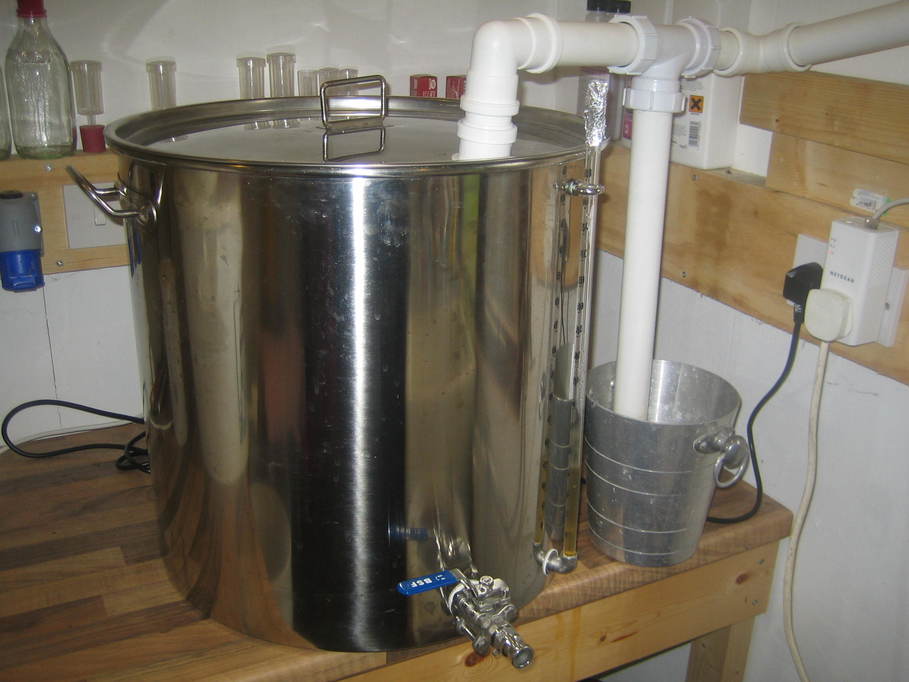
My new stainless mash tun is made from an insulated stock pot, the tricky bit being to fit a tap to allow it to be drained. I opted to go for a tap fitted to the bottom of the pot using a stainless deck fitting.
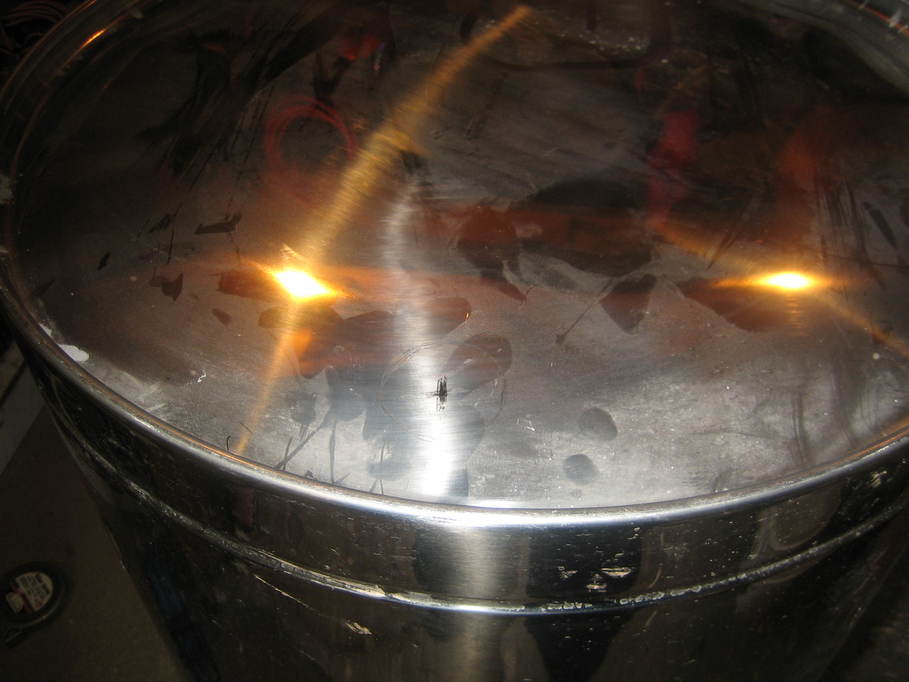
The initial plan was to drill out a section of the bottom of the pot and remove the insulation. You can see the planned hole here:
Turns out that none of my hole saws would entertain cutting stainless steel, so I had to break out the Dremel and start cutting a “flap” out instead.
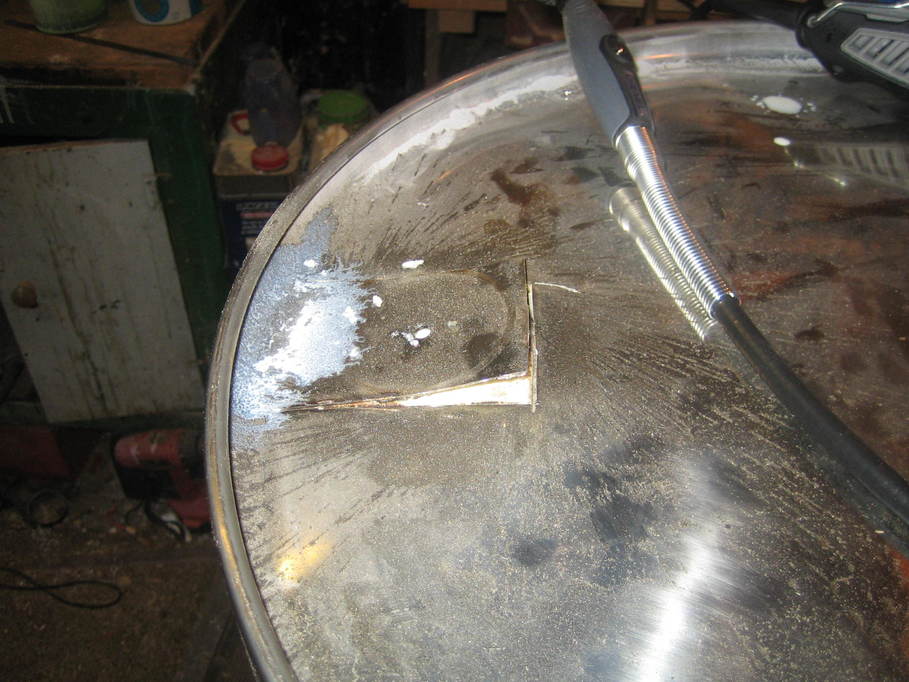
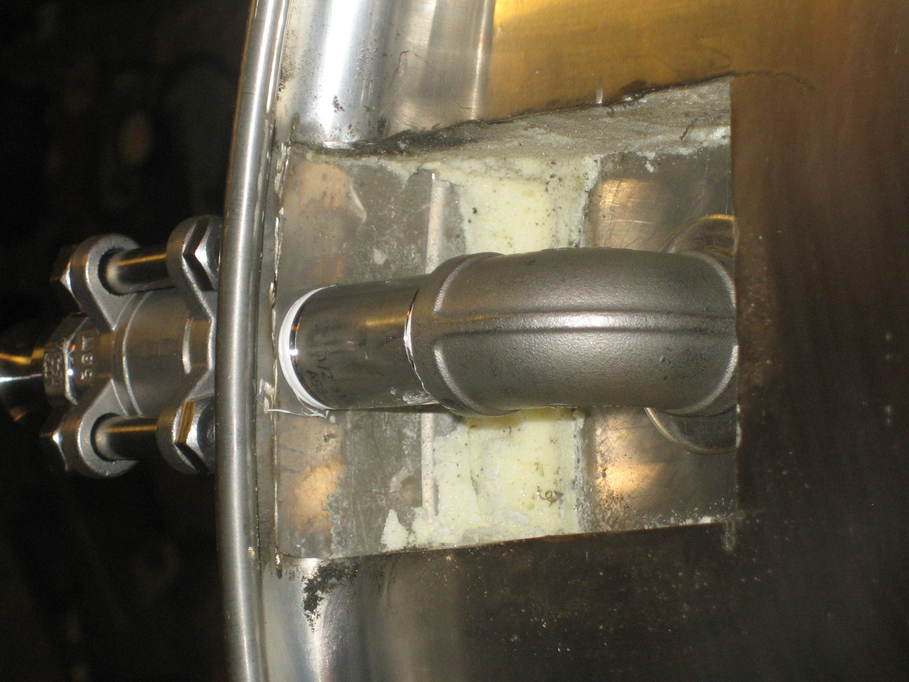
Cutting around the inside of the rolled lip of the base of the pot allowed me to remove the flap and scrape out the insulation.
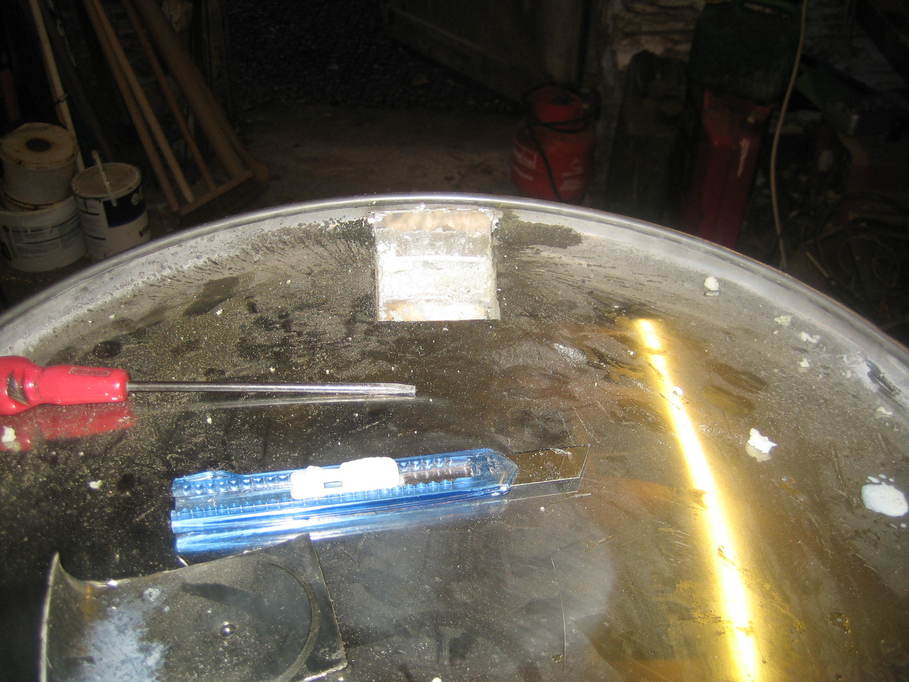
After which it was time to play with the Q-Max cutters again to make the hole in the inside of the pot where the deck fitting was to go
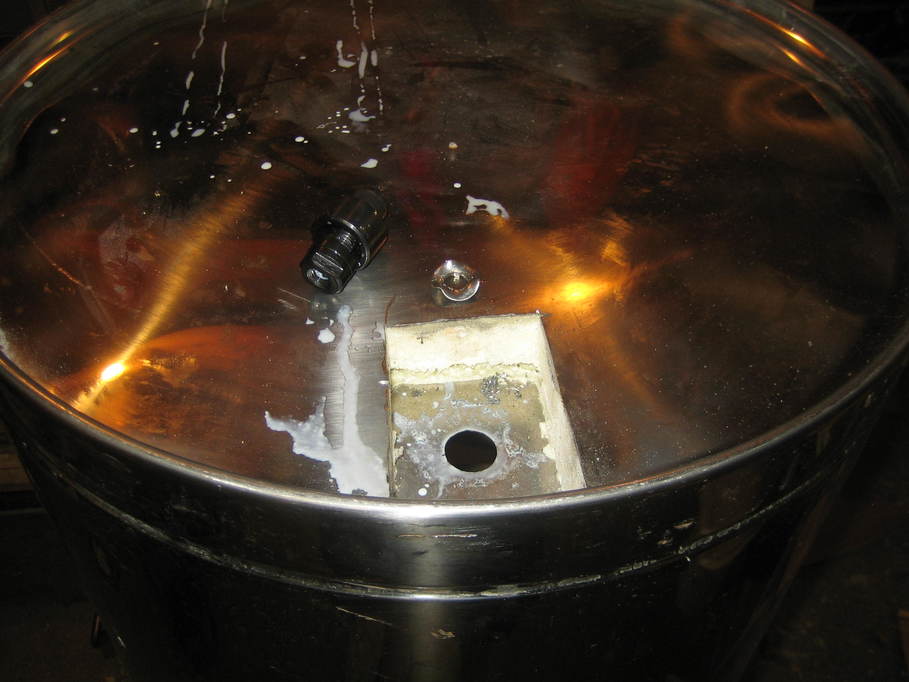
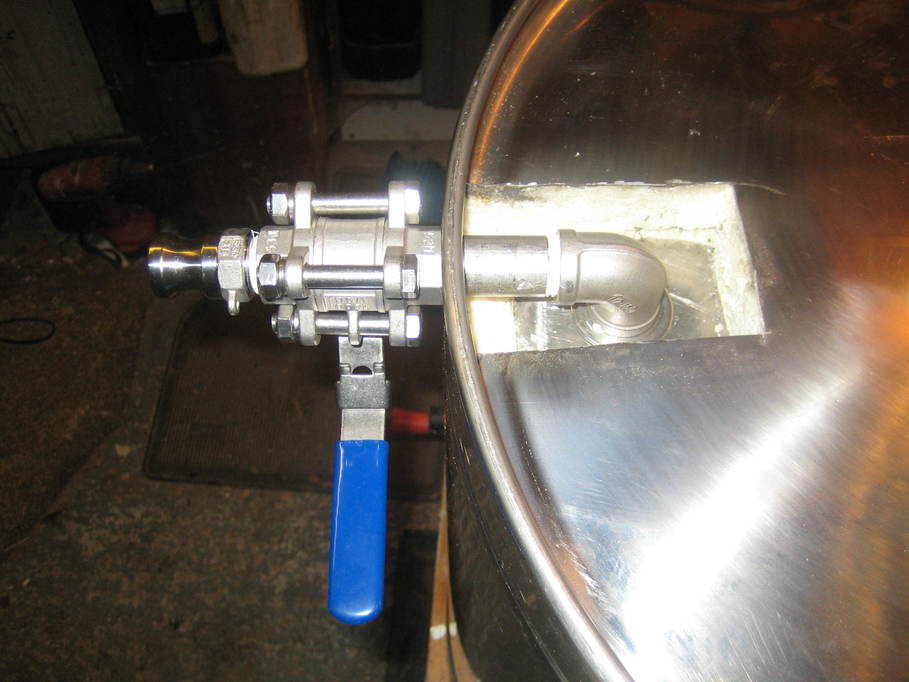
And a second one out of the side to allow the tap to pass through, meaning the pot can still stand on its own base rather than needing to be lifted up to make room for the tap underneath.
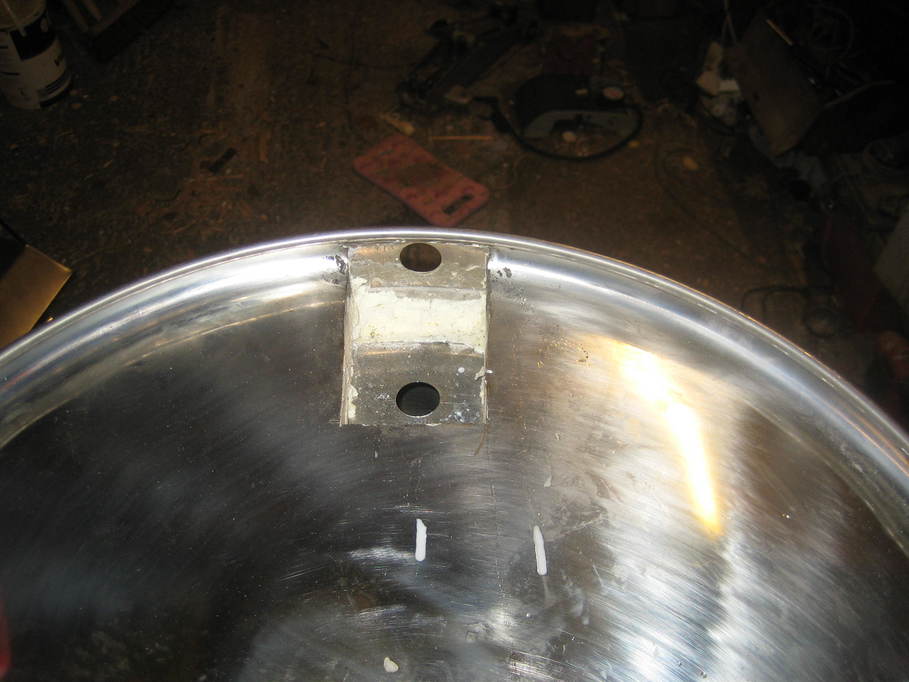
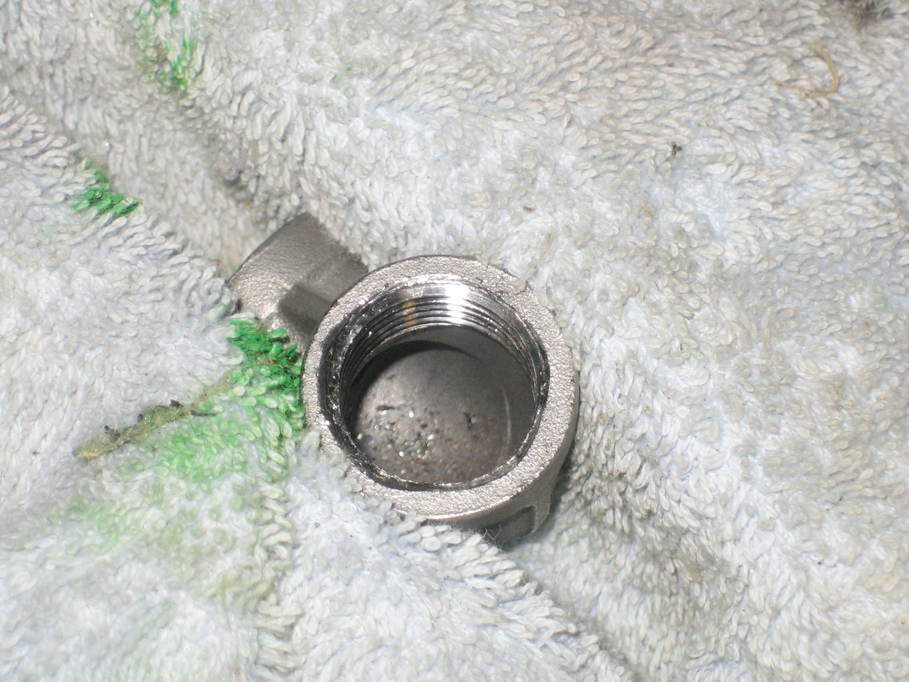
The fittings were arranged such that the deck fitting screwed into an elbow beneath the base with a stainless washer between the base and the elbow. A straight section of pipe led from the elbow through the hole in the rim and the tap was to go on the outside. The deck fitting wasn’t a very good fit for the elbow even after trimming the length of the thread down a little. It left plenty of swarf when I tested it:
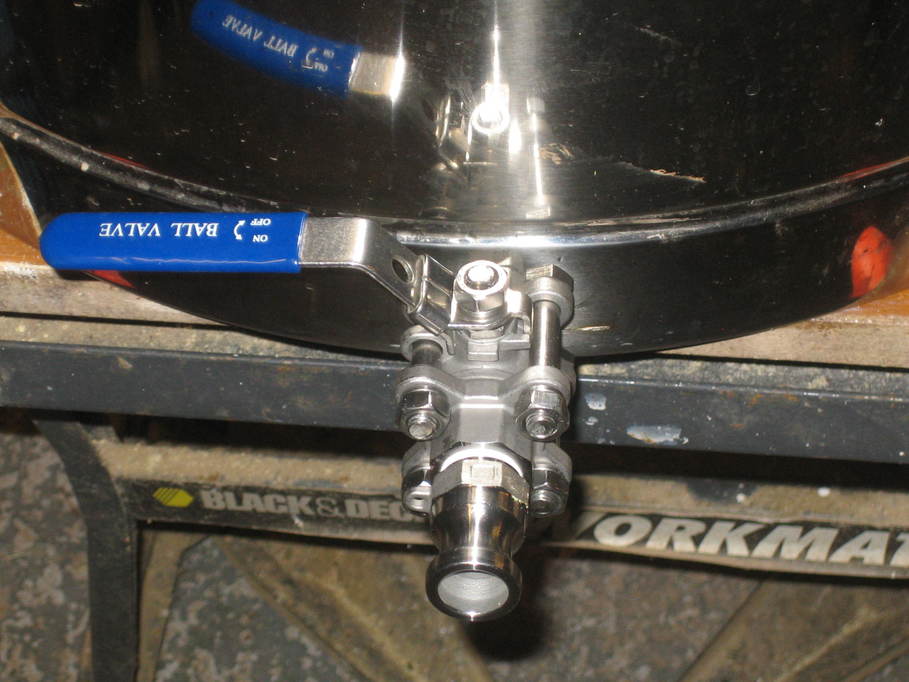
But it all went together eventually…
For filtering the wort from the grain bed I cheated and bought a ready-made perforated stainless sheet fitted with bolts and acorn nuts to lift it above the base. I’ll try to remember to take a photo of that when I can.
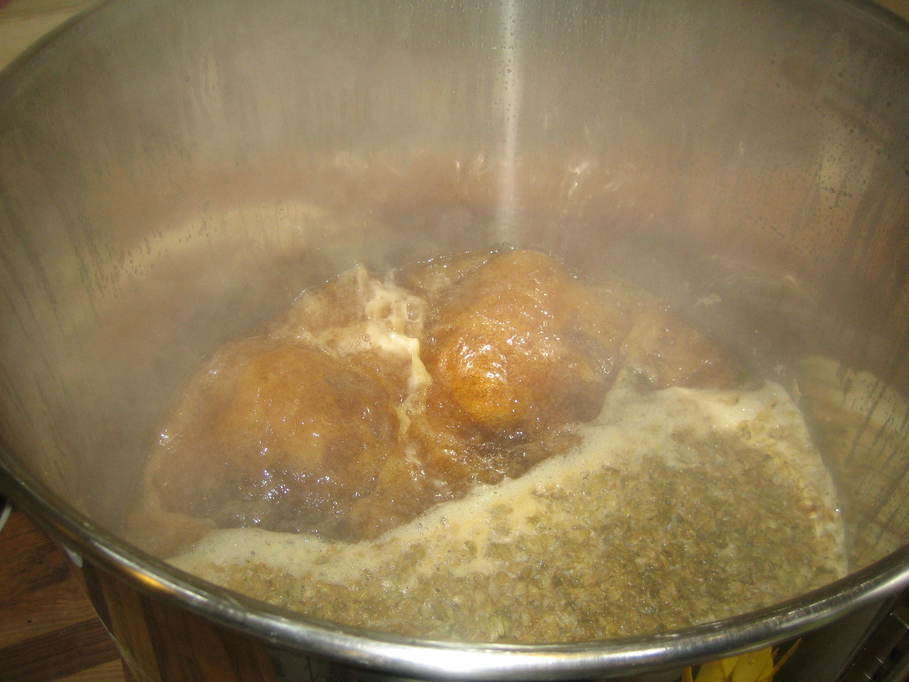
All that done, it just needed a clean to be ready for the first brew.