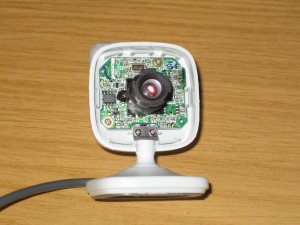
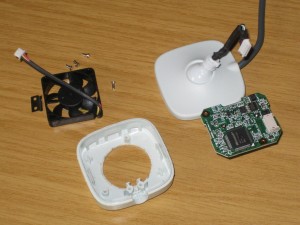
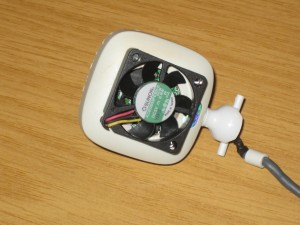
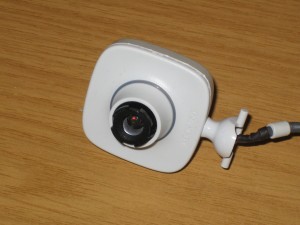
I modded a second Xbox Live camera to add a fan today and this time took photos, so here’s how it’s done. This one is slightly different from the first in that I’ve not chopped down the lens housing to fit a nosepiece yet. I also routed the cables for the fan slightly differently because I had problems with a screw head fouling the PCB USB connector. The fan is a 30mm 5VDC fan that I picked up from ebay for very little beer money.
Anyhow, I’ve assumed you can get the front shell off the camera. I’d write instructions on how to do that if I could remember how myself. I think you have to unscrew the lens as far as possible, pry off the front shell and then unscrew the lens completely as there’s a retaining lug inside the lens housing that stops the lens coming out first.
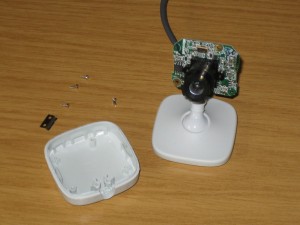
That sorted, you first need to remove all four screws visible here. Pay attention to the orientation of the post that carries the USB cable up from the camera foot. The camera won’t go back together properly if it’s replaced the wrong way around:
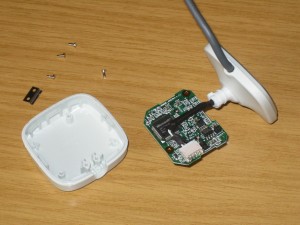
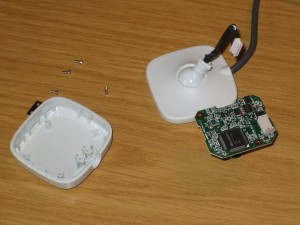
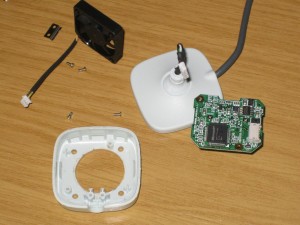
That allows the rear shell to be removed completely. Here are both front and rear views of the removed PCB:
It’s a convenient time to remove the USB plug. You can probably get by without removing this at all if you want, but it just makes life easier not to have the cable trailing about all of the time. The plug can be gently wiggled out of the socket with a small screwdriver. Just be careful not to slip and gouge a big piece out of the PCB:
The next step is to cut the hole in the back for the vent. Lots of small holes would probably work here, but I preferred to make one large one. The important thing is not to damage either the posts that hold the screws retaining the PCB or the posts that support the PCB at the corners without screws. Because it allowed me to place the hole much more predictably, I used a 25mm Forstner bit to cut the hole:
With the main hole done, the holes for the screws to retain the fan need to be cut. The fan has holes in three corners, the wires all meeting at the fourth. I held the fan against the back of the shell, marked the three holes and then rotated the fan ninety degrees, re-aligning the holes to mark the fourth for the cables. Again, care needs to be taken to position the holes where the posts will not be damaged. It doesn’t show too well in any of the photos, but there’s also a slight indentation inside the shell in the top right corner to give a bit more room for the USB socket. You don’t want to be bringing cables through there either.
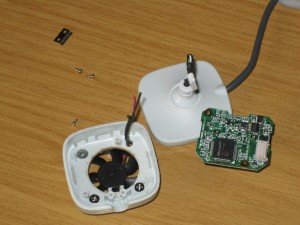
I cut the connector off the fan wires, opened up the heatshrink sleeving a little and trimmed the yellow cable (the fan speed speed sensor on this fan) back, then fed the wires through and screwed the fan housing down. You can just see that I had to trim back the post on the top left a little to make room for the screw head. Don’t do the screws up so tight that the fan blades foul the shell. You can check at this point by just blowing through the fan.
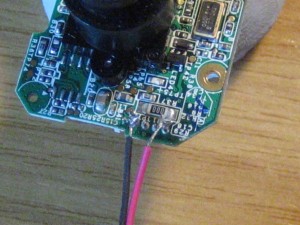
Now strip back and tin the fan leads and solder them to the USB socket pins. This image doesn’t show it too well, but the red 5V fan lead is connected to the rightmost (or top) pin on the camera sensor side of the PCB, and the black ground lead is soldered to the fourth pin (there are five altogether):
At this point I decided I might as well remove the base, but I’ll cover that separately. Before reassembling everything it makes sense to plug the USB connector back in and test everything. Of course it will work first time and it’s just a matter of routing the leads where they’re out of the way, re-seating the PCB (make sure you get it sitting square on the pins supporting the corners without screws) and screwing everything back together before replacing the front half of the shell. I routed the fan leads around the corner of the PCB and looped across the top of the front of the PCB. Unfortunately the “spring” in the leads meant I couldn’t really get a useful shot of that.
But, in true Blue Peter fashion, here’s one I made earlier:

