When life gives you lemons, make lemonade

But when it gives you apples, make cider…

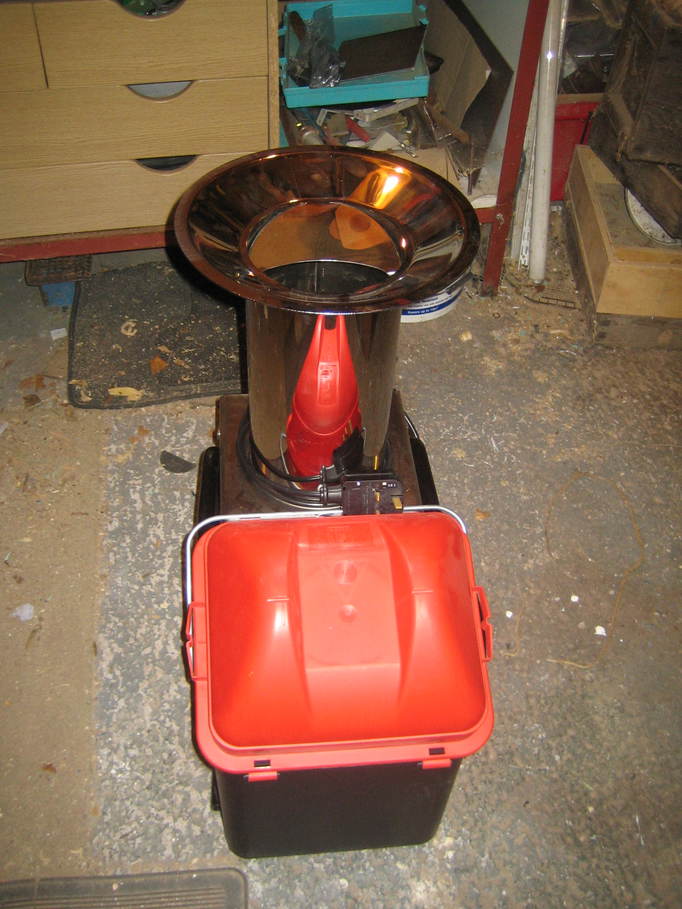
And to that ends I’ve just taken delivery of a new apple “scratter” for pulping apples before pressing them to extract the juice.  I used to use a manual crusher, but it’s a slow process when you want to try to press a large volume of apples and something of a slog to do by oneself, hence the move to automation.  It’s really not much more than a standard garden shredder with some of the parts replaced by stainless steel, as iron and steel will react with apple juice and turn it black.

apple-mill

Posted in Cider-making, Smallholding | Tagged | Leave a comment

Coronado PST eyepiece holder disassembly

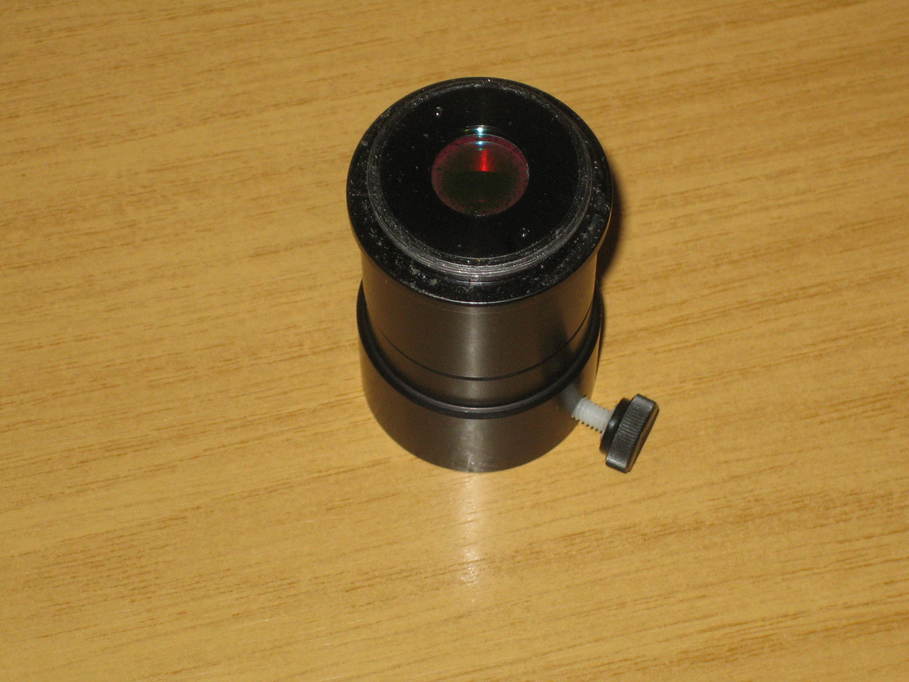
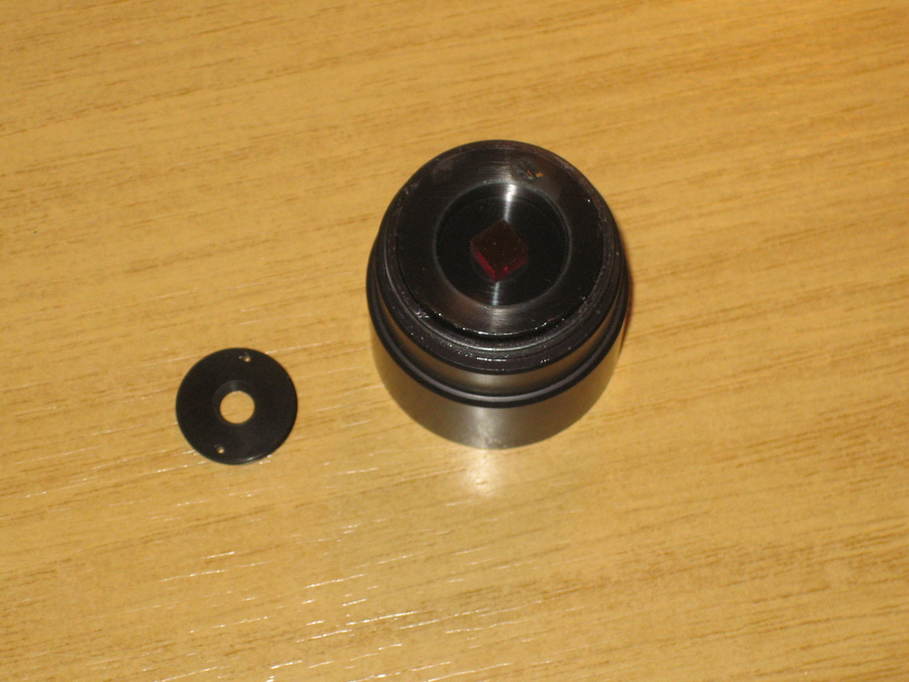
Following on from my thoughts that I might have to move the blocking filter on my modded PST closer to the camera sensor, I decided to take it apart to see what I might be dealing with.  Though I’ve got rid of the “black box” on mine, the holder is still exactly as it came off:

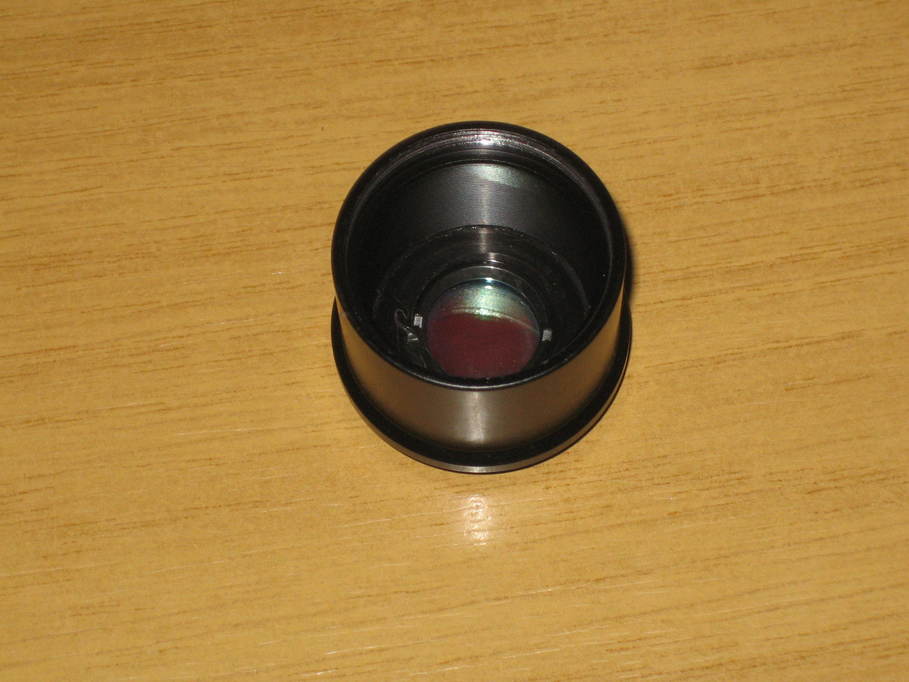
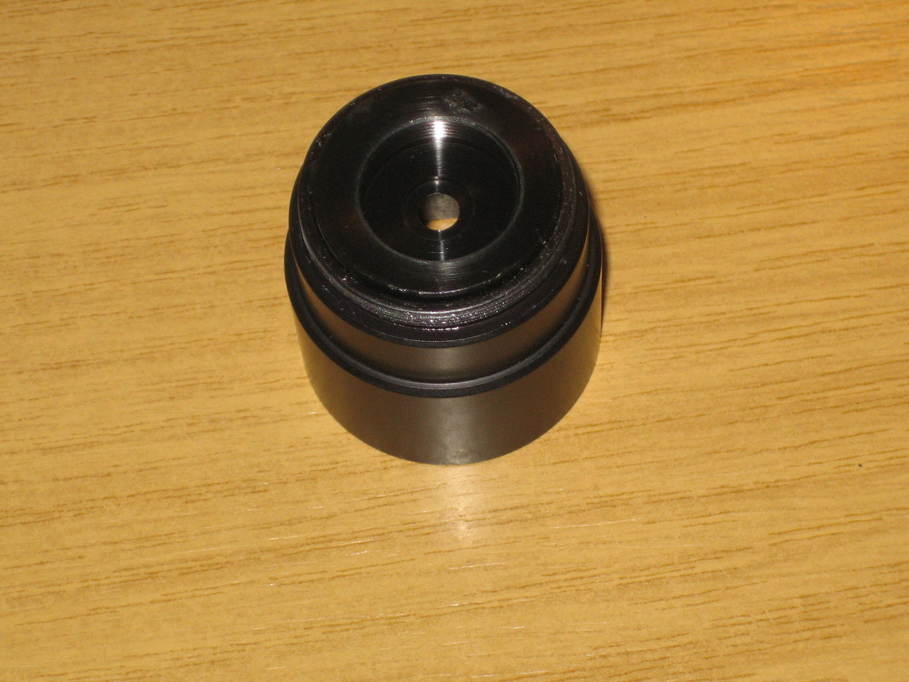
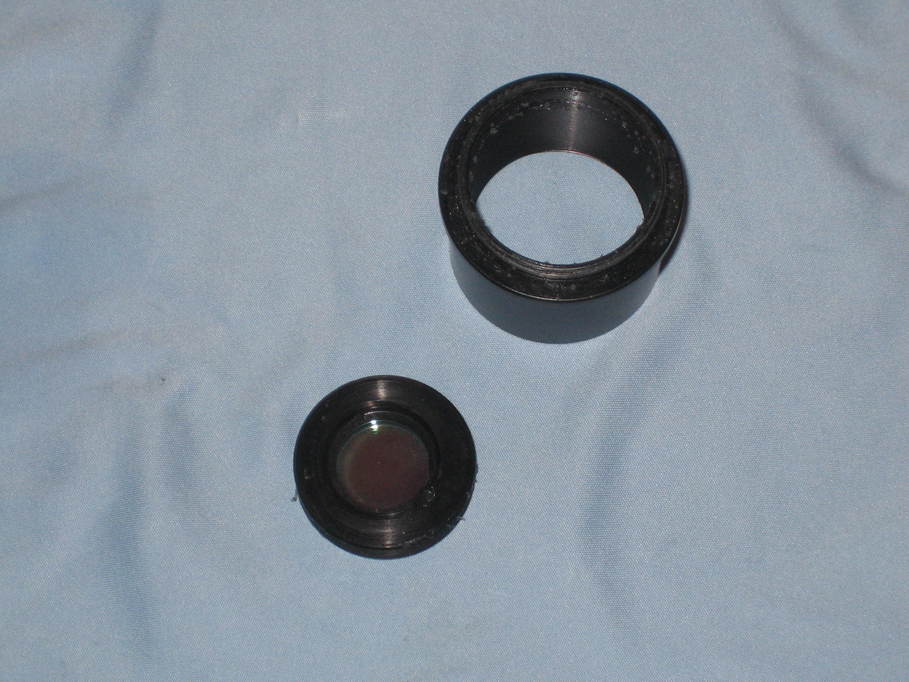
pst-eph-01First step was to split the barrel into its two component parts.  Easier said than done.  Everything is welded together with thread-lock and it just didn’t want to budge.  By coincidence I had some large soft rubber tree ties arrive this afternoon and by wrapping one around each half of the barrel I was eventually able to get them to turn without having to resort to tools.  This is the inside of the bottom half.  Despite the fact that it cannot have been apart since it was assembled at Meade’s factory, the inner face of the ITF was disgustingly dusty.  So bad, in fact, that I think it’s quite clear even in this photo.

pst-eph-02


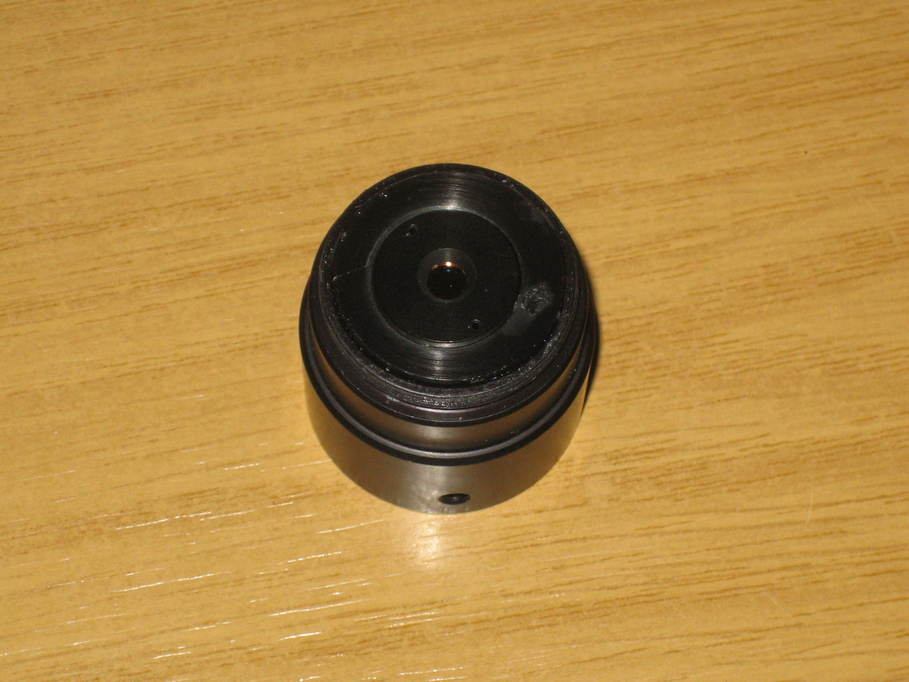
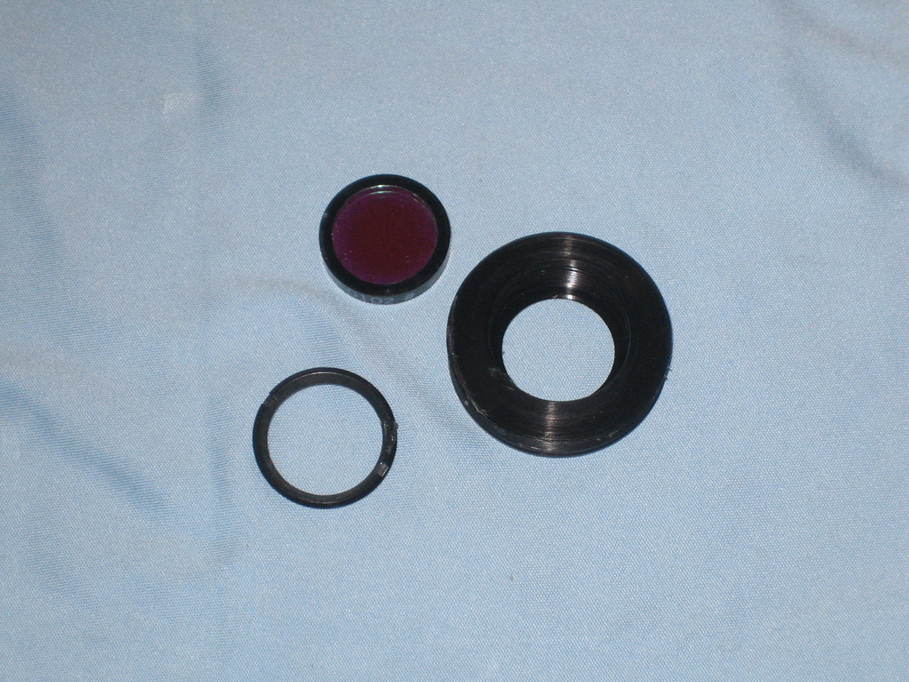
And the top half, with the retaining ring for the BF5 blocking filter visible:

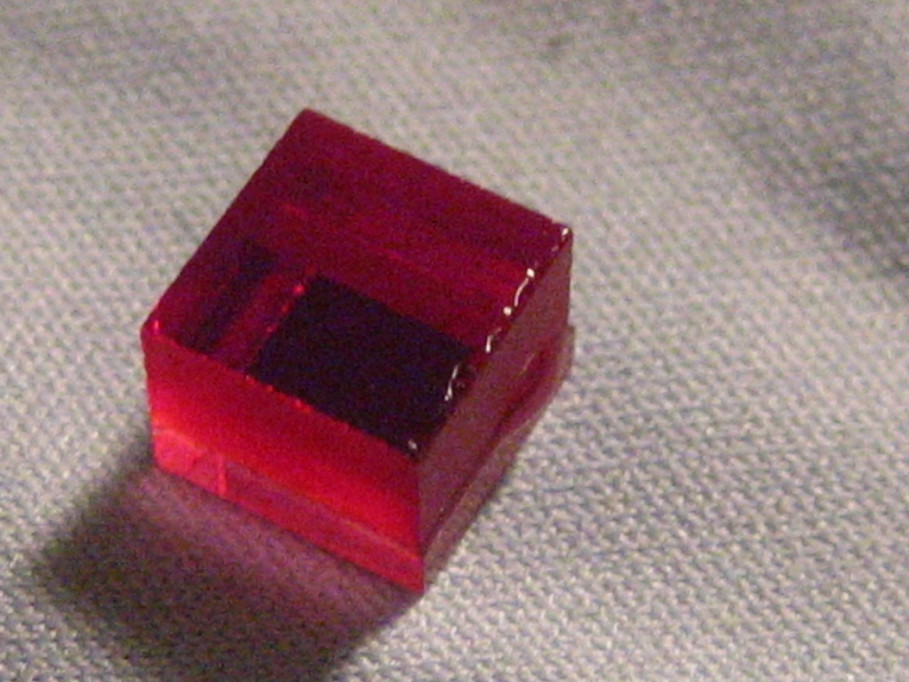
pst-eph-03I unscrewed the retaining ring to find that the filter is actually a block of material rather than a sheet as I was expecting:

pst-eph-04It’s loose, just sitting in a slight circular depression inside the body:

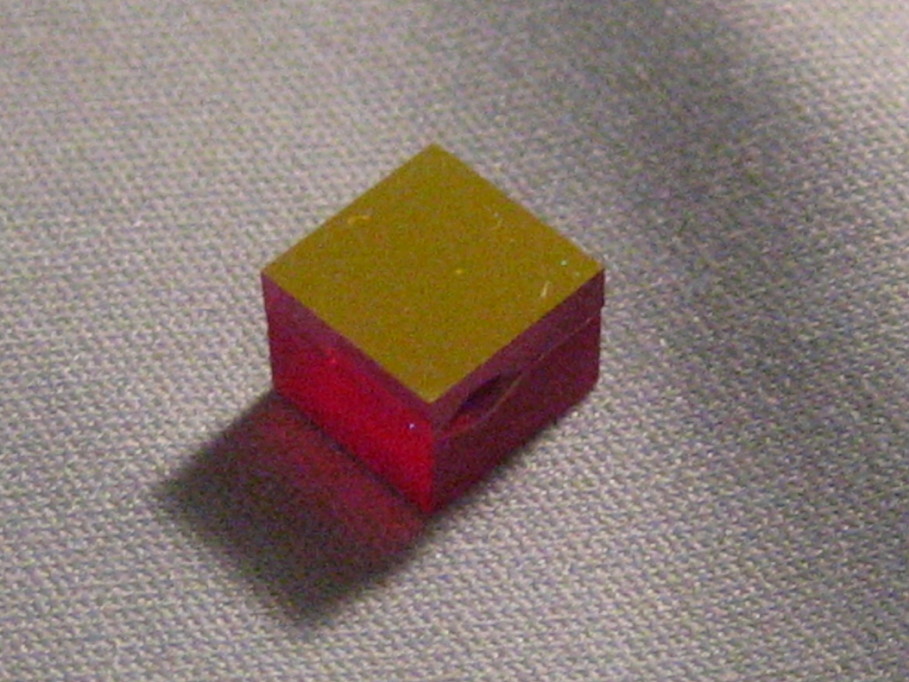
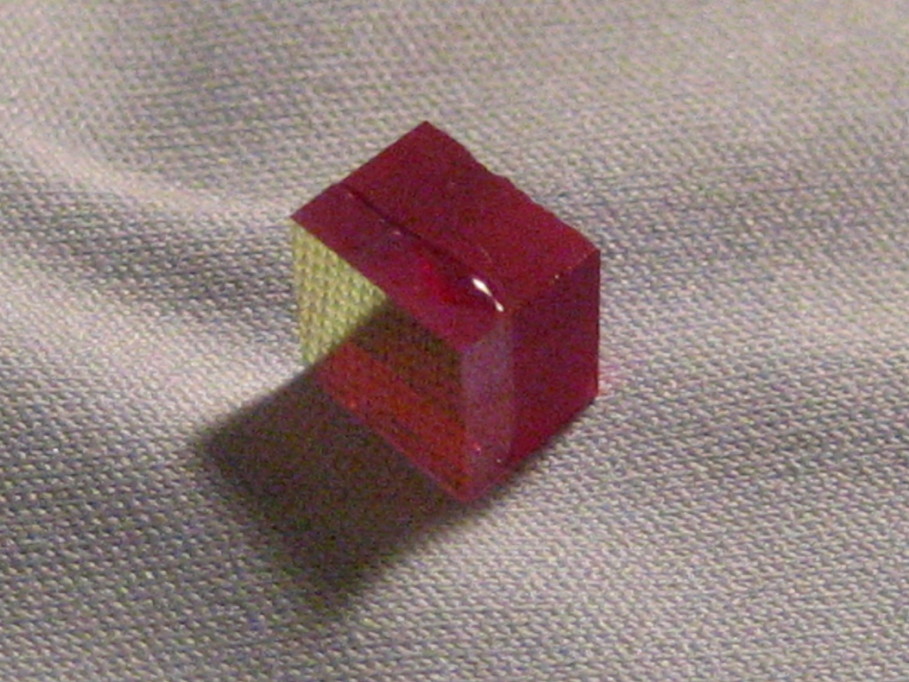
pst-eph-05Apologies for the quality of these next few pictures.  I forgot how poor the digital macro is on the camera I was using.  These show three views of the blocking filter.  You can see how raw the back (camera side, rather than objective side) edges of the filter are 🙁

pst-eph-06 pst-eph-07 pst-eph-08There were some large dust particles on the gold face of the filter, too.  I took the opportunity to clean the faces, but I think perhaps it’s partially scratched (again, how?  It’s never been opened since it left the factory).

It seemed to make sense to have a go at cleaning the ITF too, so I unscrewed the ITF body from the bottom section of the eyepiece holder:

pst-eph-09It’s threaded, but also held in with some nasty rubbery adhesive as well.  The “inside” of the ITF unit has a retaining ring in, so I also removed that and dropped out the ITF itself:

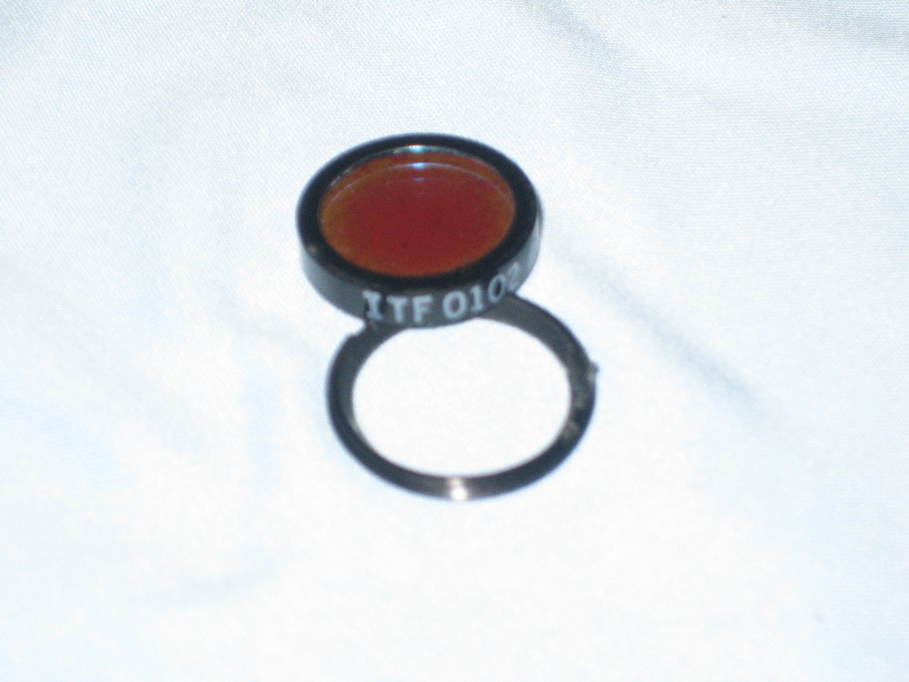
pst-eph-10Another poor photo, but there’s some writing on the side:

pst-eph-11The ITF is “outside up” in this photo.  The upper face goes towards the objective.  I gave the ITF a light clean with a microfibre cloth and left things there.

I estimate that the blocking filter is about 4mm thick.  I measured across the sides with vernier calipers and they were 6mm, but I wasn’t going to touch either optical face.  Allowing 2mm for the retaining ring and another 2mm for the housing, that doesn’t leave me with much to play with if I want to have the filter no more than 11.1mm from the sensor to avoid vignetting.  I’m going to have to give this a fair bit of thought, I think.  Worth it, given that the alternative is probably $500-worth of BF-10 diagonal 🙁


Posted in Astro Equipment, Astronomy | Tagged | 2 Comments

Another possible PST mod

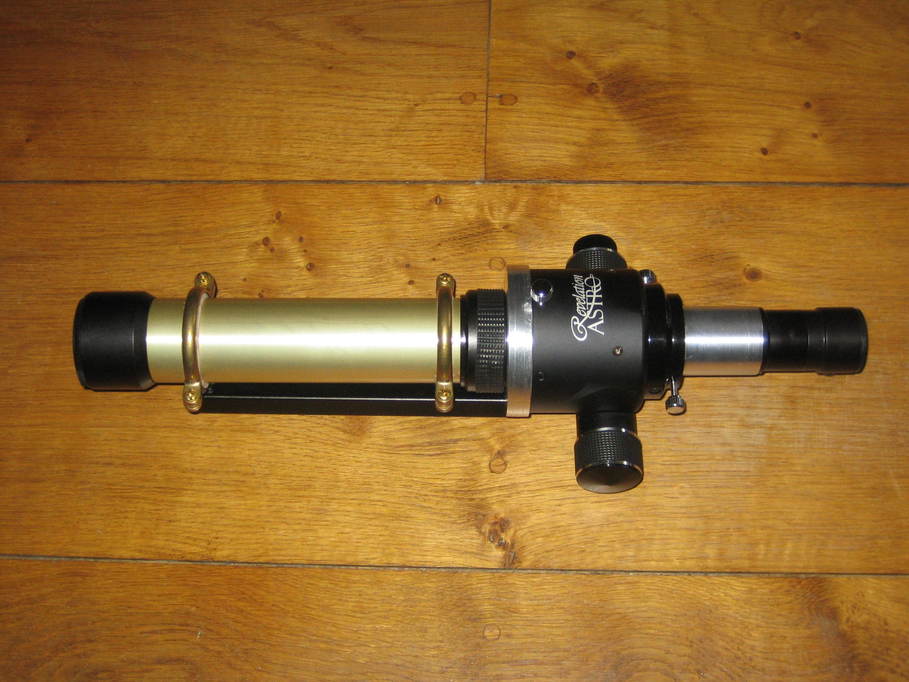
My PST has been repeatedly modded and now looks like this:

adaptor-fitted

(though now with the addition of a motor to the focuser.)

I have been pondering of late however on the amount of vignetting that occurs when imaging and what might be done about it.

Looking up the maximum angular diameter of the Sun, I calculate that the maximum size of the solar disc on the camera sensor with this scope as about 3.8mm.  Say 4mm to allow for proms.  The BF5 blocking filter is about 45mm in front of the camera sensor in the optical train.  I calculate that in order to achieve an image with no vignetting at that point, the actual diameter of the filter would need to be about 8.05mm.

So, I’m thinking about possibly taking the eyepiece holder apart and making up an adapter with an M42 (T2) external thread to fit a camera that can hold the lens very close to the camera sensor.  The lower section of the eyepiece holder with the mini-ERF would then have to fit to the front of that.  I’d also need to extend the optical train in front of the ERF by the same amount as I’d removed by placing the filter and ERF so close to the eyepiece.

My calculations suggest that a 5mm filter needs to be at most 11mm from the sensor to give a view without vignetting.  I’m told that it may also be possible to open the filter out to 6mm, in which case I can probably go to 22mm from the sensor.

First however I need to defeat all the threadlock that’s liberally splashed over the inside of the eyepiece holder so I can take it apart and get all the filters out.

Posted in Astro Equipment, Astronomy, Projects | Tagged | Leave a comment

FireWire/IIDC over USB camera support in oaCapture

I’ve had a cheap little Point Grey monochrome USB Firefly MV camera sitting about for some time. I don’t know if they’re still around, but they used to sell on ebay for not very much. Point Grey are one of the enlightened camera vendors who provide an SDK and plenty of examples of how to use their cameras, including on Linux.

What I realised shortly after starting to read through the documentation however was that the Firefly MV and the Chameleon USB cameras actually implement the IIDC protocol (basically the IEEE1394 protocol used for FireWire cameras) over USB. As there’s already a library for Linux implementing that protocol and supporting these cameras over USB, it seemed sensible to use it, particularly as the code would them port directly to OSX.

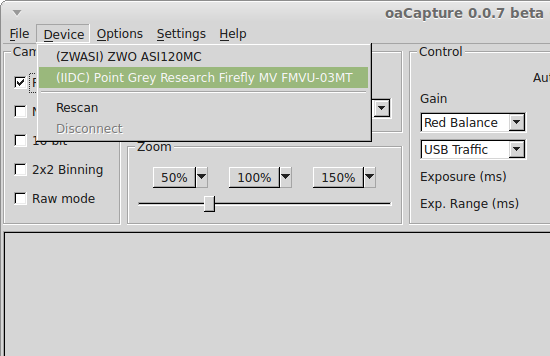
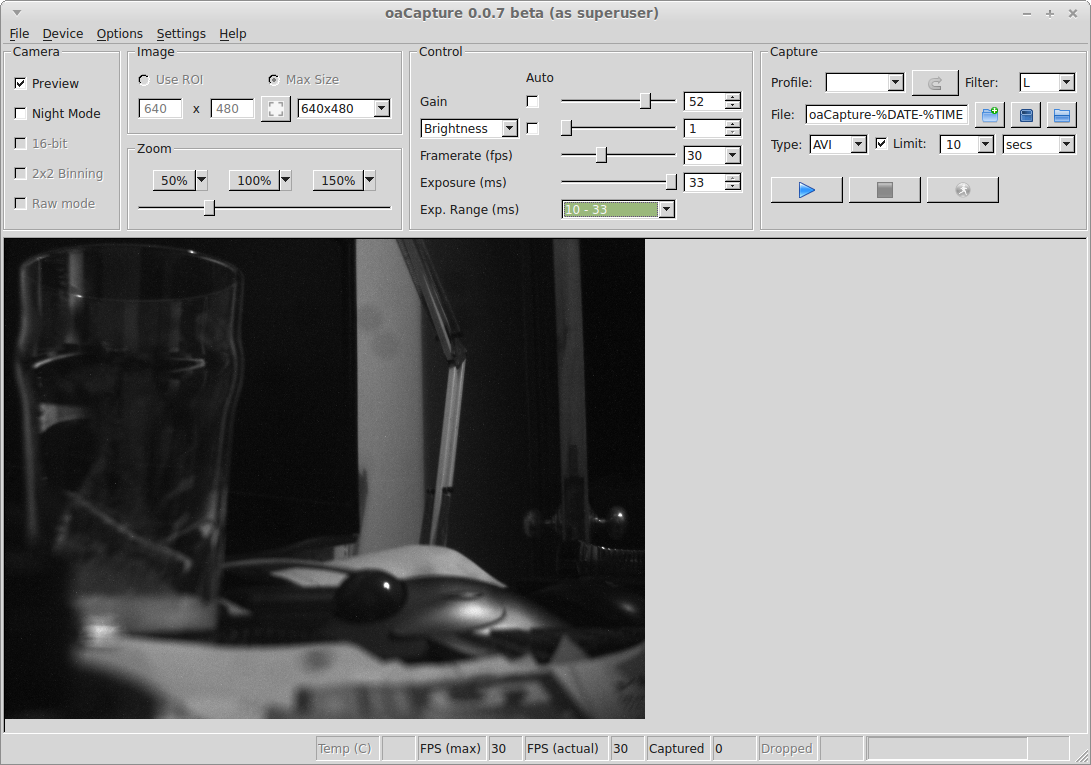
So, a little coding later and I now have support for these two Point Grey cameras in oacapture:

firefly

firefly

There are a couple of unexpected bonuses, too.

The Atik GP camera is in fact a Point Grey Chameleon in a different skin. A chameleon twice over, no less. I therefore believe that it should also work with oaCapture. In fact, there are quite a few USB cameras implementing the IIDC protocol from the likes of Basler, IDS, Imaging Source, Leopard, Lumenera, Point Grey and Ximea. These all stand a chance of working though the IEEE1394 library may need tweaking to recognise them.

The second bonus is that FireWire cameras may also work out of the box. I have absolutely nothing to test with in this instance though, so I really can’t be sure. I’m trying to find a cheap FireWire camera for that purpose.

Posted in Astro Equipment, Astronomy, Computing | Tagged , | Leave a comment

AZ3 mount saddle and counterweight mod

There are a couple of things about my AZ3 that I’ve never been happy with. The first is that it has fittings for scope rings rather than a saddle for a dovetail which is a pain if you want to swap between scopes (or put an OTA on that is awkward to fit rings to). The second is that the OTA doesn’t tend to stay where it’s put near the zenith. I decided to fix both of these issues by fitting an aftermarket saddle and a counterweight bar.

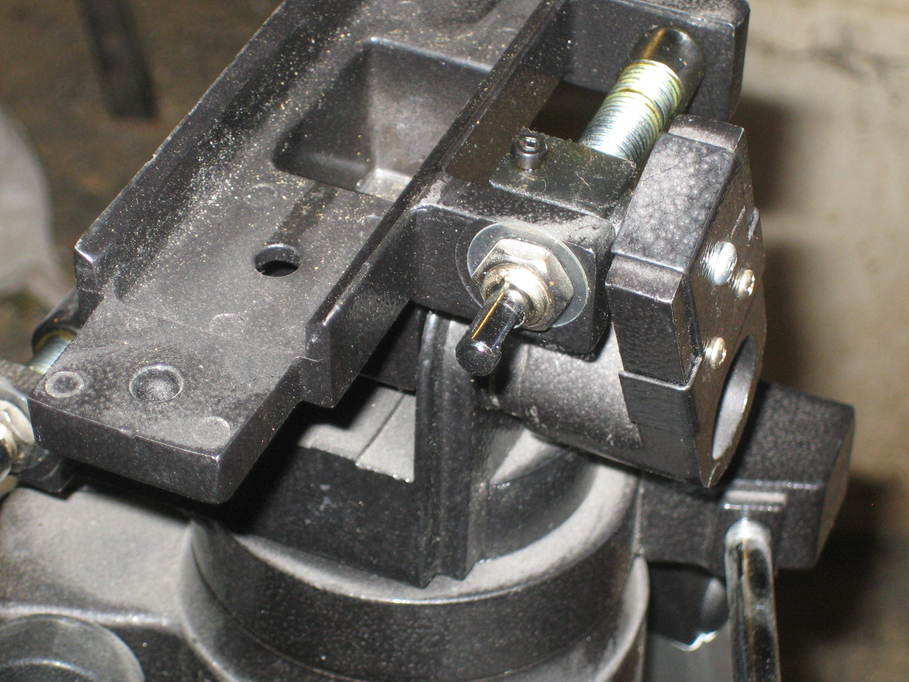
The counterweight bar came from Astroboot though I was tempted to use some 22mm stainless bar and probably would have done so had the easy option not presented itself. I bought a saddle from Sky’s the Limit and realised there was going to be a small problem fitting it in that the grub screw tensioning the alt movement was going to foul the bottom of the saddle:

az3-1

I undid the nut and threaded retainer for the worm, removed it and flipped the block the worm passes through over so the grub screw was underneath. It’s still reachable should I need to use it, but now out of the way of the saddle.

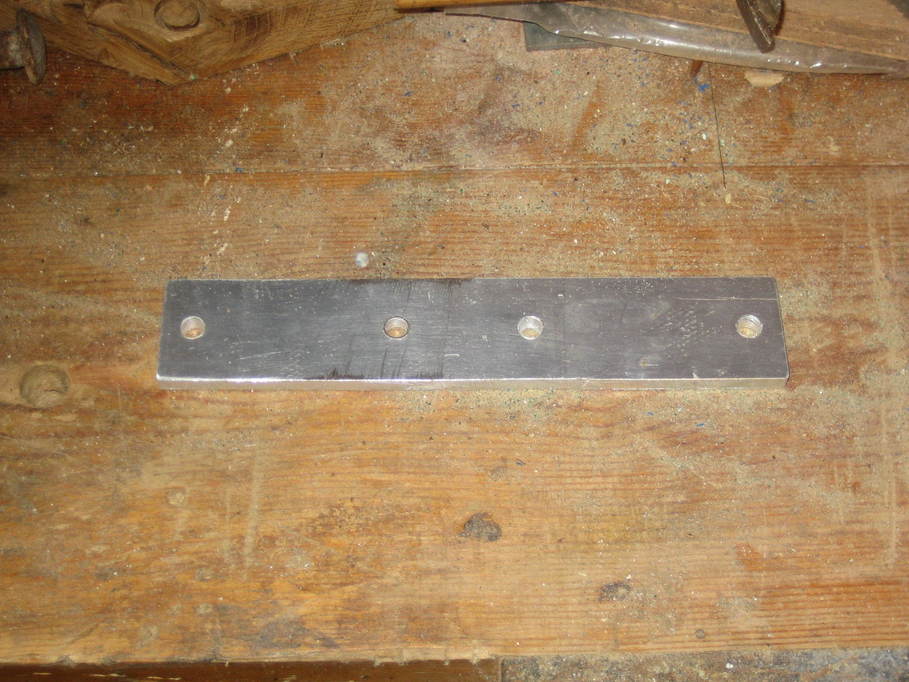
I then made up a piece of 5mm aluminium plate to fit down the centre of the top of the mount, drilled so it could be bolted on where the rings would normally go and for the saddle to be attached:

az3-2

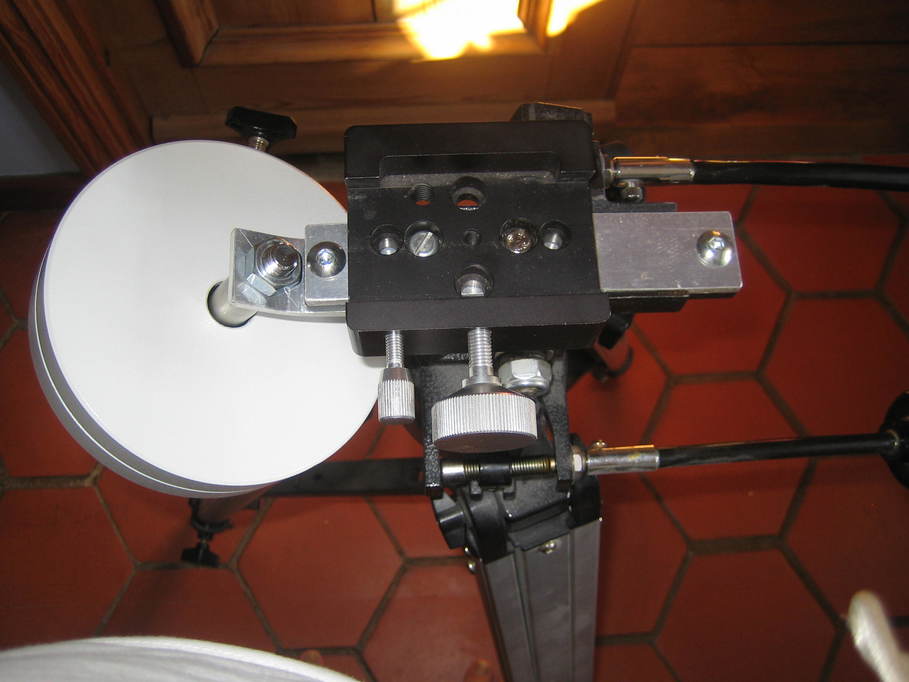
After I took this photo I actually put another hole in as it later allowed me to put one bolt through the saddle, retaining plate, mount and counterweight bracket all in one go.

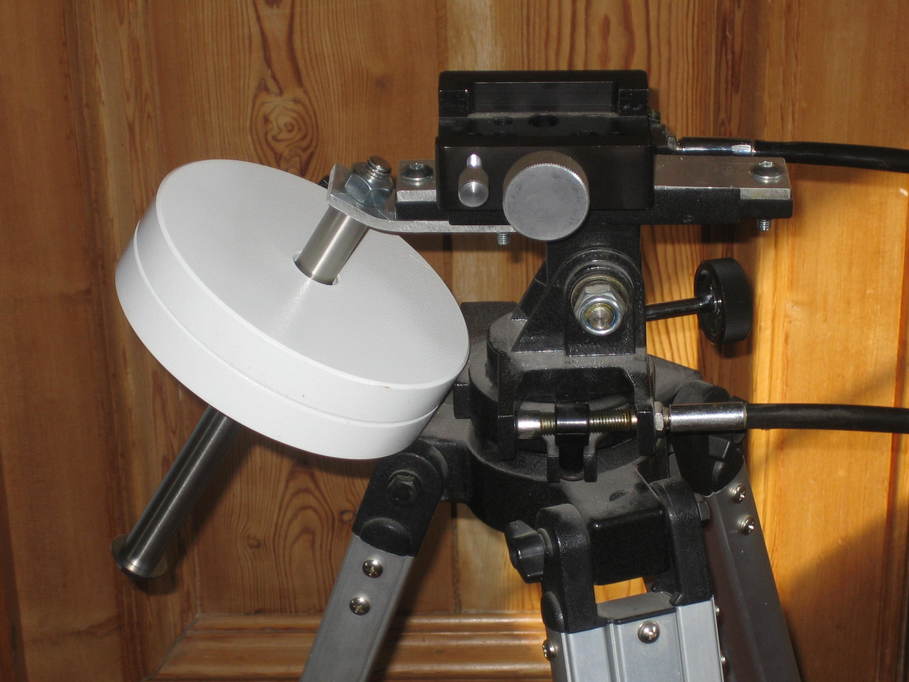
The counterweight bracket itself was similarly cut and drilled, bent slightly to push the counterweight bar out at an angle.

That was pretty much it, really. Then everything just needed bolting together:

az3-3

az3-4

The weight is a spare from my HEQ5. I could really do with something smaller, but for the photos this one was handy.

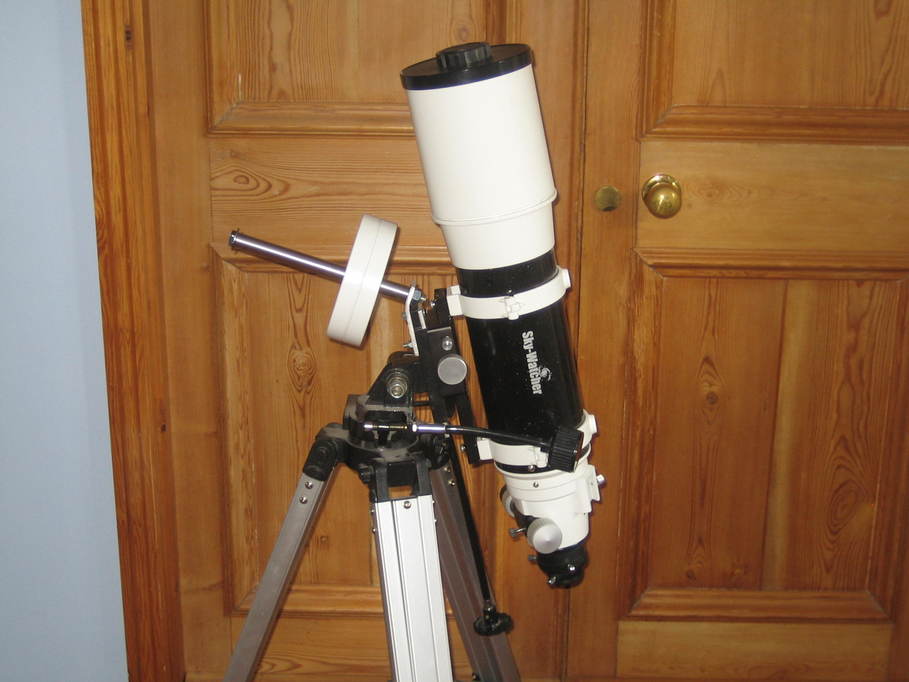
And here’s my ST120, riding at a rather jaunty angle…

az3-5

Posted in Astro Equipment, Astronomy, Projects | Tagged | Leave a comment

ASI120MM-S first impressions

The ASI120MM-S (and ASI120MC-S) are new versions of the ASI120MM (and ASI120MC) cameras from ZWO with a new USB3 interface rather than the USB2 interface in the original models. Mine arrived a few weeks ago though I’ve had no chance to actually try it out for real imaging yet, so these are my initial observations based on testing on my desk.

The camera arrives with pretty much the same kit that the USB2 model had:
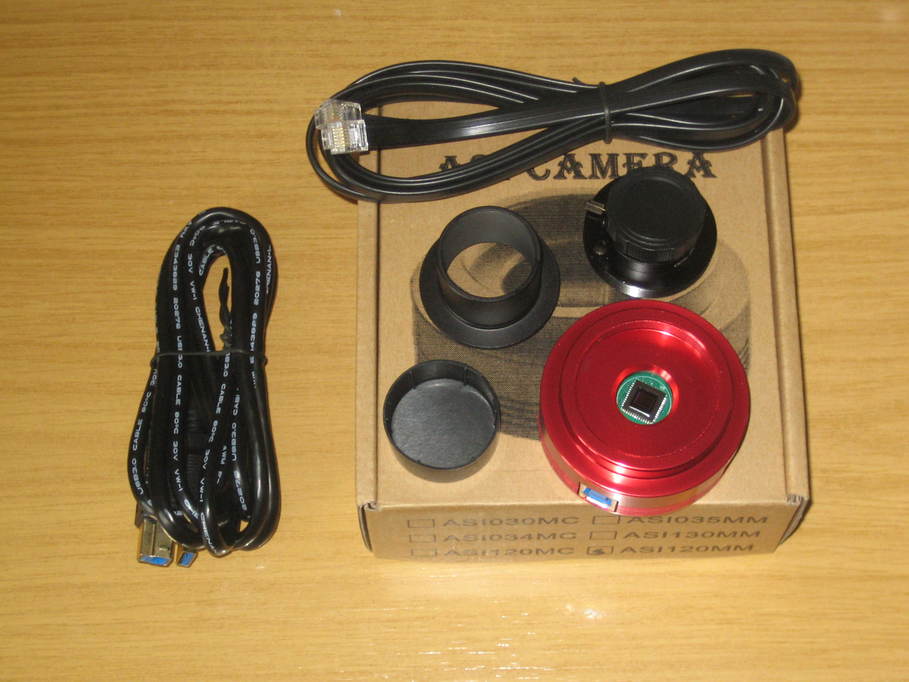
asi120mm-s-1

As well as the camera body itself there’s a CCTV lens and cap (in the photo above the lens is already inserted into an adapter to fit the M42 thread on the front of the camera; the lens has a standard C/CS size thread), a 1.25″ adaptor and cap, a USB3 lead and an ST4 cable.

The photo also shows that compared with some of the earlier USB2 camera models the sensor window has been considerably reduced in size. My early 120MM has a threaded opening large enough to accept a 1.25″ filter (into which I have fitted a clear optical flat to try to keep the sensor clean). I believe as a result of numerous people raising the issue of keeping the sensor clean on the older models this new one has a clear window permanently fitted (I believe the MC model uses an IR-cut window but I’m not certain).

The USB socket on the camera is the new USB3 standard B socket. I assume that the extra depth required to mount this on the PCB is also the reason for the camera body being a couple of millimetres deeper than the original model:
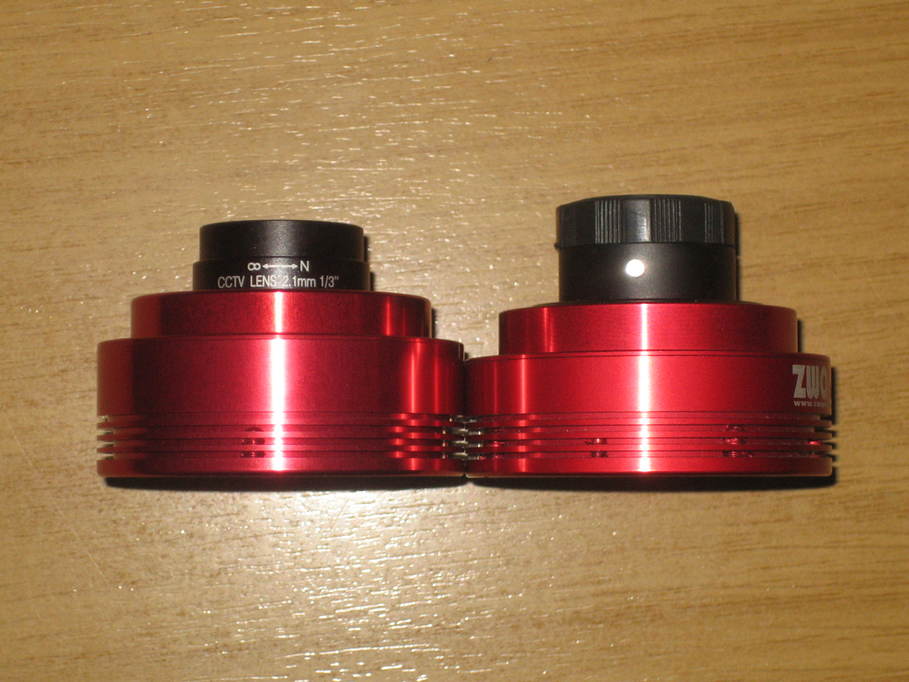
asi120mm-s-2

(The older model is on the right with the lens cap still on.)

In terms of software support, the new camera works quite happily with Fire Capture, SharpCap, oacapture etc. though a new version of the drivers is required. It’s also desirable to update the capture software as there is a new “overclock” setting that doesn’t exist on the older cameras. And for Apple users the good news is that the USB3 interface appears to work nicely on Apple hardware whereas the older camera needed different firmware which resulted in reduced performance.

And what about performance? I struggle not to get broken frames on my original ASI120MM with a USB Traffic setting higher than 40, so I ran some benchmarks (this is just transfer rates, not saving frames to disk) with the USB Traffic setting at 40 in 8-bit mode and an exposure time of 3ms. The frame rates achieved were as follows:

Resolution Framerate
1280×960 13fps
800×800 26fps
800×640 33fps
640×480 55fps
320×240 240fps

With the ASI120MM-S I can adjust the USB Traffic setting through the full range from 40 to 100 and the overclock setting from 0 to 30 without broken frames. Varying those two settings but leaving the exposure time at 3ms the new camera gave me the following results.

Resolution Overclock = 0
USB Traffic = 40
Overclock = 30
USB Traffic = 40
Overclock = 0
USB Traffic = 100
Overclock = 30
USB Traffic = 100
1280×960 24fps 31fps 55fps 71fps
800×800 55fps 71fps 72fps 87fps
800×640 80fps 103fps 84fps 116fps
640×480 110fps 142fps 110fps 142fps
320×240 224fps 290fps 224fps 290fps

(These are all measured with oacapture, but I understand other people are getting pretty similar figures from FireCapture and SharpCap, and I found pretty much the same results on my Linux desktop and my MacBook Pro.)

Depending on the settings it appears that the new camera can handle from approximately double to around triple the frame rates of the older model at anything but the smallest frame sizes. These figures are a little below what’s advertised on the ZWO website, but a) that’s marketing for you, and b) I’ve made no attempt to optimise the performance of the test machine for capture in any way at all. I’m sure I could push those rates up a little if I were desperate to do so.

The real question I guess is how useful this increase in frame rates is. For solar and lunar imaging I think it could be a real benefit being able to sustain high frame rates at full resolution. For planetary imaging I’m really not sure at the moment. On the one hand it’s all very well being able to do 100fps, but if you have to reduce the exposure time and wind up the gain to be able to actually produce frames at 100fps perhaps it isn’t such a great idea. Pure throughput may not be the only reason for considering these cameras however. The new USB3 model seems very stable where the USB2 version could be a bit less reliable and sometimes produced broken frames when approaching the limits of its performance or occasionally just wouldn’t work with some USB chipsets. And if you want to use Apple hardware the new camera is definitely an improvement.

There’s also the issue of hard disk speed to consider. 70fps at full frame resolution is going to produce a huge amount of data — about 1GB every twelve seconds or so I reckon. I shouldn’t be surprised to find that the IO subsystem on many peoples’ imaging machines becomes the bottleneck at that point.

Fortunately I discovered very recently that 1TB SATA III SSDs are now available 😀
Posted in Astro Equipment, Astroimaging, Astronomy | Tagged , , | Leave a comment

Support for Imaging Source cameras on OSX in oaCapture

I’ve done a fair bit of hacking on Ken Tossell’s userspace UVC camera library of late, adding support for bulk mode transfers, extending support for some other features and fixing a few bugs.  That doesn’t necessarily help me on Linux, but it does mean that I can start to support UVC cameras on the Mac, and in particular the Imaging Source USB CCD astro cameras (DMK21, DMK31, DMK41 and their colour equivalents) and also the Celestron Skyris models based on the same hardware.  As the historic line from TIS appears to have been “there will be no support for these cameras on the Mac” this seems like quite a step forward.

Unfortunately there are plenty of other TIS USB cameras that still aren’t supported.  Apparently the CMOS models use a different interface.  I don’t have any of those and they’re not commonly used for astroimaging, so support for them seems unlikely in the short term.

Here’s a couple of pictures of the DFK21 working on my MacBook and then a screenshot of the DMK21 from the same machine:

dfk-osx-1 dfk-osx-2 dmk-osx

Posted in Astro Equipment, Astronomy, Computing | Tagged | 5 Comments

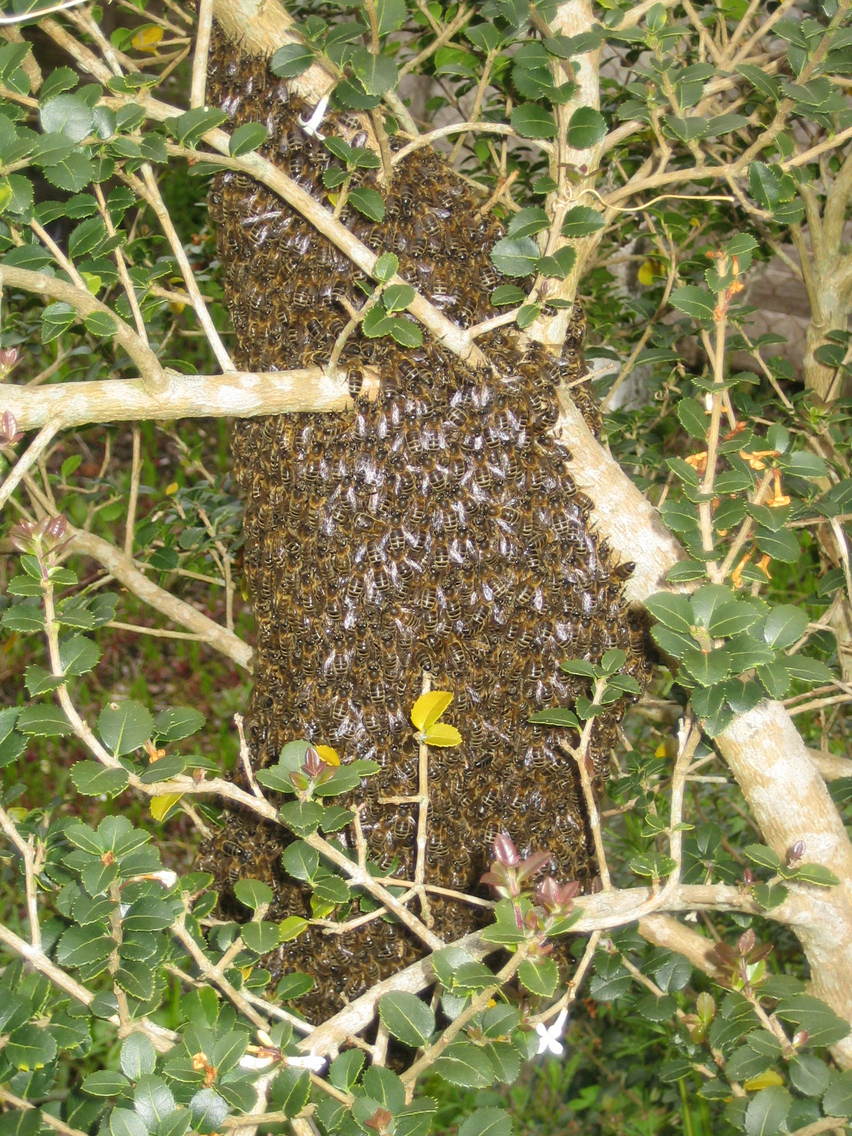
Strange year for swarms

This year I had my first call about a swarm in mid-April, probably a month before I usually start to get any.  It’s very much prompted me to wonder what’s going on with the bees.  I think those in towns and at lower altitudes barely slowed down over the winter  thanks to the very mild (though exceptionally wet) weather and colonies have built up far faster than they might otherwise have done.

If there’s plenty of nectar and pollen available during this extended season then I can see there may well be an increase in honey production.  I’m far from certain that will be the case however.  Extending the season at the end of the year may well increase the demand on stores at a time when there’s no forage to replace them.  A reduction in the time when there’s no brood may have negative effects from the point of view of IPM and queen longevity too.

If this is going to be the nature of our climate over the next few years then we may well be in for a difficult time.

swarm2

Posted in Bee-keeping, Smallholding | Tagged , | Leave a comment

Planetary imaging on a MacBook/OSX

Well, ok, so I’ve not actually done it, but it should at least now be possible using oaCapture.

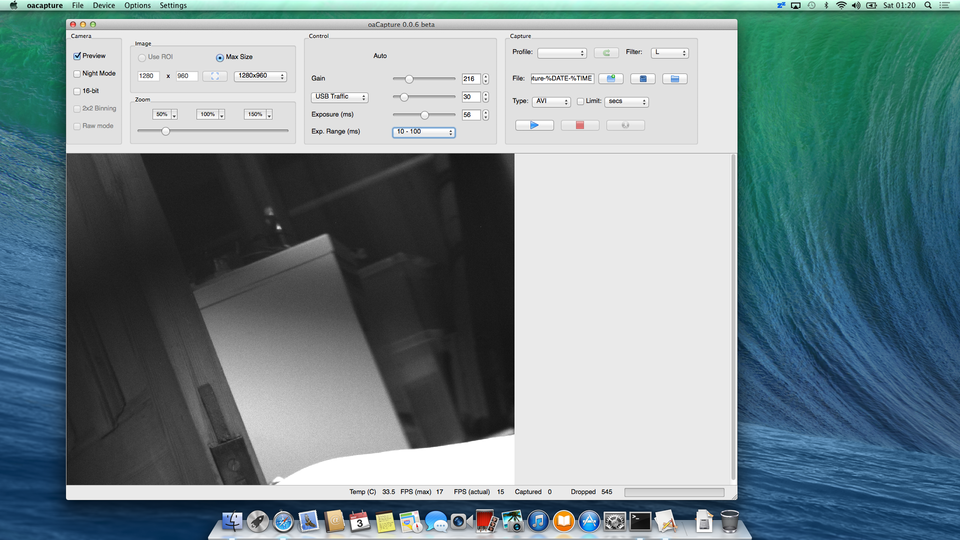
Using a bundle of bits from the macports repository I now have oaCapture building on 64-bit OSX and it appears to work nicely as the image below shows.  The build wasn’t even that problematic and there aren’t really any significant differences between the Linux and OSX.  Certainly it’s easy to build on both environments from a single source set.

The major difference is which cameras are supported.  On Linux, the TIS cameras and SPC900 are effectively supported for free because the drivers are in the kernel.  On OSX the only cameras supported are those for which the vendor supplies an SDK, or those for which I’ve written my own drivers.  The game is far from over however and I expect the range of supported cameras to increase dramatically over time.

oacapture-mac

Posted in Astro Equipment, Astroimaging, Astronomy, Computing | Tagged , | Leave a comment

My first RGB planetary image

I’ve been working myself up to having a crack at monochrome planetary imaging for a while, but having got the motorised focuser, dew heaters and so on sorted it seemed like it was about time.

Capturing the data was actually far easier than I imagined though having a motorised filter wheel certainly helps.  In fact if I’d known how (relatively) painless it was going to be I’d have started some time ago.

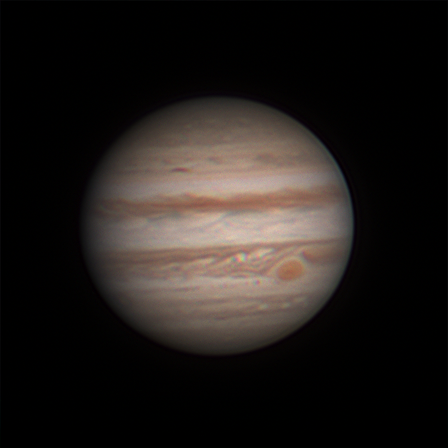
Anyhow, after a quick process here’s my first attempt at an image.  It needs some tweaking of the colour alignment and I need to go away and learn more about processing these, but even so I’m sure it’s the best image of Jupiter I’ve ever captured so I’m nothing but pleased really.

jupiter-2014-04-09-01

Posted in Astroimaging, Astronomy | Tagged , , | Leave a comment