Debugging FireWire on recent Linux kernels

As part of the development of my planetary capture software I’ve been trying to sort out some problems with IIDC FireWire cameras. They’re not easy to get hold of these days. At least, not at “spare change” kinds of prices. But eventually I managed to get hold of one from Ebay. It’s a camera that was sold by D-Link, but in fact is a rebadged TI MC680-DCC.

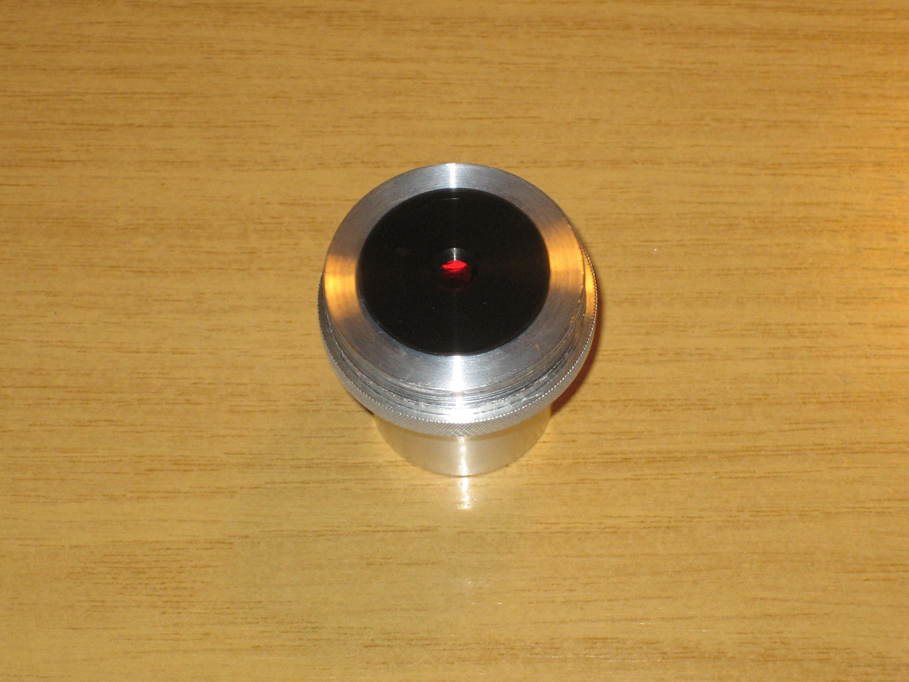
Unfortunately I couldn’t get it to work at all, and despite claims in the system logs that the “fw1” device was being created, it never seemed to appear. I checked with another FireWire device (a digital video camera) that the OS and FireWire card appeared to be working, so it looked like a camera issue. Unfortunately whilst there are some links to FireWire debugging tools to be found via Google, many of them don’t appear to work with the newer (post 2.6.37-ish) kernels.

Eventually I found a couple of things that have been very helpful. The first is “jujuutils”. The most recent version I can find is on Google Code. This package includes executables to list the devices found on the FireWire bus.

The second is actually present in jujuutils, but I found a different version elsewhere that appears to be more recent. CRPP is “Configuration ROM Pretty Printer”. It takes the output from dmesg as written by the firewire_ohci module when debug is enabled and prints the results in a more human-readable form.

CRPP enabled me to discover that when queried at the slowest bus speed my camera claims to have a GUID of 0800286010000000, but the same request when configured at 400Mb/s returns a GUID of 0800286000000000. The only reference I can find on Google suggests that the GUID should in fact be 0800286000000073. CRPP also complains that the CRCs on the control block leaves are invalid 🙁

Unless this is some sort of artefact of my FireWire card taking power only from the PCI bus as opposed to having an external power connector direct from the PSU, I think that probably means my camera is toast 🙁
Posted in Computing, Linux | Leave a comment

Resolved: Mythbuntu manual shutdown

The last remaining issue I’ve had since my Mythbuntu upgrade a few days ago was that when the “exit and shutdown” option was selected from the frontends, nothing happened. This had worked without a problem on previous installs.

I have now tracked this down to needing to set the halt/shutdown command in the general settings for each frontend. I now have this configured as:

sudo /sbin/halt -p

It’s also necessary to configure sudo to allow this to run by adding the following to /etc/sudoers:

%mythtv ALL = NOPASSWD: /sbin/halt

And now everything is back as it was.

Posted in Computing, MythTV | Leave a comment

Coronado PST filter mod for Atik 314L+

In my previous posting about the mod I’ve done for my PST to move the BF5 closer to the sensor of my ASI120 I had an idea about doing the same for my Atik 314L+. I know this camera is sometimes used for imaging with a PST and whilst it is somewhat slower downloading images, it does have the advantage of being able to get the entire disc on a single frame which I can’t do any other way at the moment.

So, despite not having tested the existing mod yet I felt the need to play with the lathe some more this weekend and produced this:

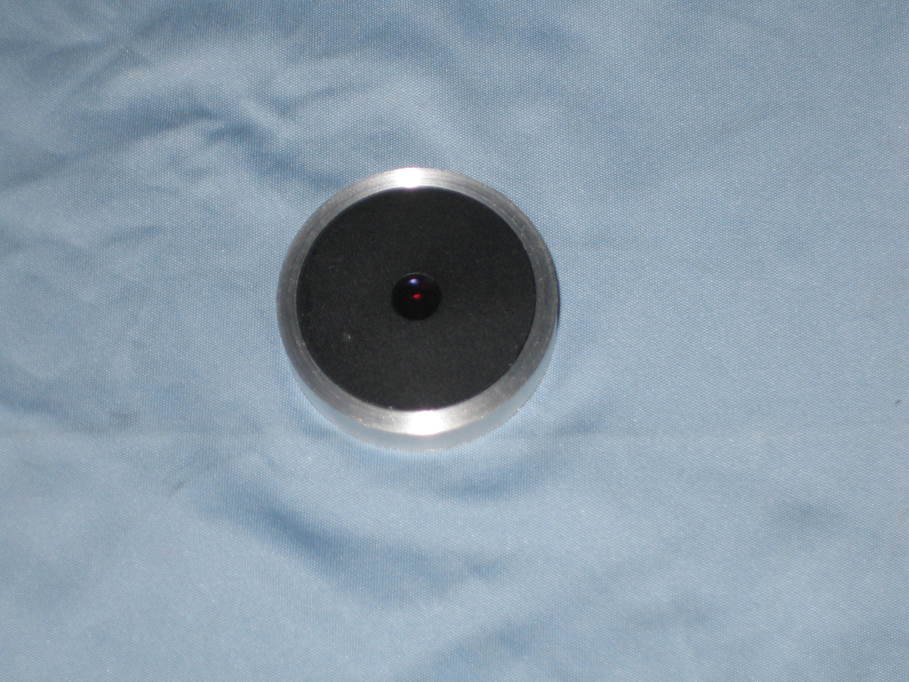
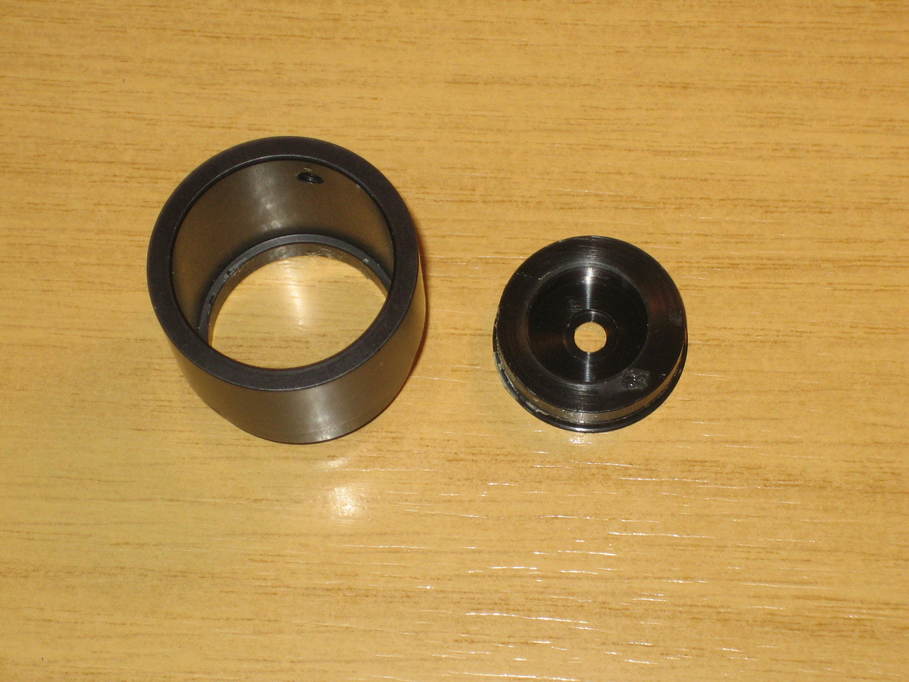
pst-atik-01

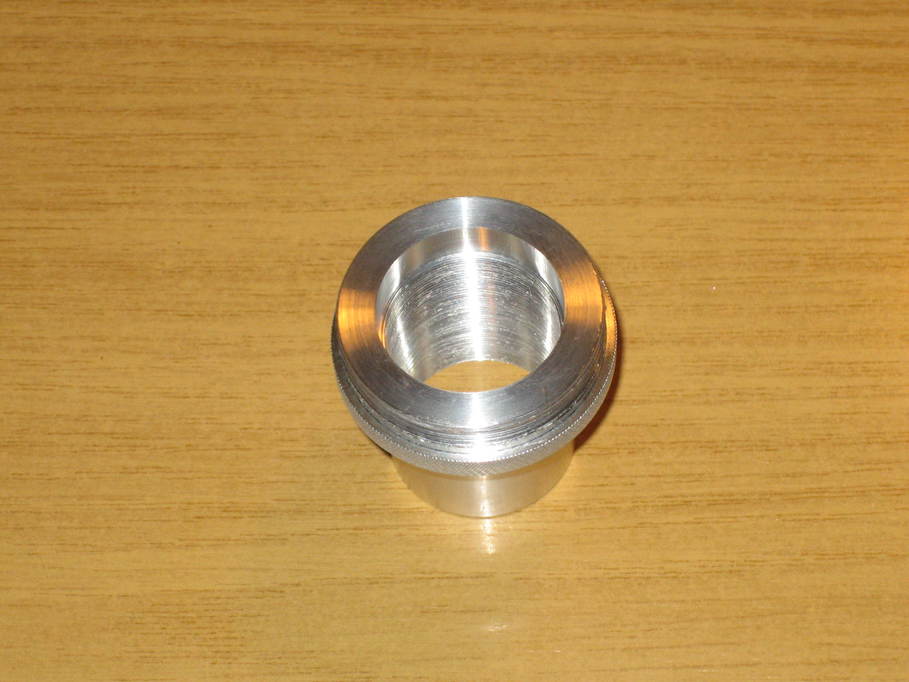
Basically it’s a T2 to 1.25″ adaptor with a an internal recess to take the BF5 unit. It’s the first time I’ve cut a male thread with a thread-cutting tool and I have to say it was far from easy. Female threads (such as that I turned in the barrel part so the inside isn’t smooth to reduce reflections) I don’t seem to have a major issue with, but this one took ages to do and whilst it works, I reckon it could be far better.

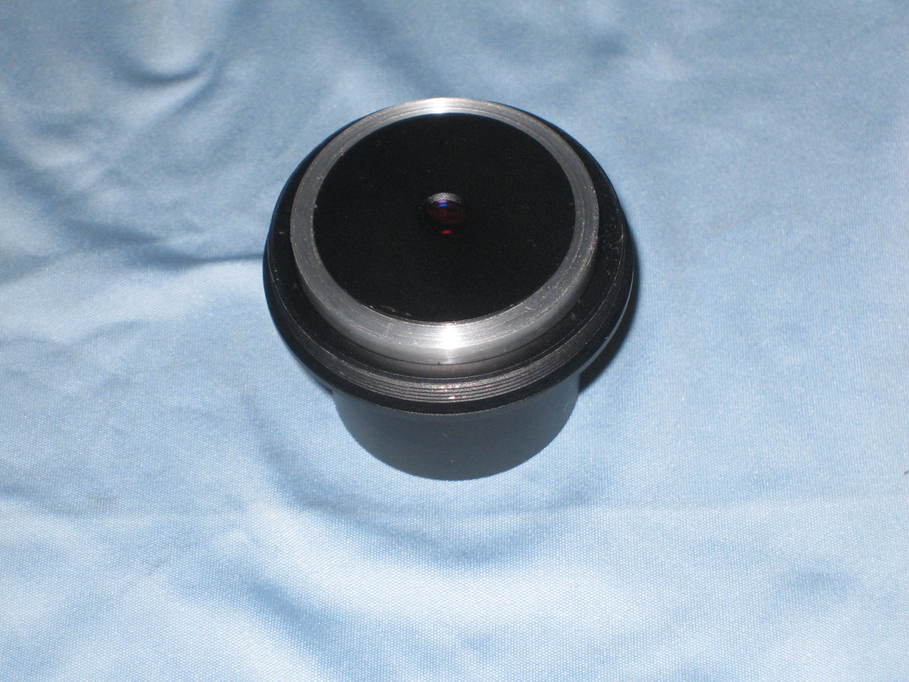
The BF5 unit just pushes into the back:

pst-atik-02

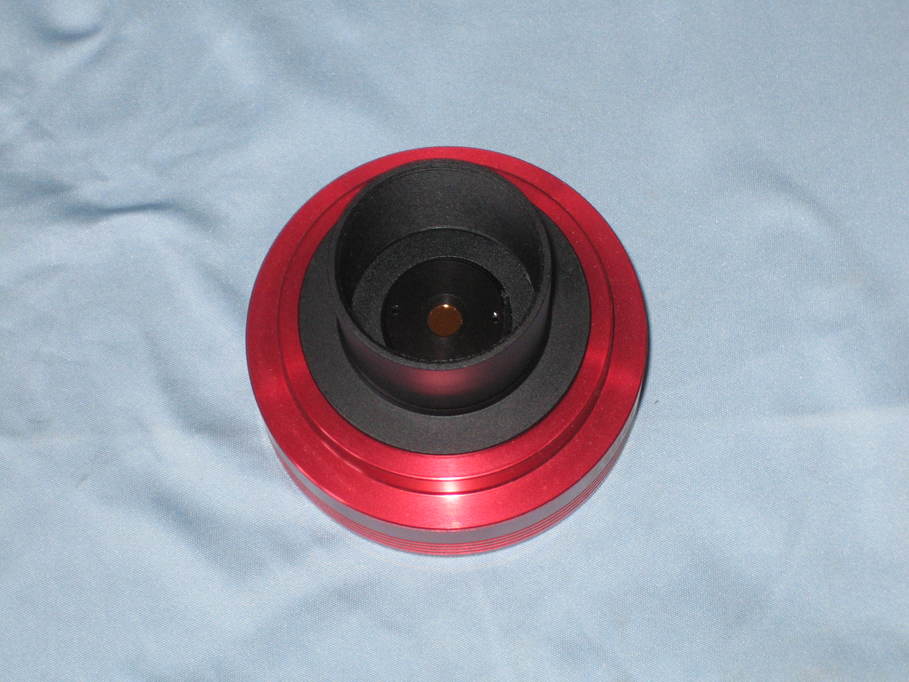
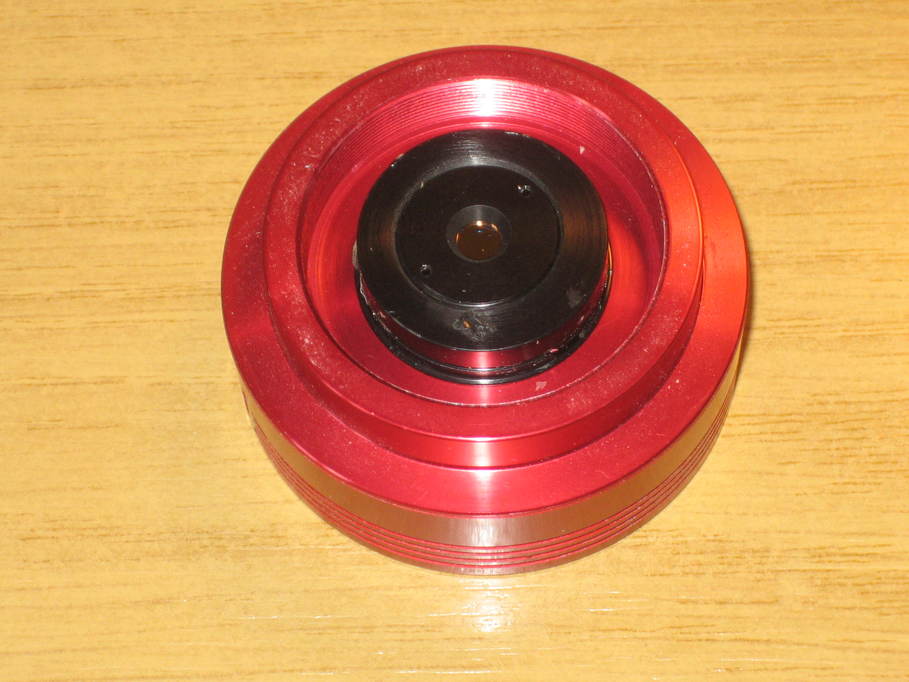
And then the whole thing screws into the camera:

pst-atik-03

I made the T2 thread long enough that it will also work with the ASI120.

Now I’m going to have to have a think about setting up to do some anodising…

Posted in Astro Equipment, Astronomy, Projects | Tagged , | Leave a comment

Coronado PST BF5 positioning mod

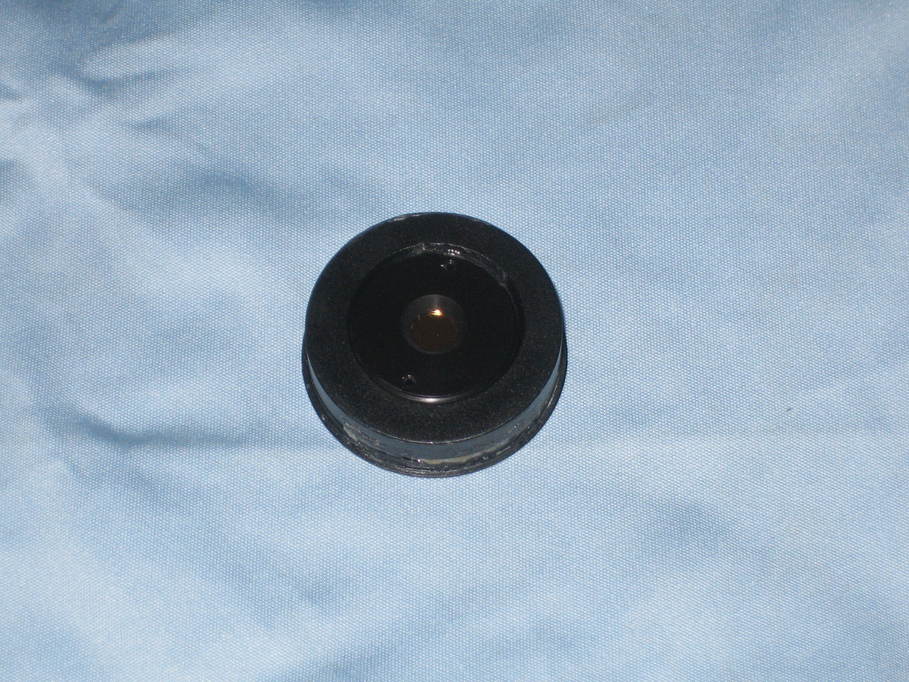
A few days ago I posted about the problems with vignetting when imaging with a PST and decided that for me a solution might be to move the BF5 unit as close to the camera sensor as possible so that the light code is as small as possible when it reaches the filter. To that ends I completely stripped apart the eyepiece holder and pushed the BF5 unit out of the eyepiece:

pst-filter-mod-01

(In fact, this is one unit assembled from the best parts of two as some of the parts were very poorly-made as I’ve also already posted about.)

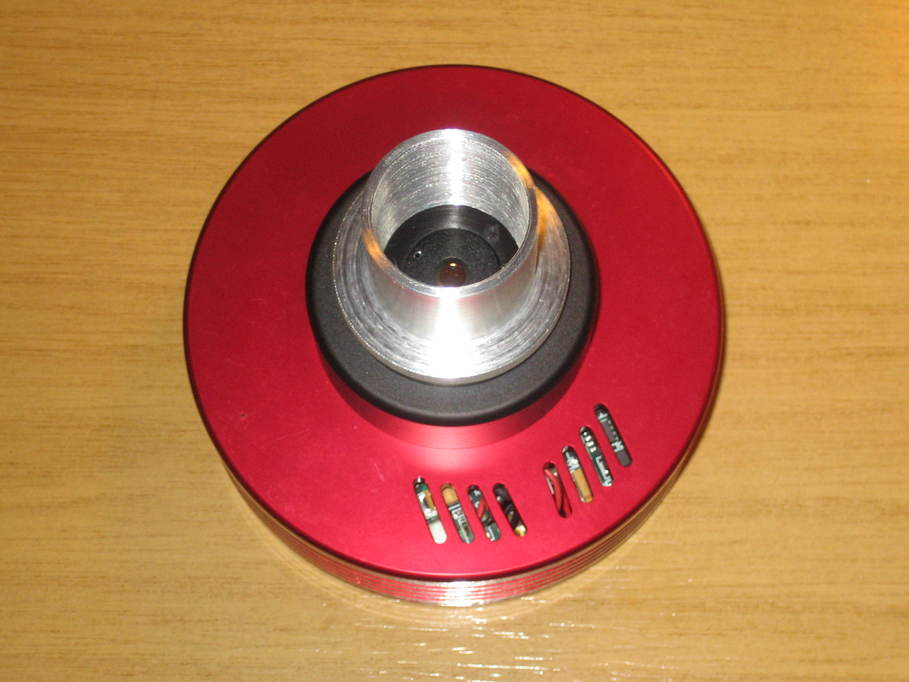
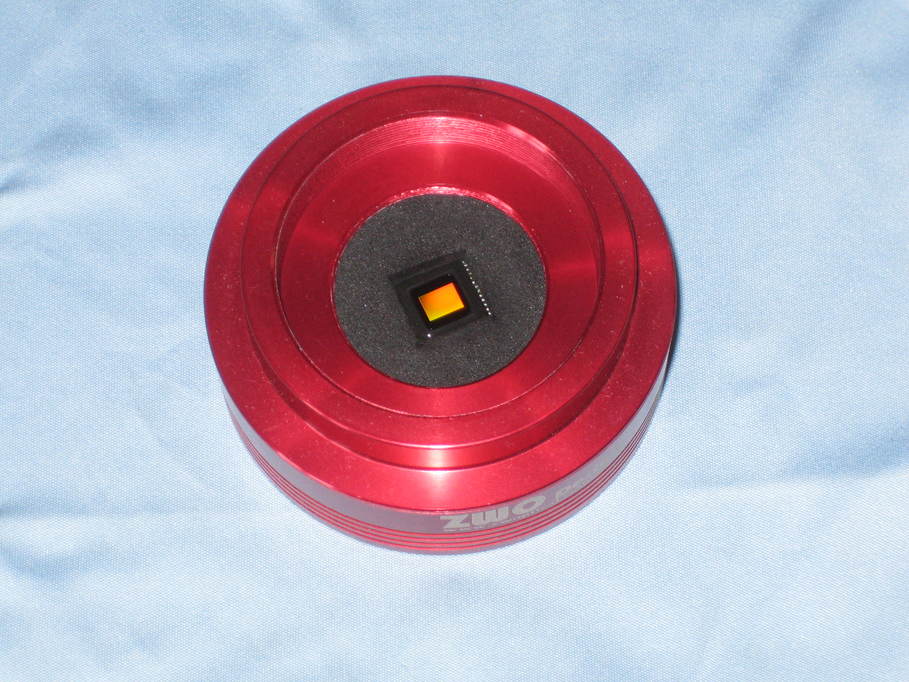
I stripped everything off the front of my ASI120MM so that the filter would be able to fit right in front of the sensor:

pst-filter-mod-02

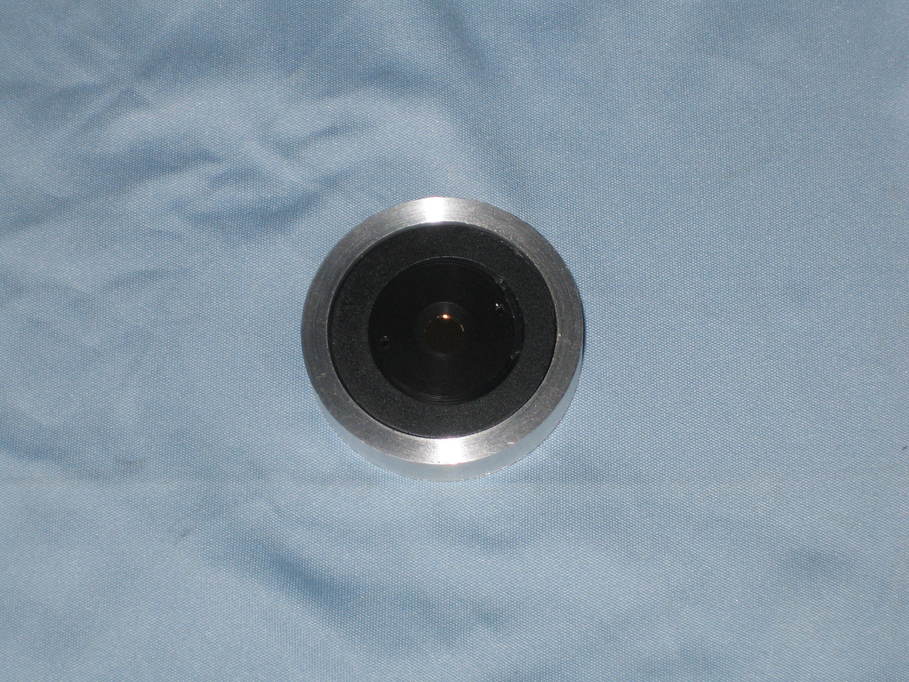
The filter unit rests on the front of the camera body nicely, but needs to be kept central, so I turned an aluminium spacer to fit over the top of the filter body, leaving the flange on the back resting against the spacer:

pst-filter-mod-03

pst-filter-mod-04

The outer diameter of the spacer was made to fit snugly inside the back of the T2 to 1.25″ nosepiece that goes on the front of the camera:

pst-filter-mod-05

So now, when the nosepiece is screwed on the filter is trapped centrally in front of the sensor between the nosepiece and the camera body:

pst-filter-mod-06

The camera now goes into the top of the reassembled eyepiece holder just as it used to, but only the ITF is present now.

I hope this should massively reduce the vignetting effects for me. I haven’t yet had the courage to drill the retaining ring out to 5.5 or even 6mm, but that may come if I’m not satisfied with the result. Unfortunately it looks like there’s not going to be much chance to test it in the near future if the weather forecast is to be believed 🙁

I did consider making a more complex spacer that would incorporate a threaded section allowing the camera to be fitted directly to the bottom half of the eyepiece holder (that has the ITF), but that would reduce the length of the optical path by up to 30mm and I don’t have that much to play with at the focuser. It would also have the effect of moving the ITF further back in the optical train when the camera was in focus. I’m not sure it’s a good idea to do that as it would concentrate more energy on a smaller area of the ITF.

What has since occurred to me is that I could probably do the same mod for my Atik 314L+. I know of at least one person who uses this camera for solar imaging with a PST and it does have the advantage of fitting the entire disc in a single frame, so I think I shall give that a try too.

Posted in Astro Equipment, Astronomy, Projects | Tagged , , | Leave a comment

Astro EQ conversion of EQ3-2 (part 2)

I ordered some aluminium channel (1″x2″x1/8″) to make up the RA motor mount which arrived yesterday. I chose this size because there’s only one mounting hole for each of the normal aftermarket motors on the EQ3-2 and this would give me a reasonable spacing between the pulleys whilst allowing one edge to be flush with the back edge of the RA gear housing so that even with just one bolt holding it in place the mount won’t turn. I cut the metal to fit and drilled a hole to take the bolt in the back, matching up with a larger access hole in the front.

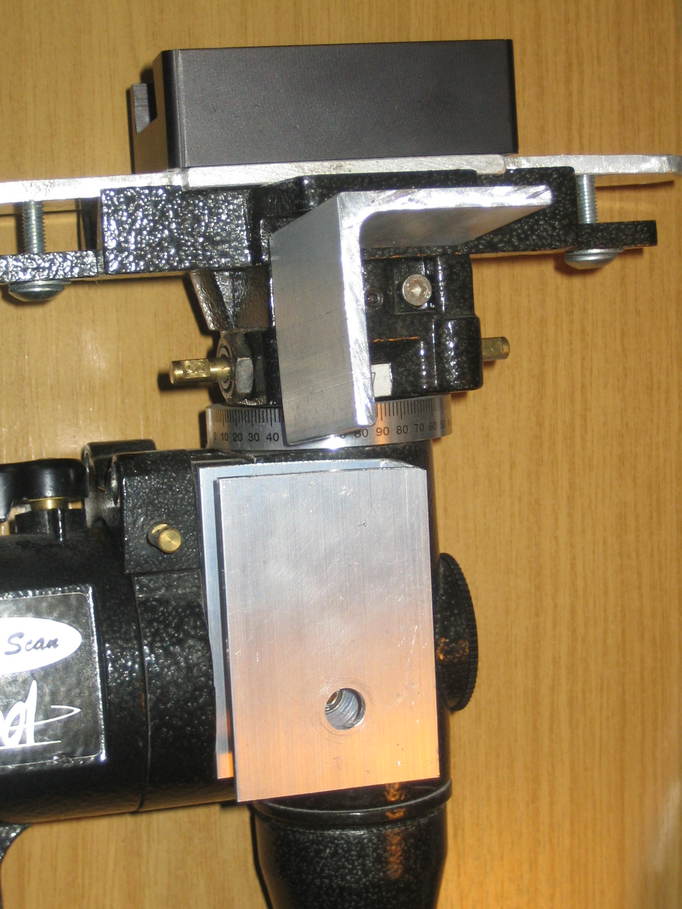
The DEC motor mount is a piece of 2″x2″x3/16″ aluminium angle that I found lying about in the workshop.  That I cut so it could use the existing motor mounting lug, but again fit flush against the mount body to prevent it turning.  I’ve not drilled it to fit yet however, as I want to see how the pulleys will line up first.  Once I know where everything is going to fit I might well cut it down so it isn’t quite as bulky.  Here you can see the RA mount in place with the DEC just resting where it will eventually go:

astro-eq-03


With the RA mount in place I could work out what sort of spacing I’d have for the pulleys and therefore what sizes I could use.  I’m going to use MXL belts and was tempted to go for a 12 tooth pulley driving a 48 tooth to give a nice round 4:1 reduction, but the 12 tooth pulley would need drilling out a little to fit the motor spindle.  As doing so would leave very little meat on the pulley boss, I instead opted for a 16 tooth pulley and a 3:1 reduction ratio.  With a 75 tooth belt that gives me 42mm spacing between centres which works out nicely.  I’ve ordered the belts and pulleys and will cut the holes for the motors once they arrive and I can check exact spacings.

I’m thinking that I might need to cut away some of the back face of the channel for the RA motor mount to give a bit more room for the pulleys and belt, but I’ll see how things work out once they arrive.

Posted in Astro Equipment, Astronomy, Projects | Tagged , | Leave a comment

MythTV upgrade to 0.27

Everyone else is away for a couple of days so I took the opportunity to upgrade our Mythbuntu installation from 0.26 to 0.27 last night.  It turned out much simpler than I expected.  We have a backend and several frontends, so I downloaded the latest Mythbuntu to reinstall the frontends (I wanted to convert one of them to use an SSD anyhow, so reinstallation was the easiest way to deal with it), but for the backend I wanted to upgrade the system in place.

After backing up the database all I needed to do was to add the 0.27 repository in /etc/apt/sources.d and then:

# apt-get update
# apt-get dist-upgrade

and reboot. Everything came back very happily, the frontends talk to it without a problem, the web interface works and for the first time in a while I can connect from my desktop (which was reinstalled with Mint17 some time ago).

The only remaining problems I have are that the picture on one of the televisions is a little too wide which I think might be down to the nVidia driver on that frontend, and the frontends don’t shut down when requested which I’m sure I’ve fixed before, but for the moment I can’t recall how.

Posted in Computing, MythTV | Leave a comment

Astro EQ conversion of EQ3-2

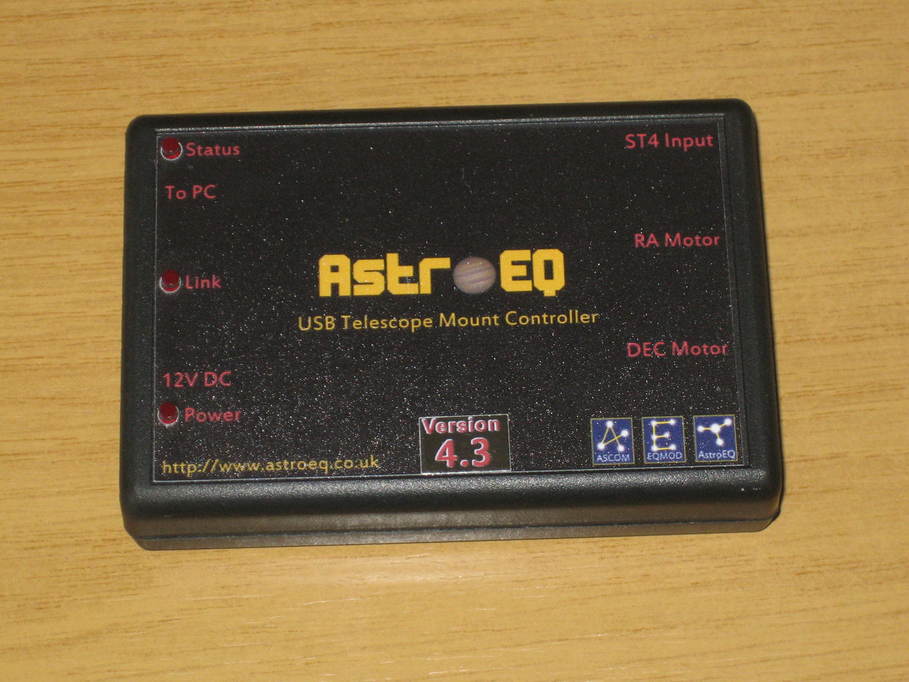
I decided today that it’s about time I extracted a digit and got on with converting my old EQ3-2 “Sky Scan 2001” mount to GOTO using Tom Carpenter’s rather nice AstroEQ box.

astro-eq-01

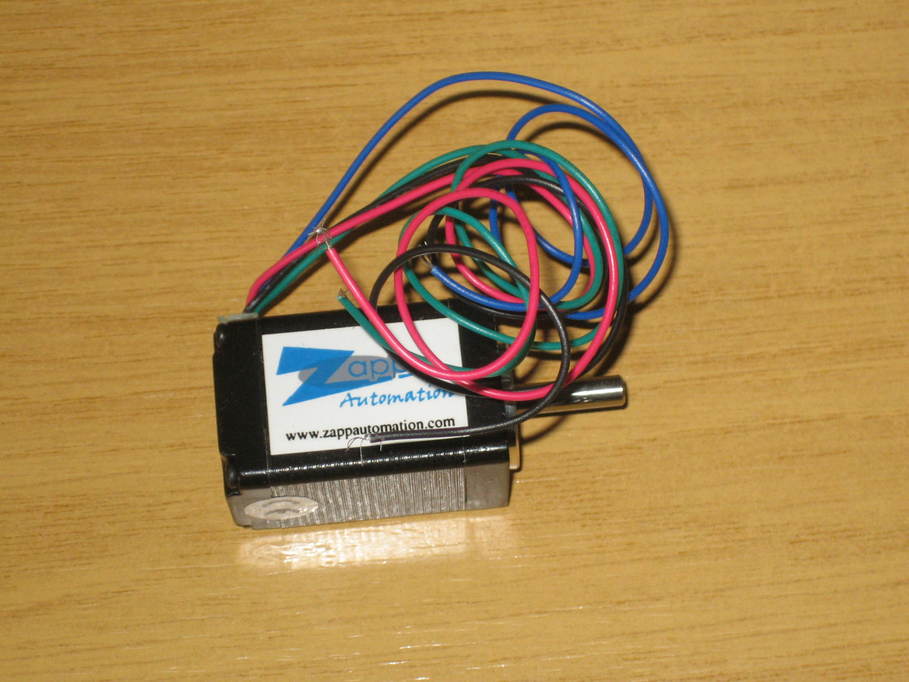
Although I already have the aftermarket motors fitted, my plan is to remove those and replace them with new stepper motors which should give me faster slew speeds and hopefully a more compact design, making the entire mount more suited to taking on holiday (which is the eventual goal).  To that ends I’ve already bought a couple of these stepper motors from Zapp Automation.

astro-eq-02

They’re the SY28STH45-0674A model (currently here), which should be good for pretty much anything that’s going to be stable on the mount.  The next step is to make up the brackets for mounting the motors which is going to be a little tricky with the EQ3-2 as there aren’t many suitable places for putting the motors, especially as I want to add a belt drive to the worms to further reduce the drive ratios.  I’ve ordered some bits of aluminium to make up the mounts and once that’s done I can see what space there is for gears and belts.  I’d like to have a nice round number ratio between the pulleys of either 12:48 or 15:60, but it depends what space is available.  Tom has reported good results with a three and two-thirds drive reduction as far as I recall, so it won’t be the end of the world if I can’t get a fit for the gears I want.

I also have some M2.5 8mm bolts on order for mounting the motors and a couple of RJ11 sockets for connecting up the wiring.

I’m looking forward to starting this project now.  Hopefully the parts will arrive soon.

Posted in Astronomy, Projects | Tagged , | Leave a comment

Shoddy Coronado PST build quality

The constant rain this weekend meant indoor activity was called for, so I started work on my new PST mod to move the BF5 filter closer to the camera in an attempt to reduce or perhaps even completely remove the vignetting that’s often a problem when imaging with this scope. More detail on that in another post, but in simple terms my plan was to remove the BF5 unit entire and make up a spacer to trap it against the casing of my ASI120MM when the 1.25″ nosepiece is screwed in.

So I turned up the spacer from a piece of aluminium and when testing it for final fit, noticed something rather odd about the BF5 housing. Here’s a picture of it. Apologies for the poor quality. My compact camera isn’t great at these sorts of photos.

pst-eph-14

The design of the PST is such that the filter is barely big enough for the part of the light cone corresponding to the image of the Sun to fit through that 5mm hole and comments about vignetting when attempting to image with the PST are common. It’s really very tight, which means the construction needs to be quite accurate for it to work. But look again at the picture. Notice that the inner section is not actually concentric with the outside? The hole is central and the filter will sit central, but the retaining ring won’t be. Which means the two holes won’t line up. Measuring the difference I reckon that the hole in the retaining ring ends up about 1/6th of its width off the optical axis. And indeed when I reassemble the two parts without the BF5 in place it’s quite obvious that they don’t line up. I can’t see any way that isn’t going to have a noticeable effect on the image.

Fortunately I have a second unit (I use one with a diagonal for visual, and one “straight through” for imaging). When I took that apart it was nowhere near as bad, though hardly perfect by the standards of industrial production. I also noticed quite a significant difference with the BF5 itself. The second one was very cleanly cut with nice square edges all around. The first one looks like this:

pst-eph-08

All the “back” edges of the filter are damaged.

The worst thing about this is that unless you take apart all sorts of bits that Meade/Coronado never meant you to (because it’s all glued together with threadlock and takes some work to get apart), you can never find out these problems exist. How many people are not getting the performance they should from their PST because of problems they’re totally unable to diagnose, I wonder?

Posted in Astro Equipment, Astronomy | Tagged | Leave a comment

Swimming pool solar heating system

When we bought our current house quite some years ago, it had a reasonable size “in ground” swimming pool that was suffering a bit from lack of maintenance.  The re-made ground around the pool had settled over the years and many of the paving slabs laid on it had cracked, one of the skimmers had twisted and cracked for the same reason and leaked water from the pool, the pump bearings were shot and the heating system (which involved pumping the pool water through thirty-odd lengths of black hose mounted on a barn roof) didn’t work at all well.  The pool liner was also in need of replacement.

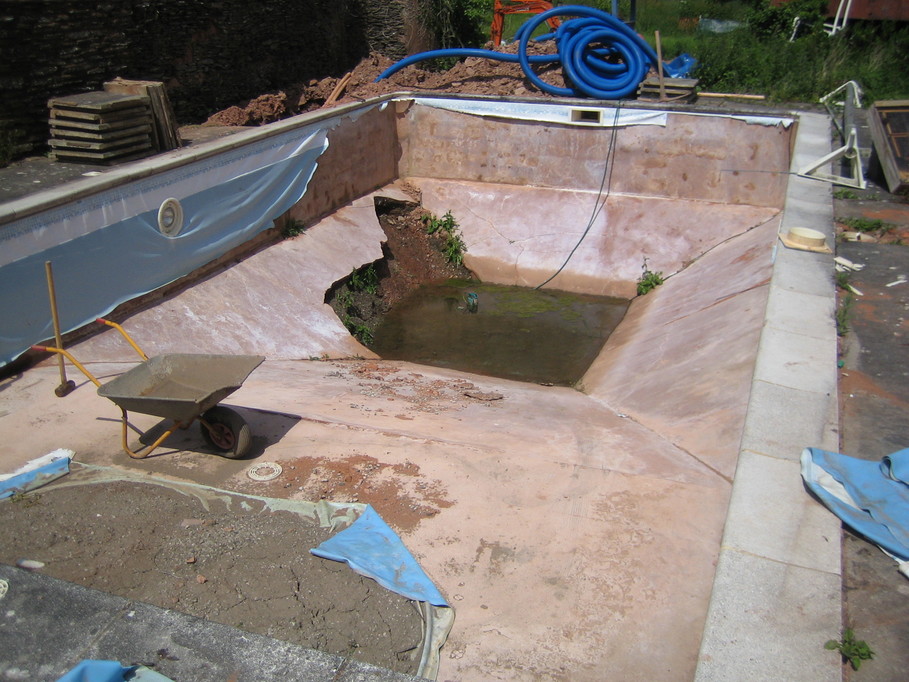
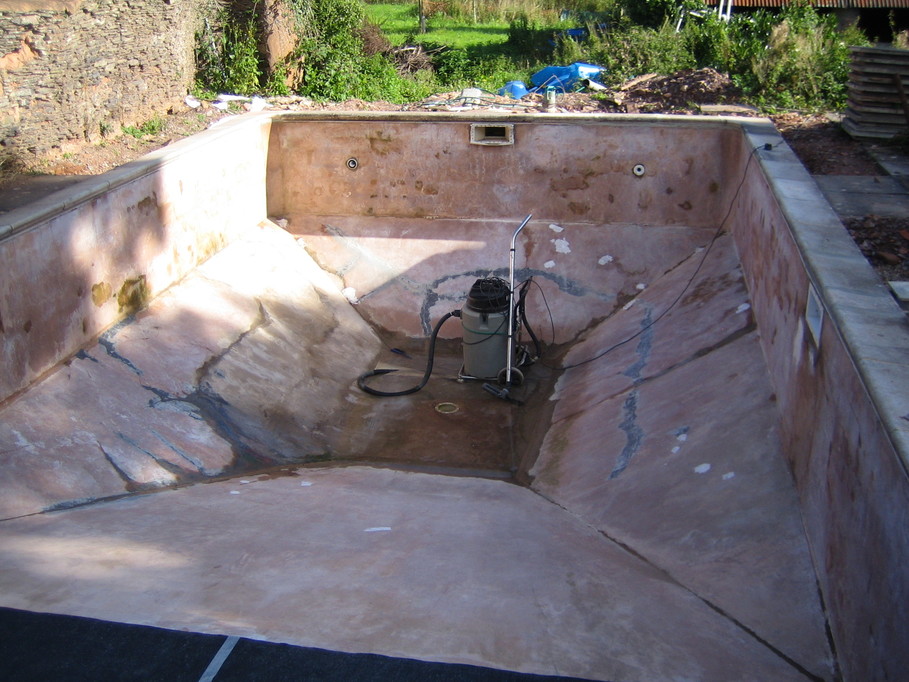
Some would question the sanity of an outdoor pool in the UK and I’d not necessarily disagree with them, but since it’s there we used it for a while until the pump had really had enough and then I decided to set about returning the pool to a decent state.  The first job was to replace the liner and put in a new skimmer to replace the cracked one.  It wasn’t until the liner was removed that I discovered the rendered inner face of the pool structure had also broken up in places and without the weight of the water was actually leaking groundwater into the pool.  Fixing that took some time as I ended up having to chop out lots of the collapsed rubble, build up the structure with concrete and then render over the top again, all whilst water was still trying to get in.  I put in some field drains around the outside of the pool which helped to control the water a little, but it didn’t entirely stop it. Here’s how it looked when I started:

pool-1

And after I’d made good the broken area:

pool-2

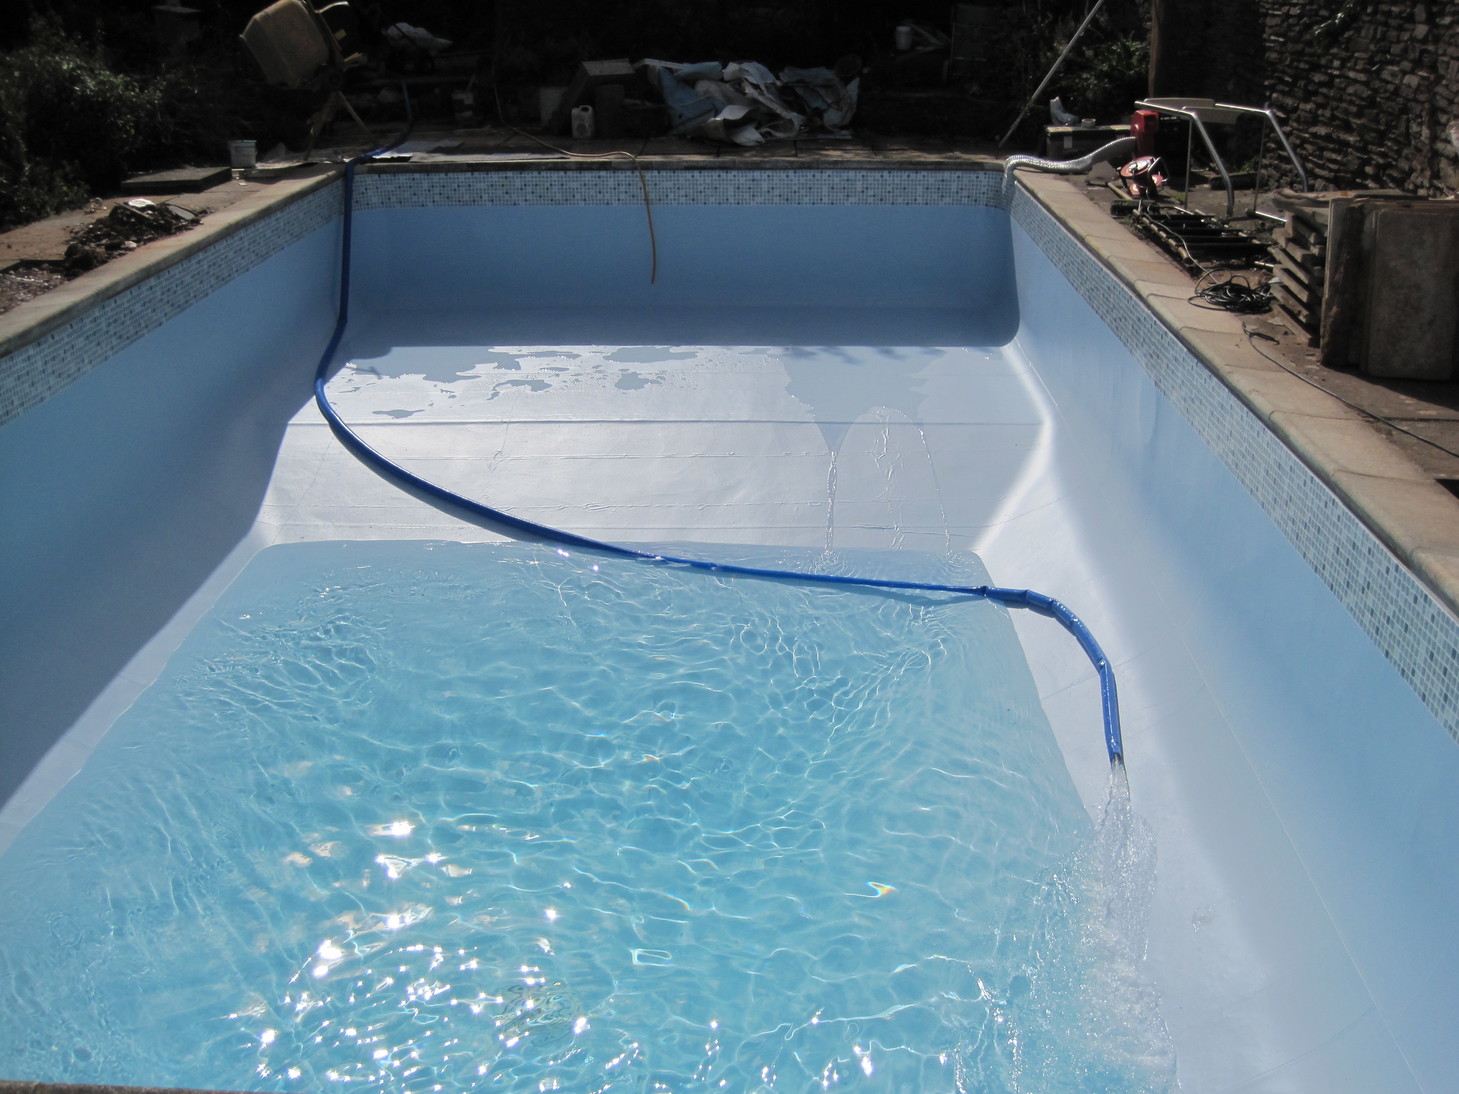
And with the new liner:

pool-3

That done I replaced the pump and then set about re-laying all of the slabs, making up the ground underneath properly and replacing the broken ones.  Having done a few other bits of maintenance the pool has actually seen a fair bit of use unheated this summer, but only because it’s been warm enough to heat the water in the pool directly.

The next stage is to build some more effective heating system for the pool water. Originally the pool water could be pumped through about thirty black pipes on the roof of a barn to heat the water, but the system leaked and never worked to my satisfaction. One of the major problems in replacing it however is that chlorinated water isn’t good to mix with copper pipework, so I’d have to do everything in ABS or stainless steel (the latter being far too expensive and too hard to work with).

Finally I decided to build a heat-exchange system, allowing me to keep the pool water in plastic pipe and use copper for the rest. The idea is to have an in-ground (for insulation) reservoir of water that is heated using flat-plate solar panels that I shall build myself. Water from the pool will then be run through that reservoir in small diameter pipes, being heated as it goes. The reservoir itself will be made of a concrete base with concrete block walls, waterproofed and insulated on all sides.

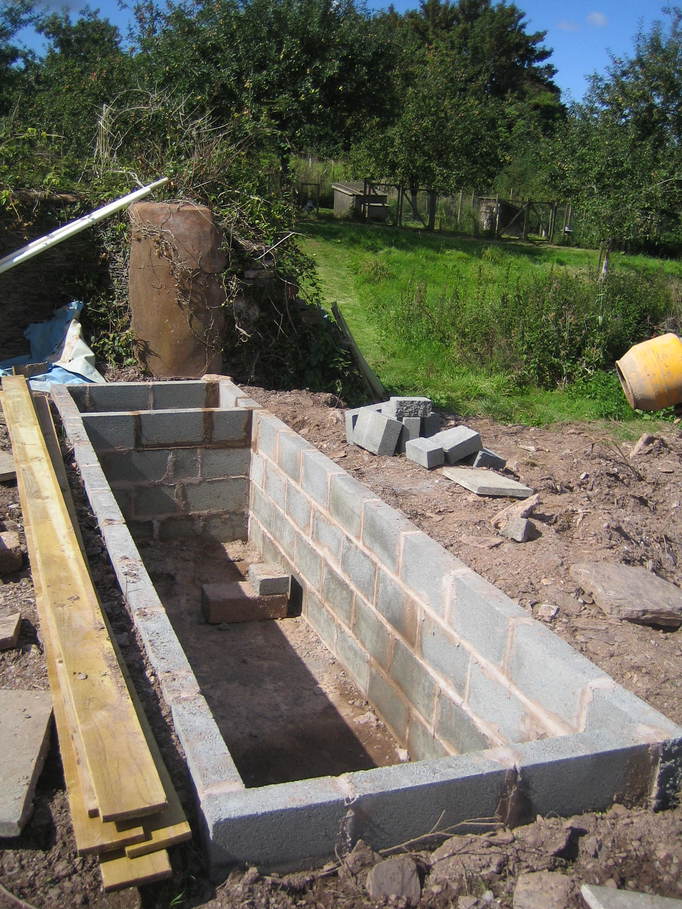
I’ve now completed the first stage — building the reservoir and space for the pumps:

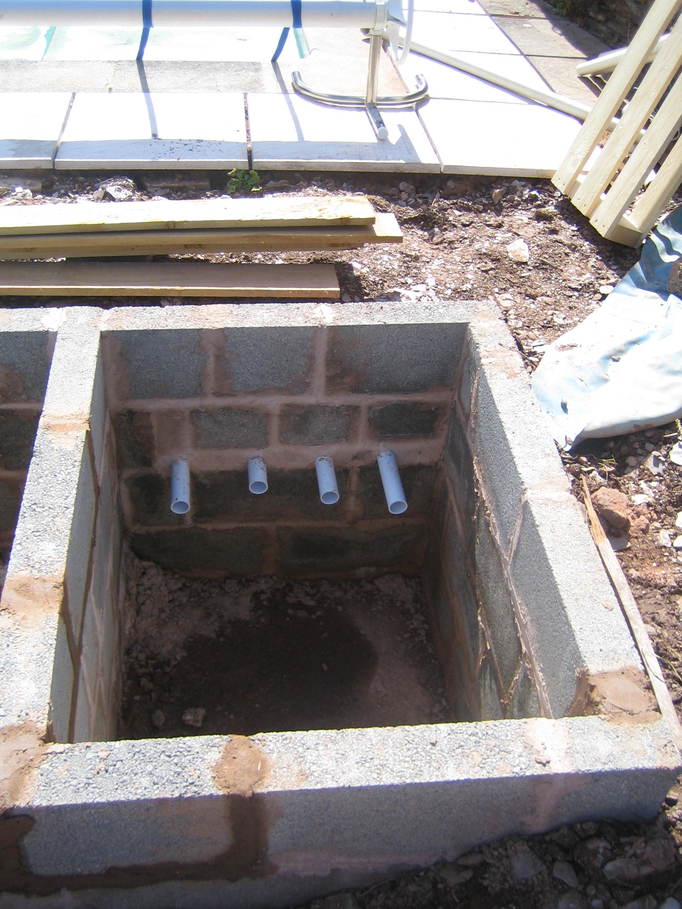
heat-reservoir-01

heat-reservoir-02

The larger section, about 1.2m by 0.9m by 4m will be waterproofed and insulated before being filled with water. The smaller section will hold the pumps. Fitting the waterproofing and insulation will be the next step.

Posted in Projects | Tagged , | Leave a comment

Coronado PST eyepiece holder disassembly part 2

I got brave this evening and disassembled the eyepiece holder to the point I’d reached as described a few days ago. I then examined the BF5 housing and decided that it appeared to fit into the eyepiece holder from the top. This seemed counter-intuitive given the design of the lower half of the holder which appears to be intended to trap the housing against the upper half. Anyhow, as there was no obvious means to gain purchase on the housing to turn it, I thought I’d give it a bit of a push up through the holder to see if anything happened.

Somewhat unbelievably given that just about everything else that comes apart on the PST is smothered in threadlock, it gave quite easily and I was able to push the housing out of the top of the eyepiece holder, leaving me with this:

pst-eph-12

There’s a flange on the housing that rests on top of a shoulder inside the eyepiece holder. Interestingly, the flange is quite a snug fit in the bottom of the holder whereas it’s very loose at the top, so the inside of the holder must be tapered.

So, my plan is now to turn a retaining ring with a T2 thread on the outside and either a 1,.25″ nosepiece or a thread to fit the lower half of the eyepiece holder on the inside, with a shoulder to hold the entire BF5 unit central in the ASI120 thus:

pst-eph-13

The measurements I’ve taken from the camera and BF5 unit are:

ASI120 sensor to flange: 12.5mm
ASI120 flange to case: 7.5mm
ASI120 sensor to case: 5mm
BF5 housing depth: 8.5mm
BF5 retaining ring thickness: 2mm

This would give a “sensor to front of BF5” distance of 11.5mm. That’s 0.4mm more than I think I need to get an image with no vignetting, but perhaps worth a go nonetheless. If I drill the retaining ring out to 5.5mm then it will hopefully mean that any vignetting occurs at the edges of the sensor and doesn’t affect the actual image of the Sun.

Posted in Astro Equipment, Astronomy | Tagged | Leave a comment