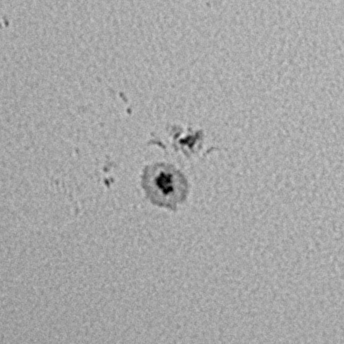
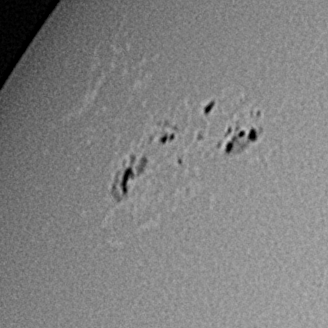
A short while ago I purchased a slightly damaged PST for solar Ha viewing. Not wishing to stump up the price of a Tal 100RS just yet, but wanting to make life somewhat easier for imaging and not being entirely impressed with the prism focuser I cast about for other ideas on how the PST could be made easier to use. One that seemed to come up a few times was to replace the “black box” with an SCT focuser and that seemed like it would be worth a try. The obvious problem is that the SCT focusers use a 2″ 24 tpi thread and the etalon of the PST has an M50x1 thread. I decided I’d sort that out once I’d got all the bits together.
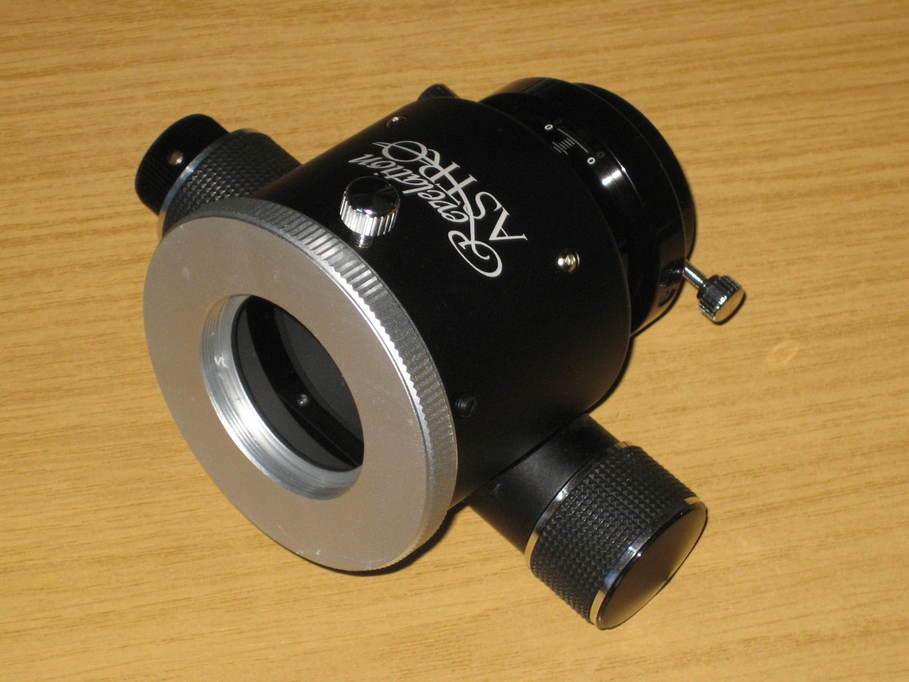
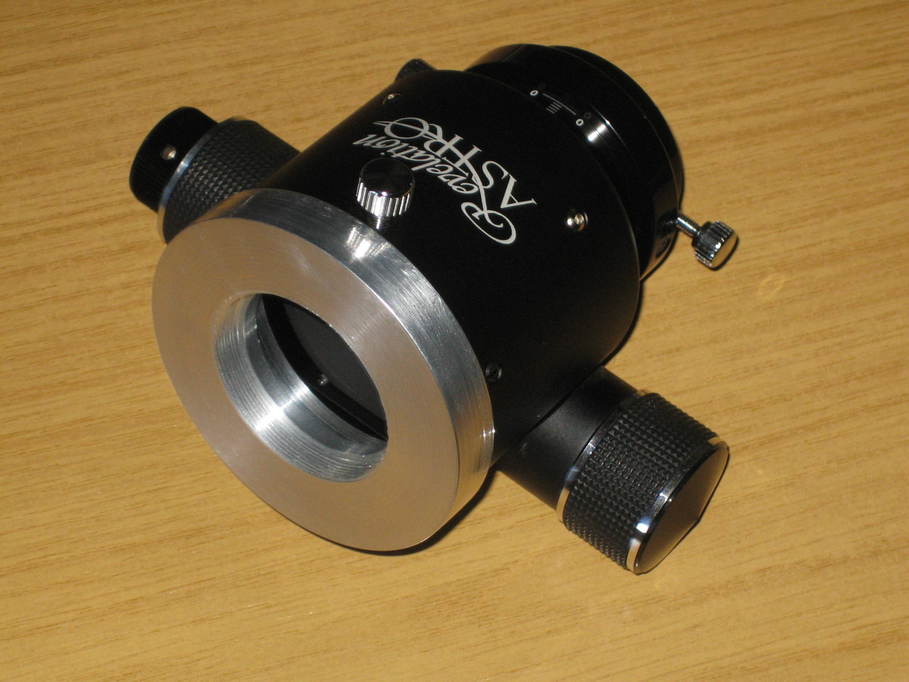
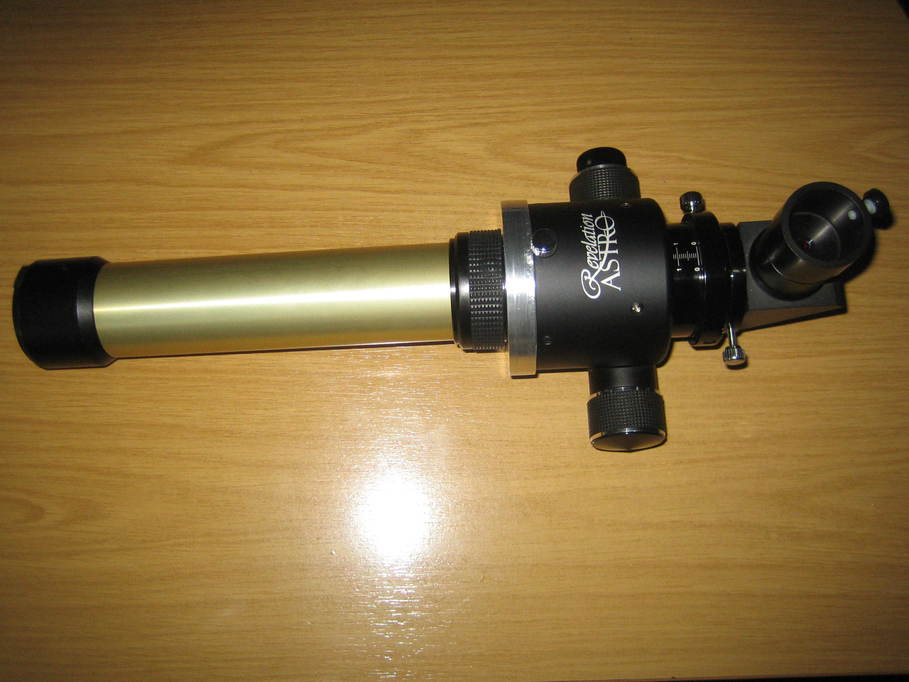
Finding a reasonably-priced SCT focuser proved tricky as all the Skywatcher and Revelation ones appear to be sold out, but I was offered a Revelation one second hand and was pleased to give it a new purpose:
When it arrived I found that the etalon couldn’t really be made to fit the SCT thread and by bodging the two together with an unpleasantly large amount of PTFE tape that the focus point was still sufficiently close to the focuser to mean that making up an additional adapter would have moved the focus point too far inside the focuser. So there was only one thing for it: push my newly-learnt machining skills to the limit and make a replacement fitting for the focuser. Fortunately the Revelation SCT focuser has an SCT fitting that is intended to allow the focuser to be rotated. Undoing the screws meant that would come out. I took some measurements and ordered a nice big chunk of 3.5″ diameter aluminium bar from that ebay.
At this point I should perhaps make a few admissions. I’ve never turned anything this diameter before (I only put hands on a lathe for the first time at the start of this year). I’ve never turned a thread on anything before. And I’m entirely self-taught. If anyone is thinking “recipe for disaster” at this point, I’d not blame them
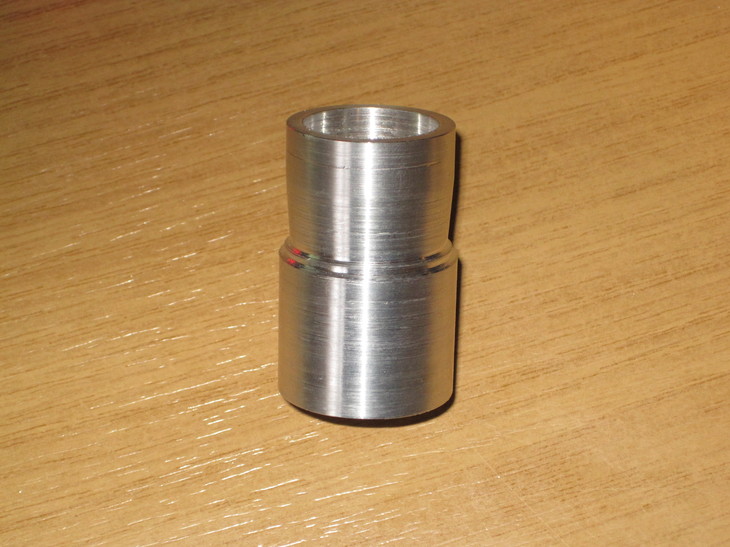
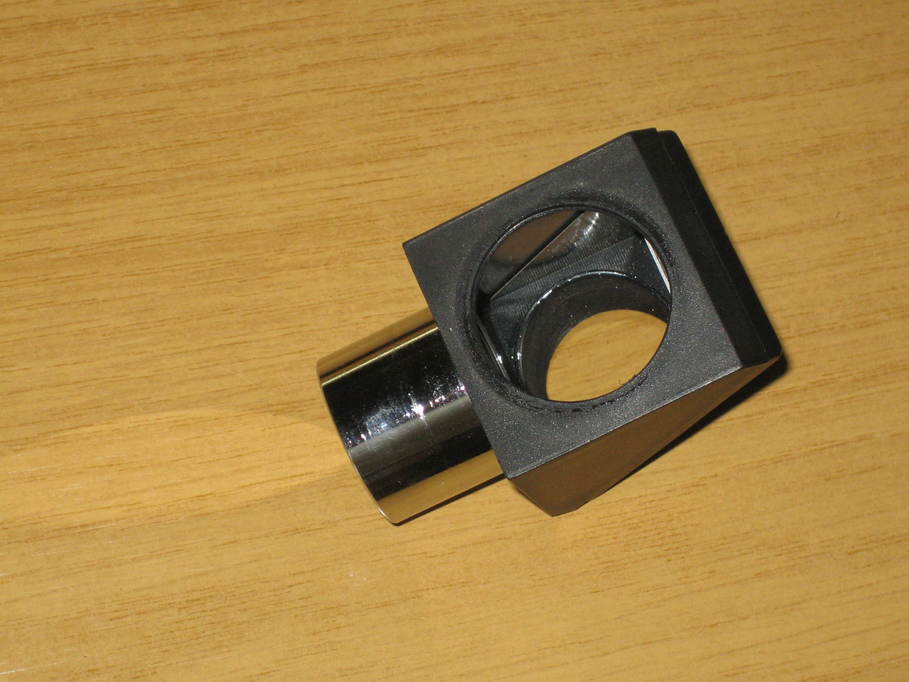
After a bit of faffing about trying to turn something that was big enough for the chuck to almost foul the topslide, a very fast education on the use of changewheels and thread turning and a good deal of “turning by the seat of one’s pants” I have this evening produced this:

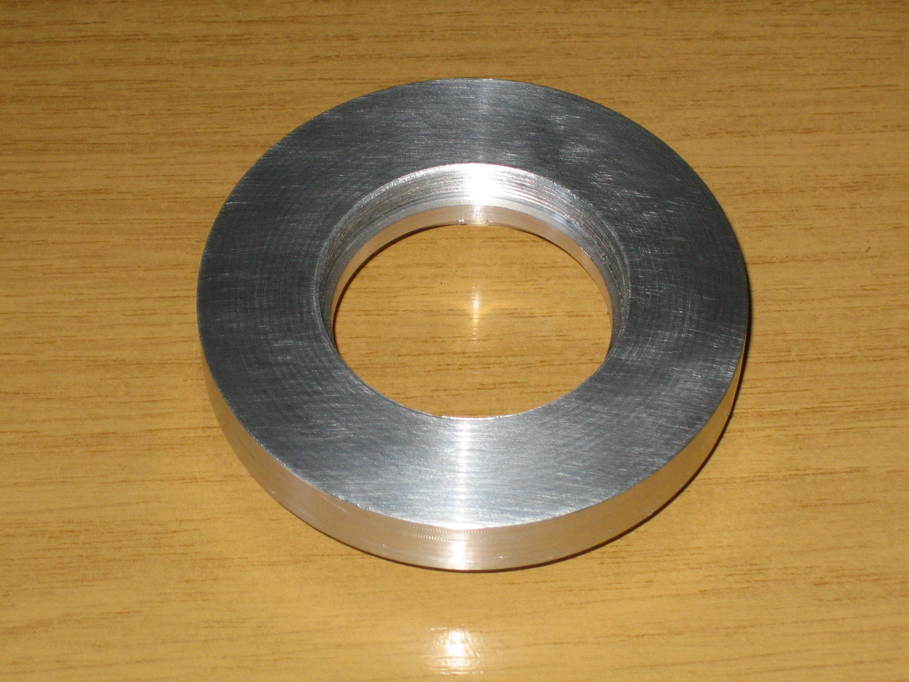
The M50 female thread was cut by turning the lathe by hand using the sweat of the fear of messing up a lot of turning work as lubricant. Once done I fitted it to the focuser:
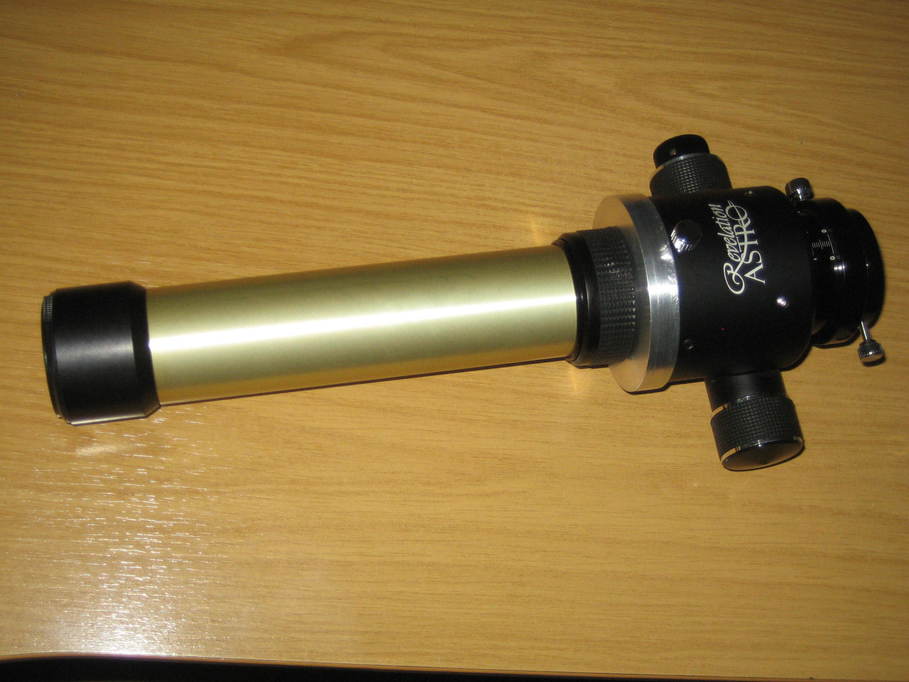
And now for the moment of truth… fitting the “gold tube”. Perfect:
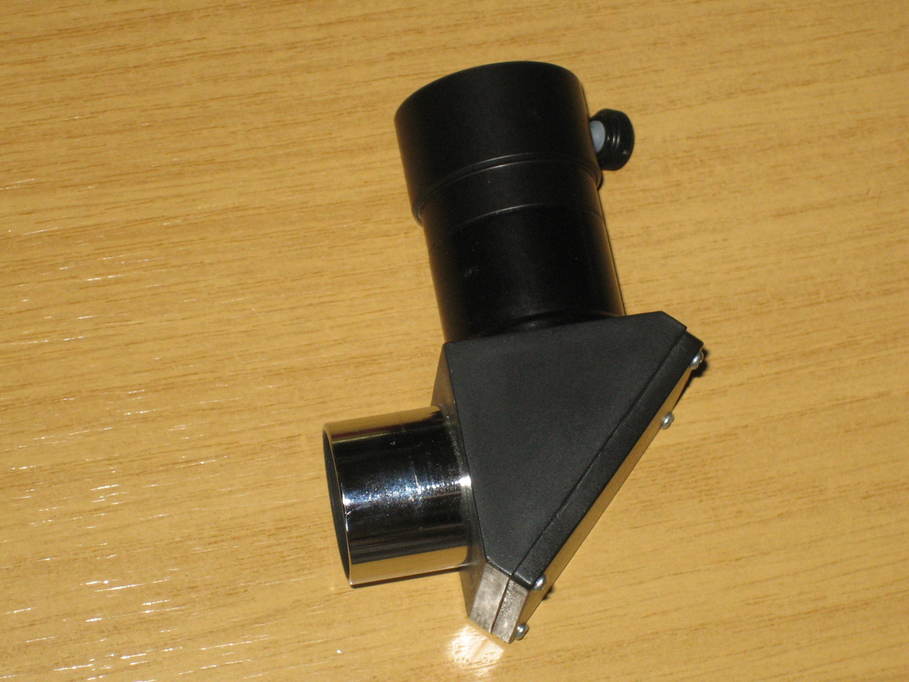
By now more than one person is probably thinking “Yeah, but what about the eyepiece holder?” Well, I’d read that it could be removed from the “black box” and had the same thread as the holder on a Celestron 1.25″ diagonal. I happened to have one and it works. Unfortunately the Celestron diagonal is a prism and the thread fouls the prism slightly, so I took apart a Skywatcher diagonal.
Turns out it uses the same thread.
And now here’s the entire unit assembled:
Obviously there’s still more to do, like testing it, for a start
I also need to make up some mounting rings for it. I have some more aluminium on order for that. Then it will need a finder which I’ll probably fit to the top of one of the mounting rings. And now I’m not so scared of thread-cutting I’m going to make up a 2″ fitting for the focuser that takes the eyepiece directly without needing a diagonal and I’ll use that for imaging.