
I’ve put quite a bit of time into oacapture and oalive this year and hopefully they’re the better for it, with a new release coming soon. Github demonstrates the depth of my efforts:
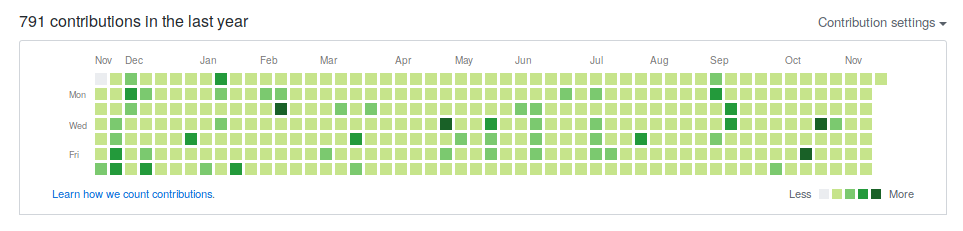
I’ve put quite a bit of time into oacapture and oalive this year and hopefully they’re the better for it, with a new release coming soon. Github demonstrates the depth of my efforts:
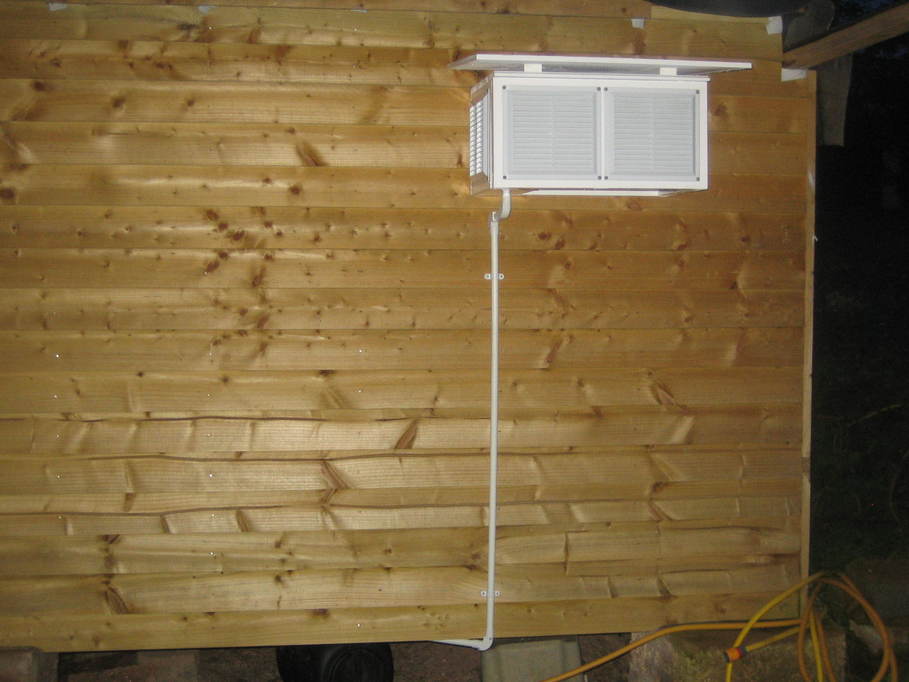
My Stevenson screen is now finally in place, mounted on the outside wall of the observatory warm room, allowing cabling to be routed into the warm room for collecting the data. Initially the instruments will be connected to the warm room PC and I’ve run some cables through a bit of spare conduit for that purpose.
It’s been a while since I last found time to post anything thanks to life being quite busy, even over Christmas so I thought it was time for a bit of a catch-up.
Swimming hasn’t really been going that well. I think I’ve possibly just been pushing myself too hard in all things of late and my body is struggling a bit to keep up the pace. I have restarted properly this week however, so more of that later.
First piece of news after my last post however is that it snowed a few days later! In mid-November! I don’t recall that happening in a very long time.
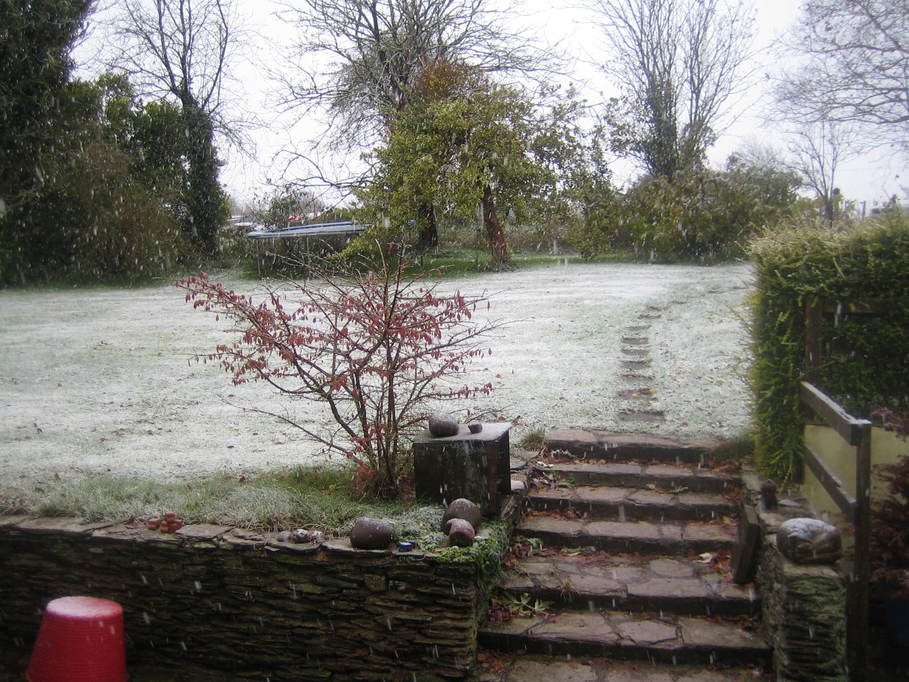
Since then it has been very mild and only looks like it might to start getting colder again this week. In mid December we were having temperatures of over 10C during the day quite regularly.
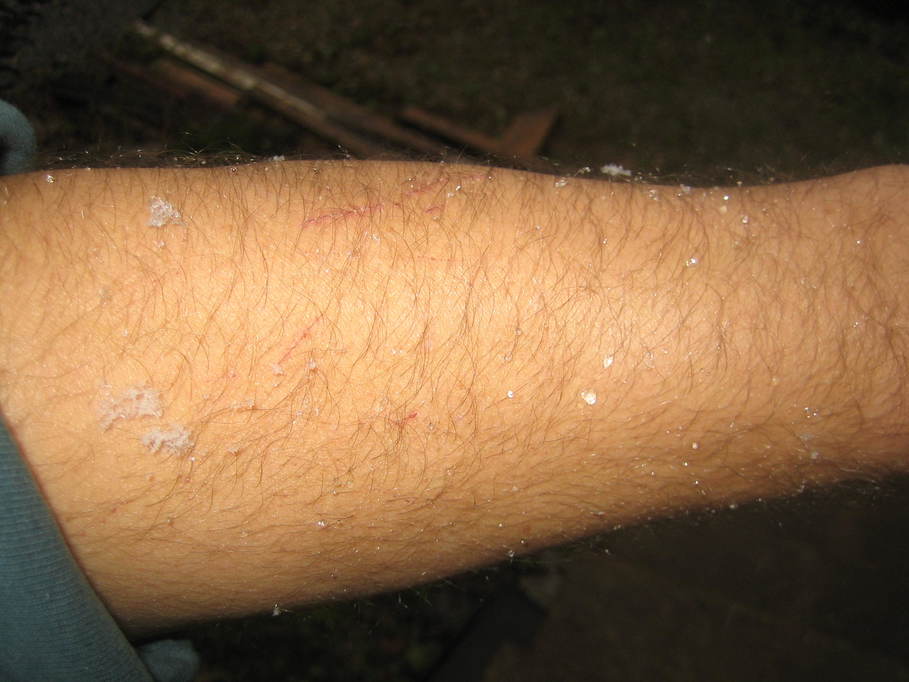
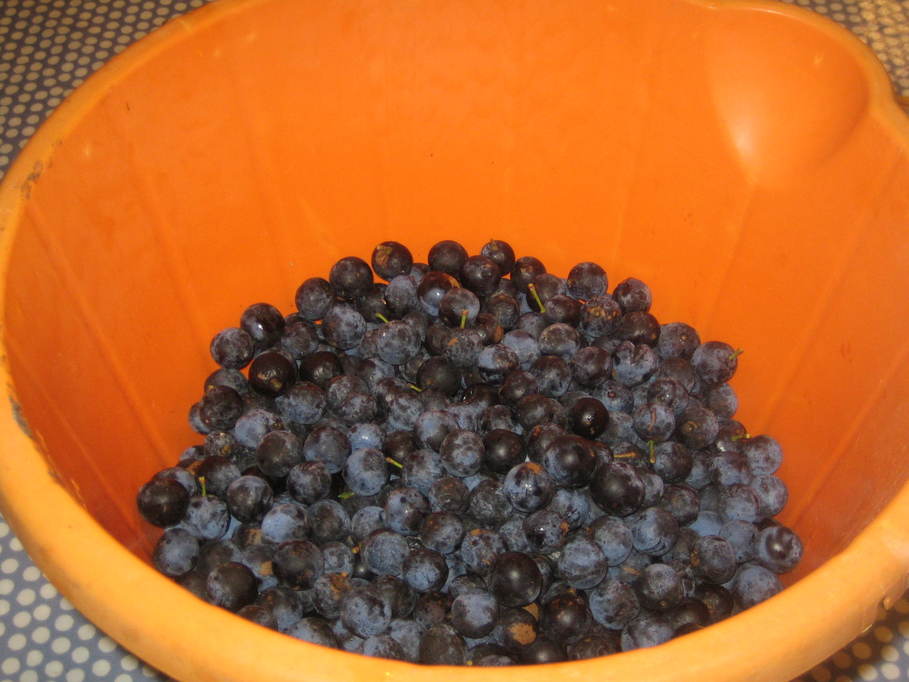
I spent an hour or so this afternoon exploring the hedgerows and collecting sloes. It’s a job I’ve put off for a couple of weeks waiting for the rain to stop and the days to turn colder. It seems the amount of rain we’ve had has caused many to split and start to rot, but there were still plenty left and I managed to collect three or four kilos before I’d had enough of the cold. My forearms are also covered in scratches now. Blackthorn is really quite a brutal plant to tangle with.
Anyhow, they’re off to the freezer for a while to save me having to pierce the skins before I use them to make sloe gin and vodka. I might also keep some back to make sloe cordial.
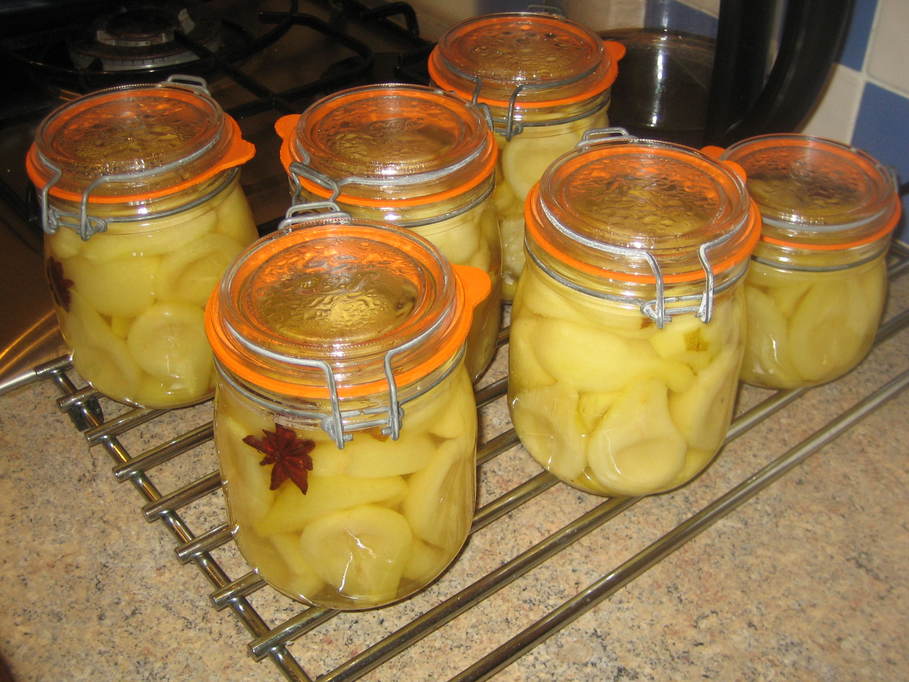
When I returned to the kitchen I found that I wasn’t the only one labouring with the autumn harvest. A very appealing selection of bottled pears had appeared on the worktop. I shall look forward to trying them…
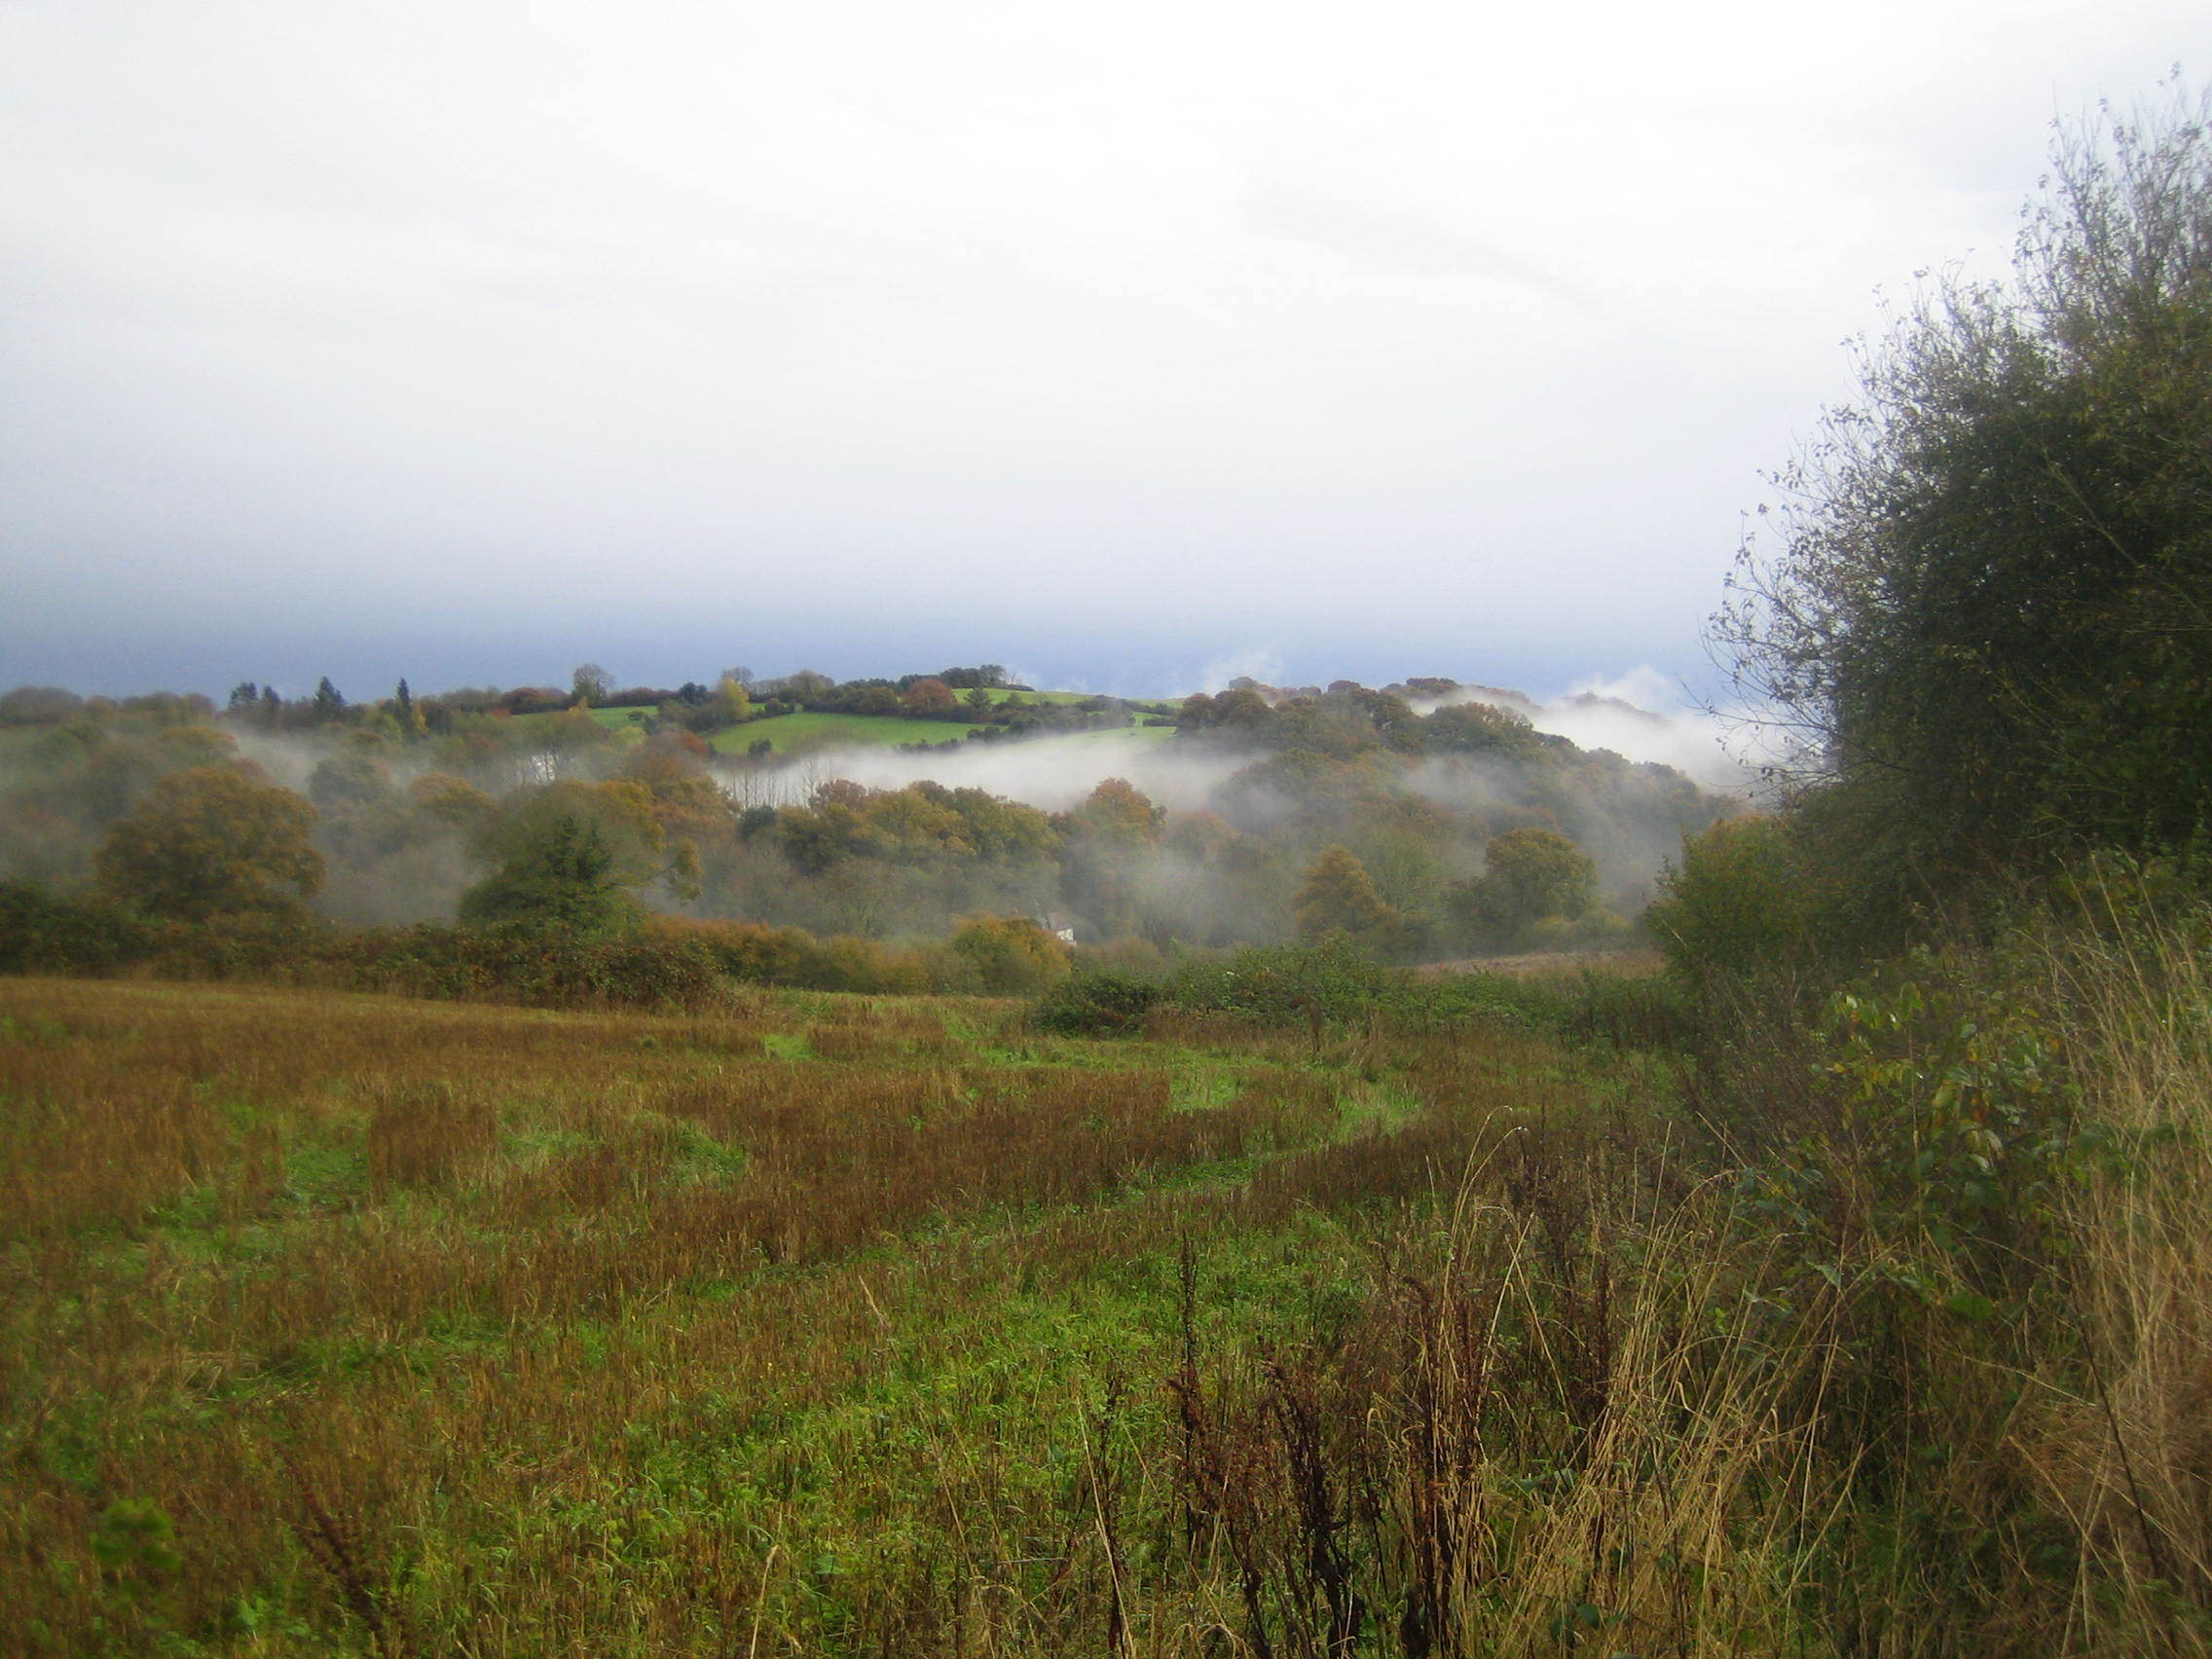
I left the workshop whilst working on my Stevenson screen and looked across the valley to the east through the sycamore trees. Something wasn’t quite right, but it took me a little while to work out what. It was the colour that was wrong. Where it should have been a mix of green and autumnal reds and yellows, there was just greyness beyond. Whilst the air was clear at my altitude, there was a thick layer of cloud above, and another lower down in the valley. It was clearing rapidly so this photo sadly doesn’t do it justice.
I had to wait a fair while for the paint to dry (and it isn’t really properly hardened off yet), but that wasn’t a major issue as I was also waiting for some stainless screws to arrive. Yesterday I finally got around to assembling all the parts so far and this is how it now looks.
I have a couple more sections of 30mm square timber to fix across the back on the inside to allow me to fix the sensors in position, but the major piece left to do is to fit the upper roof. That has all been painted with undercoat and hopefully this week I can get the final coats on so it can be completely assembled and put into place next weekend.
Some time ago I had a 1-wire weather station and a number of other 1-wire weather-related sensors run from a Linux server. It wasn’t hugely reliable because the cable run was really a bit too long, but with a bit of messing about I got it working with some software called OWW. Unfortunately a few years back the weather station blew down in a storm and I didn’t get around to putting it back, but now it is time to get things sorted.
I have a USB adaptor for my 1-wire network. Plugging that in together with a number of the 1-wire devices reveals that the world has changed somewhat, and not entirely for the better. It seems that recent Linux kernels recognise some 1-wire devices directly and create device entries for them in the file system tree, but they don’t recognise everything I have. And in fact, on my 64-bit Intel desktop running Mint 19, the drivers cause a kernel panic 🙁
Switching all the hardware to a Raspberry seemed to work better. Perhaps the drivers are more stable in a 32-bit environment. I still have the problem that not all the sensors are recognised however.
A little investigation of the OWW code reveals that it expects to manage the 1-wire devices directly, so I decided to move back to my desktop, but blacklist all the standard 1-wire drivers and allow OWW to do its stuff. I did have a few problems getting OWW to build on Mint 19. Getting the correct set of dev packages installed took a while and then I had to edit the code so the fonts didn’t come out a ridiculous size, but eventually I got there. Then I found that it still couldn’t read the devices. Fortunately my experience with astronomy cameras stood me in good stead and I realised I’d need a udev script to make the USB controller readable by my user id.
That done, I plugged in the circuit board of my AAG weather station, a pressure sensor and a combined solar/temperature sensor and fired up OWW again. It lives, Igor!
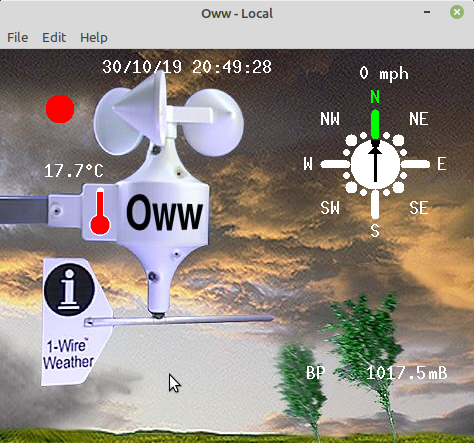
OWW whines about an error reading the wind direction ADC, but I think that’s because I dismantled the weather station so I could remove one of the 6P6C plugs (the cable tore out of the plug when it was blown down) and replace it. I’ve not reassembled it yet. I’m actually half-tempted to try to 3d print an entire new housing as the original has somewhat degraded in the sunlight.
Getting this bit of software working is actually more than I need in fact. There’s a non-GUI version that can just log the data to a database which means it can be pulled out to be used however I want.
I also have a combined temperature/RH sensor that I want to try out (need to make up a cable for that, but it shouldn’t take long) and some loose DS18B20(?) temperature sensors I can test.
And most of them will be drunk.
I took advantage of the first sunny day for what seems like months a couple of weekends back to get out in the orchard and do something that’s been on my list of things to do for a few weeks: collect as many of the apples as I could that would be suitable for juicing. I ended up with ten sacks — probably somewhere between 150kg and 200kg.
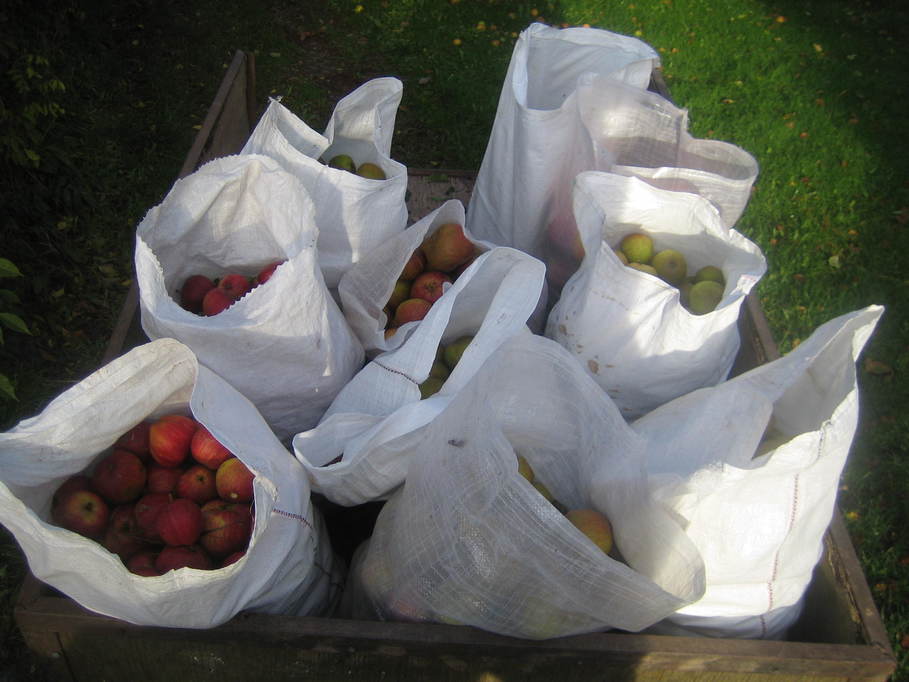
I picked pretty much anything that I thought we’d not eat all of and isn’t a cooking or cider apple (cider apples will be harvested soon) and there’s quite a mix of varieties including Egremont Russet, Tom Putt, Ellison’s Orange, Blenheim Orange, Ashmead’s Kernel, Charles Ross and Braeburn.
Of course this now adds several more jobs to my list as I must now dig out the apple crusher and press and clean them up ready to do the actual juicing.
Now the observatory is up and running my mind has turned to wiring up my weather station kit again and getting it all working as I can now connect it all to the PC in the observatory and have some records of conditions when I’ve been observing/imaging. I dismantled everything some time back when my last bodged-together screen gave up the ghost, so this time I thought I’d do a bit better job though most of the materials will be stuff I have sitting around the place.
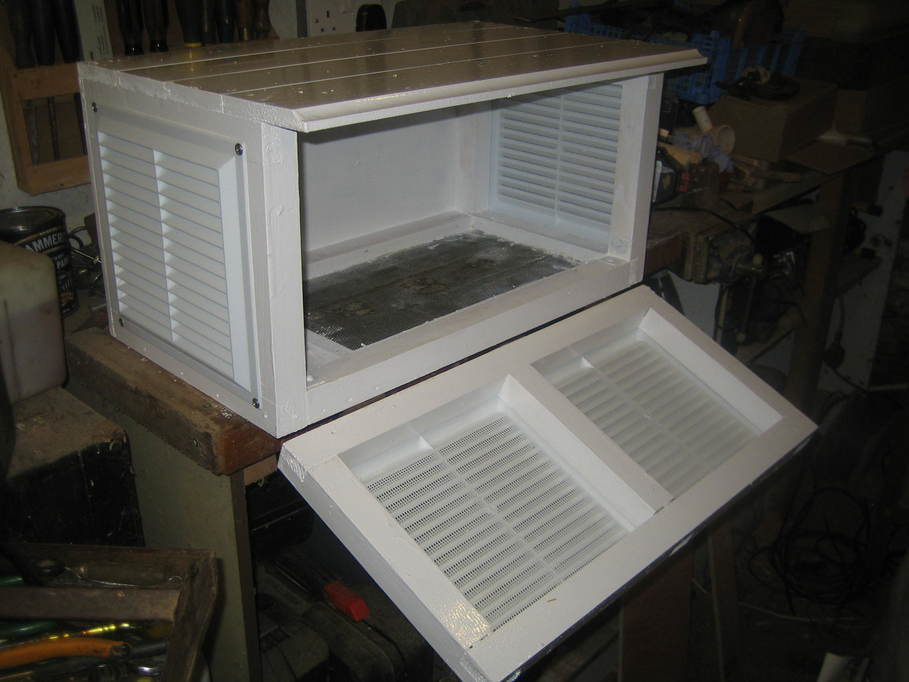
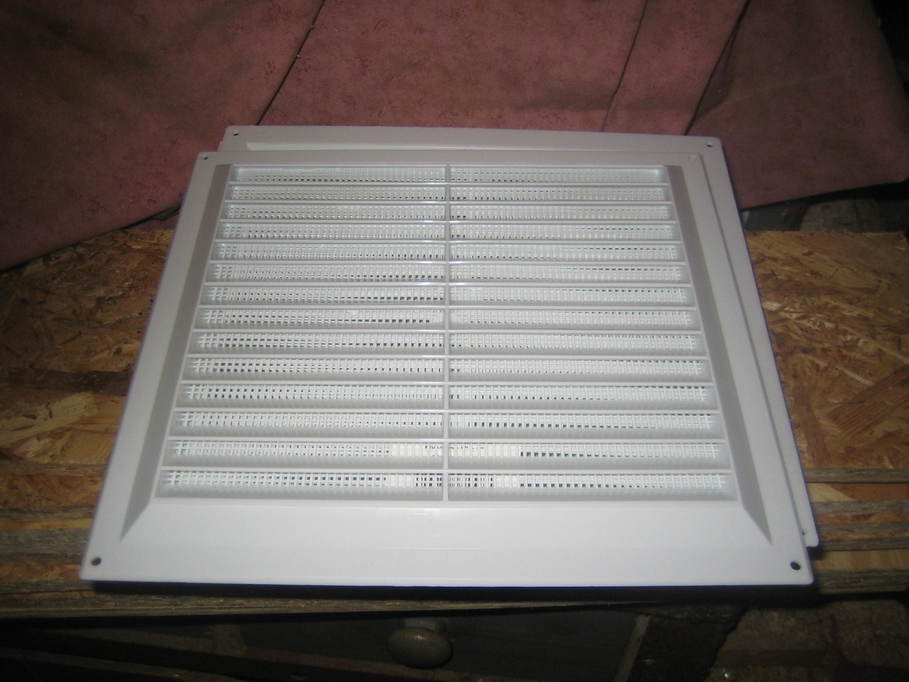
Initially I had considered 3D printing the louvred sides, but I discovered that Screwfix sell vents about 200mm square with built-in insect screens (I’m not desperately keen on it becoming a home for bees/wasps/hornets) for about £1.40 each and anything else looked rather too much effort at that point, so I bought four of them, one for each side and two for the door:
A hunt about in the stack of wood “that may come in useful one day” turned up some 30mm square softwood, a bit of T&G and a few offcuts of ply and I also found some galvanised mesh I could use for a floor, so I set to with the tools and made up a box and frame for the door:
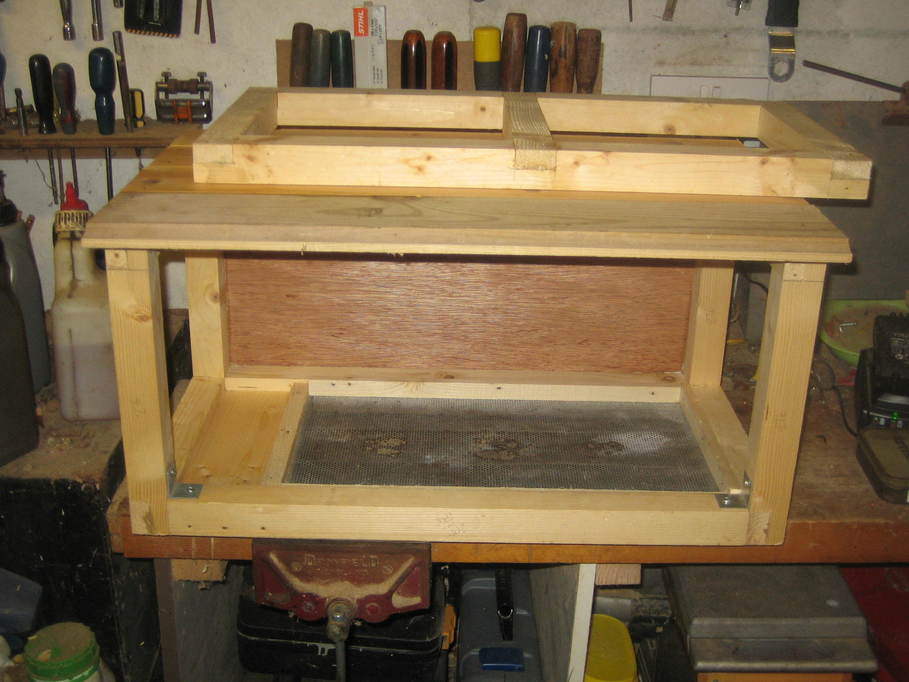
The wooden floor section is to allow me to drill holes for feeding cables in.
The next steps are to make up a second roof (apparently a second roof with an air gap underneath is desirable, presumably to reduce the effect of the Sun) and to paint everything so I can finish assembling it all. I was contemplating covering the second roof with an offcut of EPDM, but I’m not sure at the moment. It might well defeat the object of having a second roof in the first place. On the other hand, this will be going on the north east wall of the observatory, so shouldn’t really get any significant heating from the Sun anyhow.
I’m very happy with my little Photoline 72, but with a camera sensor of any size it becomes obvious that the field is far from flat. So much so in fact that it’s sometimes difficult to get Deep Sky Stacker to stack my image frames. When a TSRED279 come up for sale used it seemed like an obvious choice to try.
Spacing between the reducer/flattener and the camera sensor is supposed to be fairly critical and the figures on TS’s website are a bit on the vague side. An email to their support people didn’t help much, so I tried to draw a rough graph from the figures they do publish and estimated the actual distance from there. I also used the 3d printer to make some spacers of varying thicknesses from 0.5mm to 3mm that would fit over a T2 thread to help with getting the spacing correct. These will doubtless come in useful elsewhere and in fact help to prevent threads on extensions and suchlike from locking against each other.
The result is a huge improvement, though I’m not sure I have things perfect quite yet. I’ve gone from having stars that were barely even recognisable as such towards the edges of the frame to this:
Top left:

Top right:

Bottom left:

Bottom right:

Centre:

I think there’s more to be done here, possibly in getting the camera sensor completely perpendicular to the optical axis, as the reducer is only threaded on the camera side and has to be clamped into the end of the OTA which obviously has the potential to create alignment errors.
I’m going to give it a bit of time to see how I get on with a few images before changing anything else though.