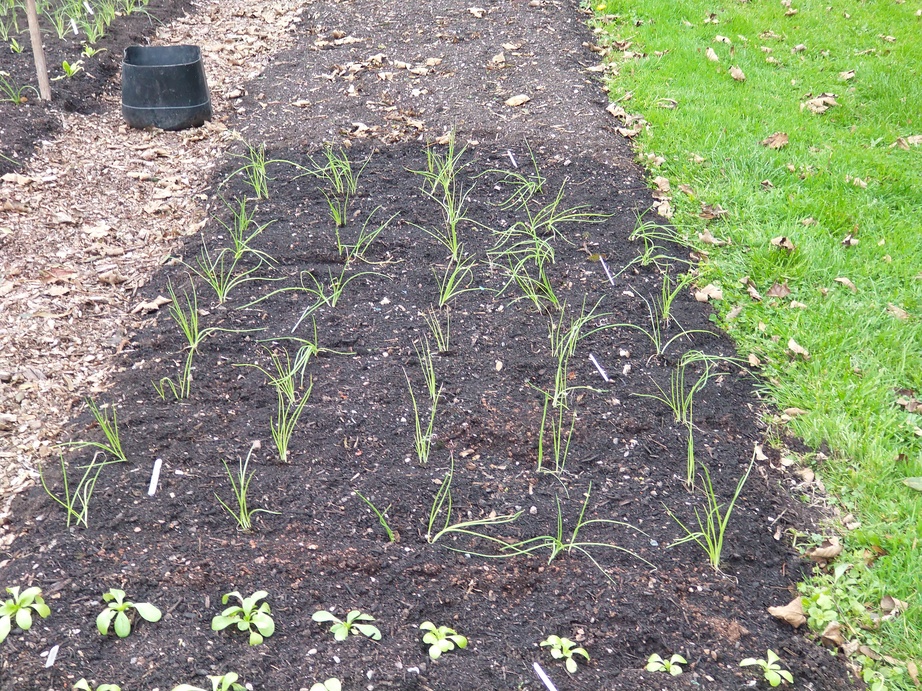
Today I transplanted the last of the salad leaves that I’m attempting to keep alive through the winter in the greenhouse. These were a mustard called “Pizzo” which took me a little longer to get hold of than the rest so were planted a couple of weeks later. Like the others they’re now in a “mushroom tray” full of compost, six plants to the tray.
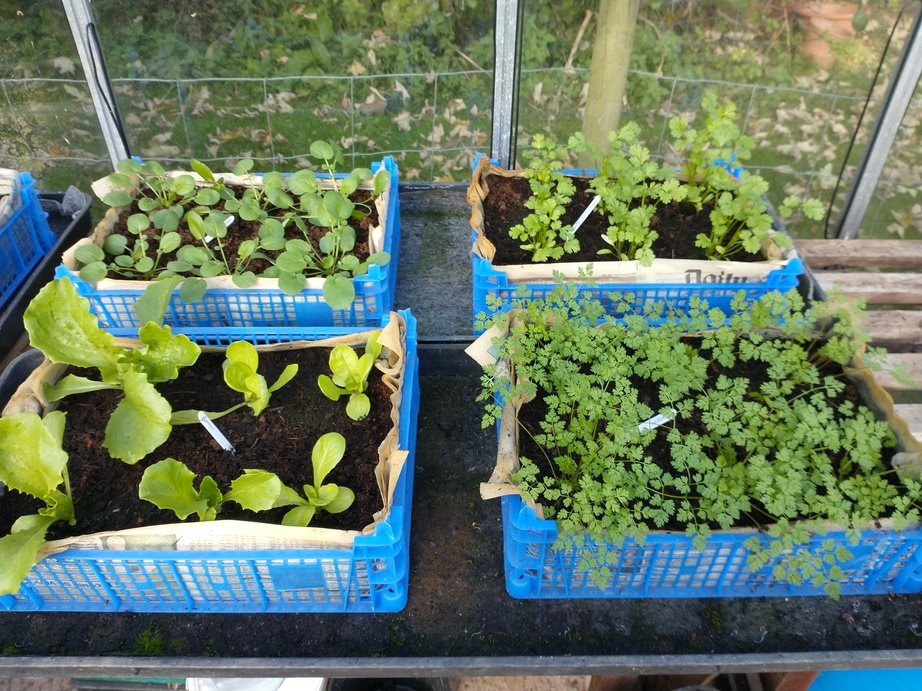
So, I now have (clockwise from top left) land cress, coriander, chervil and “Robinson” lettuce.
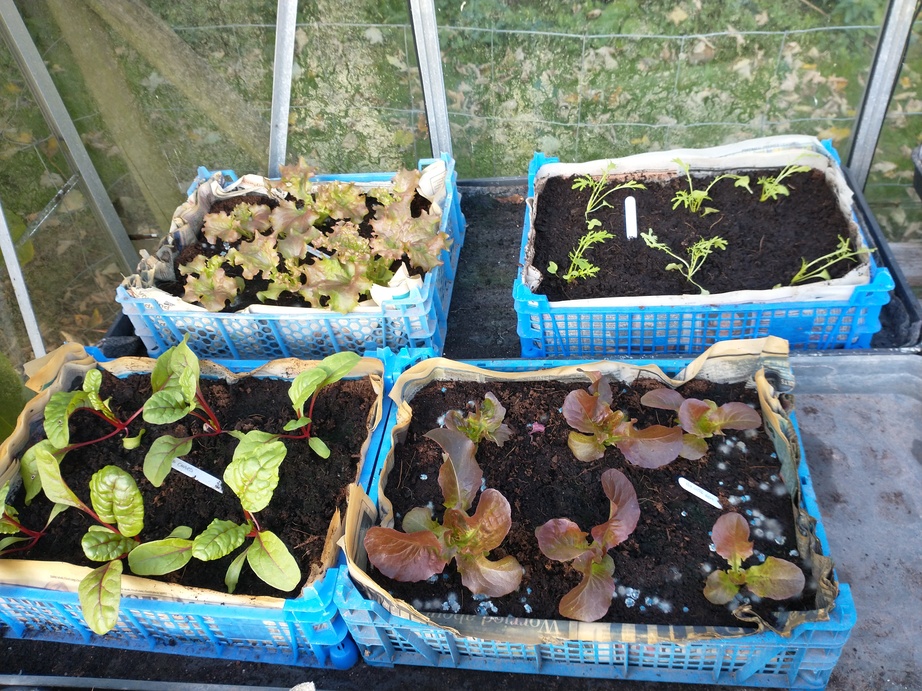
“Lollo Rossa” lettuce, mustard “Golden Streaks”, “Red Little Gem” lettuce and red chard.
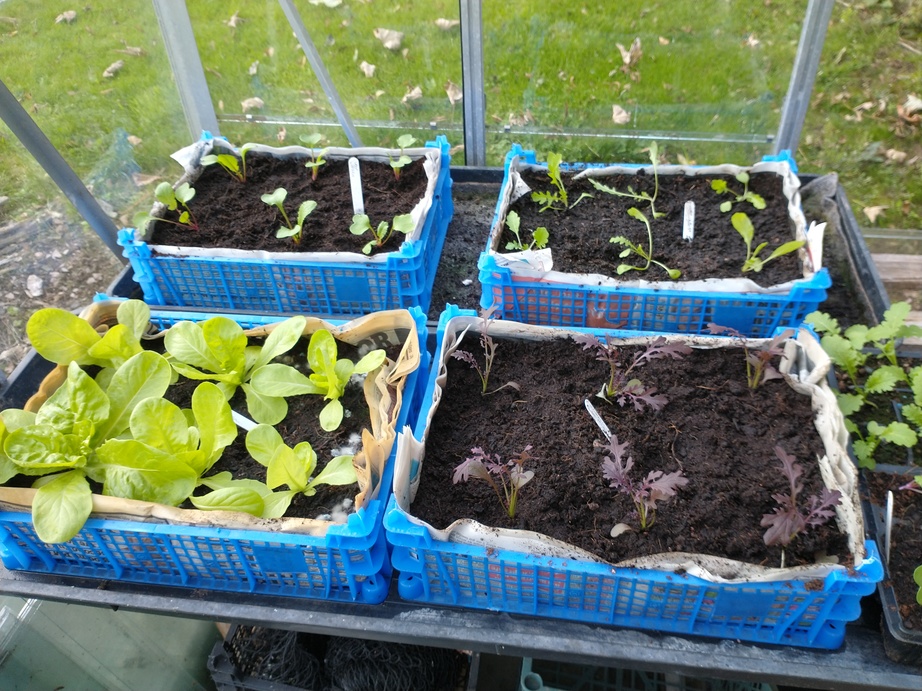
Leaf radish, salad rocket, mustard “Red Frills” and “Webbs Wonderful” lettuce.
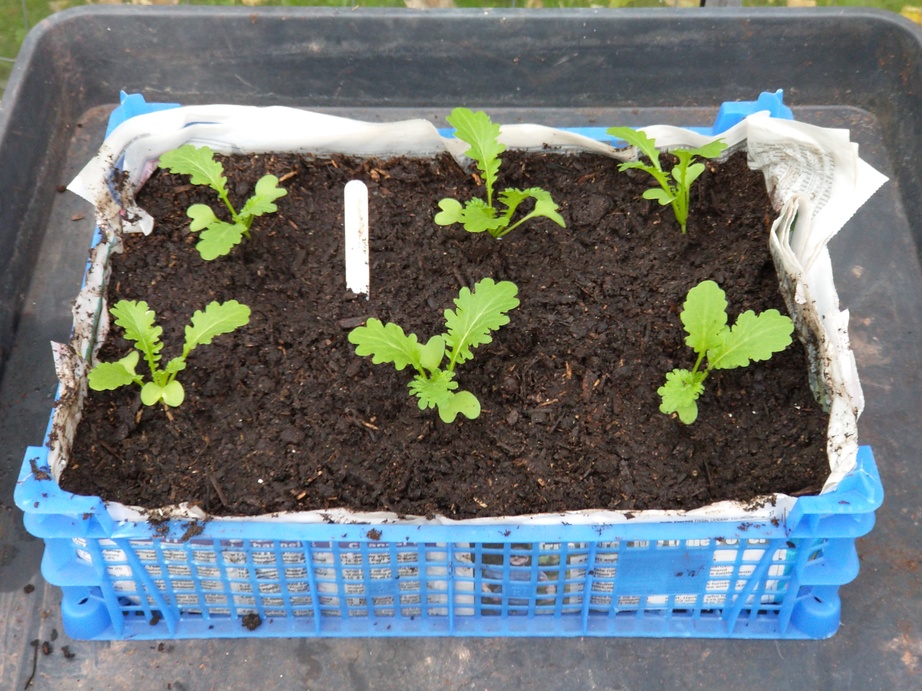
Mustard “Pizzo”
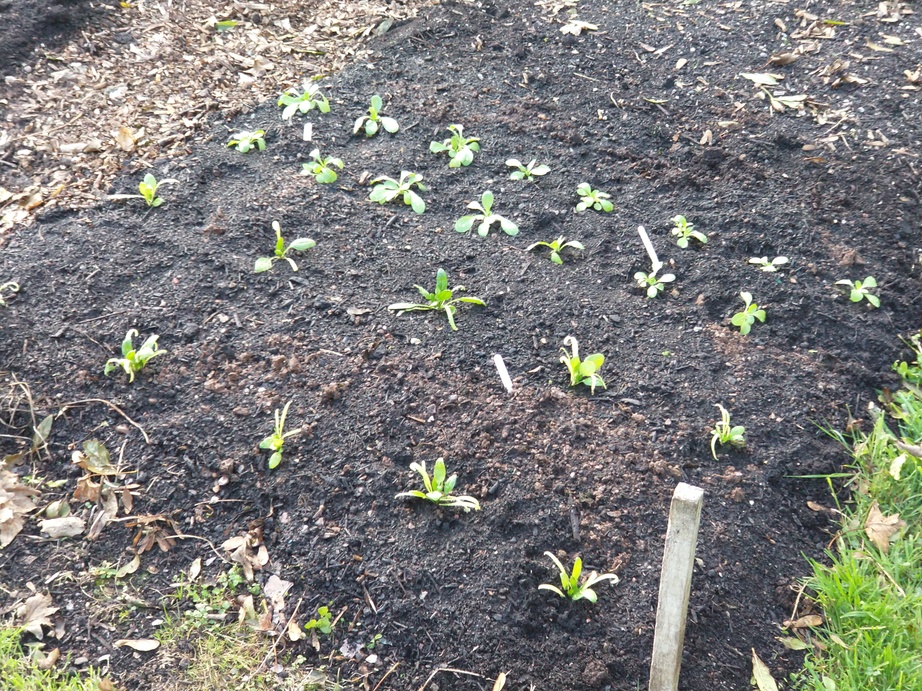
“Left over” plants have mostly gone into the polytunnel beds though I have a bit of a backlog now. The ones already in the polytunnel are clearly not growing as fast as those in the greenhouse. I suspect that’s something to do with the cooler temperature in the polytunnel, and perhaps also that they’re growing in a bed that has already been used once this year. The greenhouse plants actually look as though I could take a first pick off some of them already, though it would probably be quite a small salad. Certainly not enough for more than two people and perhaps only sufficient for one.
It seems like a lot of plants, but I have no idea what to expect in terms of growth or how often I’ll be able to pick nor how much I’ll be able to pick. I’d very much like to guarantee one salad a week for four people. Two a week, or enough for six people would be better still.