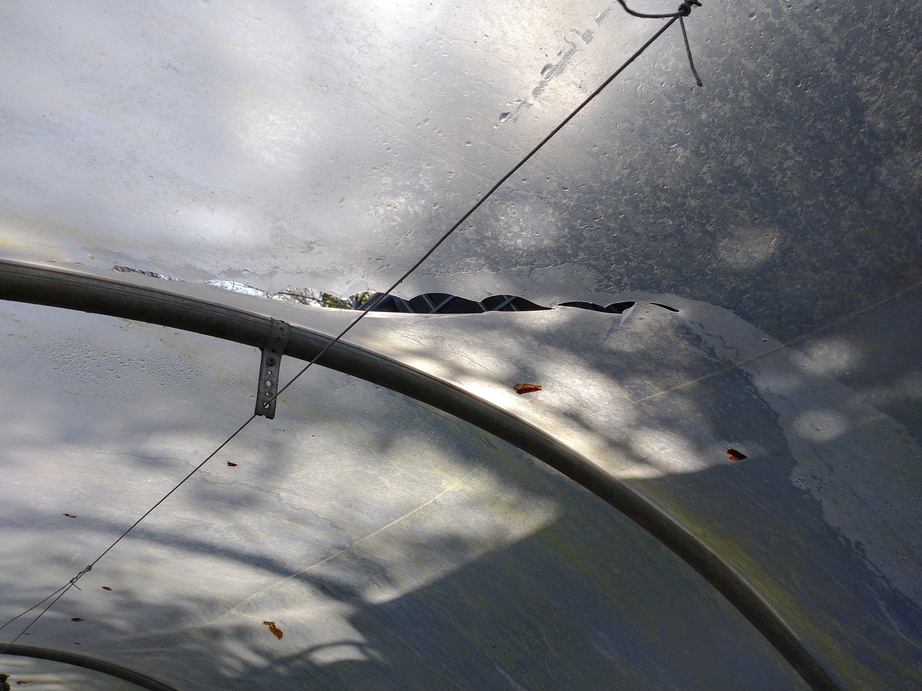
Storm Bella may have brought us the strongest winds we’ve had here for some years and given the saturation of the ground I was concerned that we might see a few trees come down. We appear to have got off fairly lightly though. So far the only damage I’ve found is a couple of broken panes of glass in the greenhouse and a couple of tears in the polytunnel, including this rather nasty one.
To sort out the greenhouse I have temporarily replaced the glass with a couple of pieces of ply. Those panes face north west and there’s precious little light entering from that direction at the moment so I hope that should be fine.
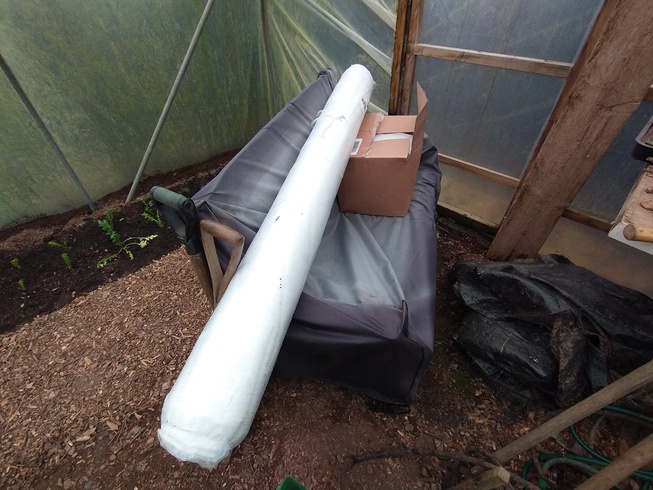
Fortunately I also have some polytunnel repair tape. Unfortunately it would appear not to stick at all well to the “anti-drip” coating on the inside of the tunnel which was the easiest way to make a repair. I ended up fixing it from the outside, drying the plastic off with an old rag, fixing down the tape and trying to get as far as I could before next rain shower. It took a few attempts 🙁 Everything looks ok now though.
We also now have a huge amount of standing water on the ground despite being on a hill. I’m going to try to dig a few drainage channels to get rid of some of it as I think it’s causing water to come through the dwarf walls of the greenhouse.
A small positive is that yesterday afternoon in expectation of the storm I spent some time straightening out the bottom rails for the new greenhouse, three of which were quite badly bent in places. I fixed those into place which stiffened up the entire structure enormously which meant that it stood up to the winds without a problem.