Astronomy-wise it’s been a fairly rubbish last month and a half. Here in the back end of beyond it’s been nearly permanently cloudy and there have been periods of several days where there’s been no hint of blue sky. In fact in late September we were inside the clouds for several days.
The potential lack of activity turned my thoughts towards something I’ve been wanting to do for ages, which is to put together some sort of unified hardware interface for (mainly astro-) imaging on Linux. Initially I’d like a single interface for communicating with cameras. For those that are supported by V4L2 that’s great, but unfortunately there are plenty that aren’t. There are some barriers to adding them too, not the least of which is that some vendors only provide closed source interface libraries. But there’s also the problem that V4L2 does’t appear to have functionality for control of cooling, guiding and so on. I’m aware of INDI and it’s a project that should be commended, but it doesn’t solve some problems the way I want them solved. So, I’ve set out to write a generic camera control library from scratch myself.
Writing just the library is a bit tedious though, so to spur me along I’m writing it in tandem with a planetary capture application, all of which will be open source once I have it in acceptable shape.
The library itself will be in C for ease of linking against the kernel and any other languages that it might be useful to use it from. I’ve been meaning to find my way around Qt for some time, so I’m using that for the capture application and therefore C++ for that. It’s entirely possible that much of the code will port to Windows (though pretty much everything already exists there already) and the Mac fairly easily if the V4L2 side is ignored, but my priority is Linux.
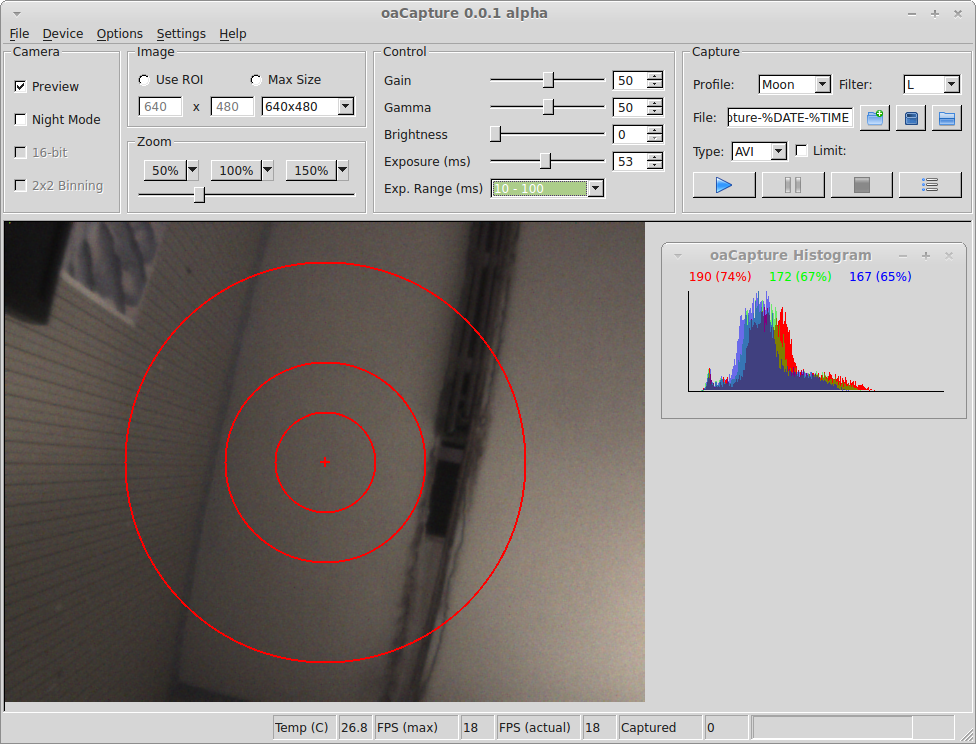
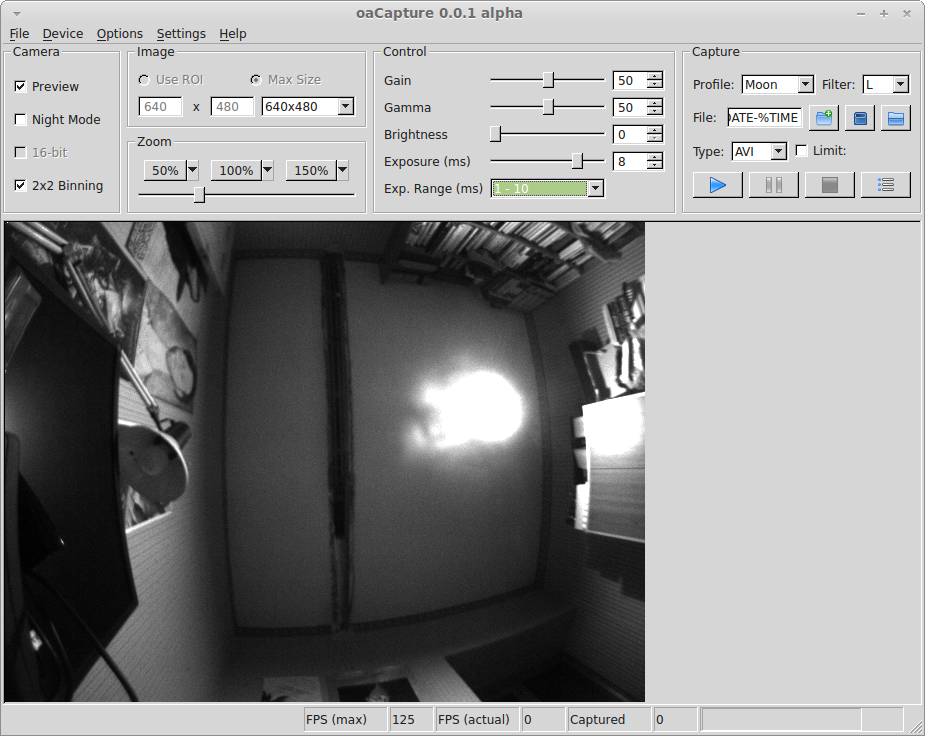
A couple of weeks worth of evenings spent keyboard-wrangling has got me to the stage where I have bits of code hanging together well enough to display images from one of my SPC900 webcams using V4L2. I wasn’t expecting that at all. The Philips driver used for the camera has been hideously poorly supported and broken in previous kernels, but on my Mint 15 desktop it seems to work fine. I was thinking I’d probably have to write my own userspace driver, but for the moment at least that doesn’t seem necessary. It does mean that pretty much any V4L2 camera should work with it. It doesn’t mean they’ll necessarily be any good for planetary imaging. My modded Lifecam Studio (which uses the UVC V4L2 driver) seems to work, though it doesn’t have a lens in and I can’t test it on the sky as I’ve not seen a star for weeks, but I do get an unfocused image as I’d expect.
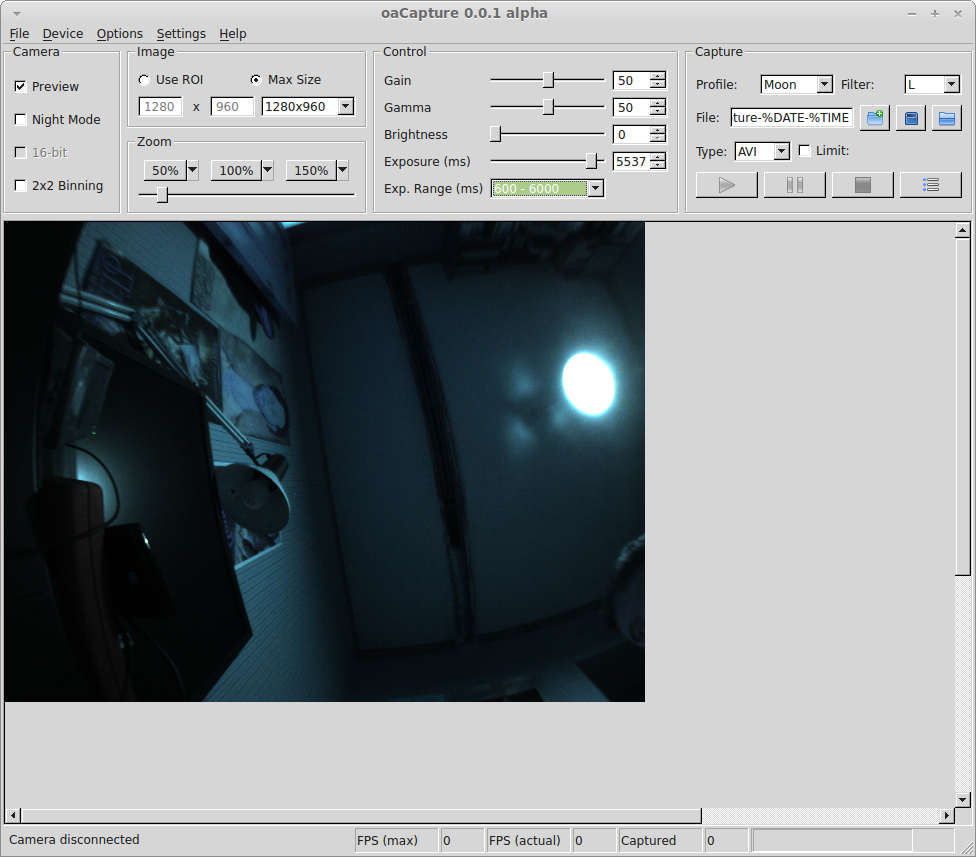
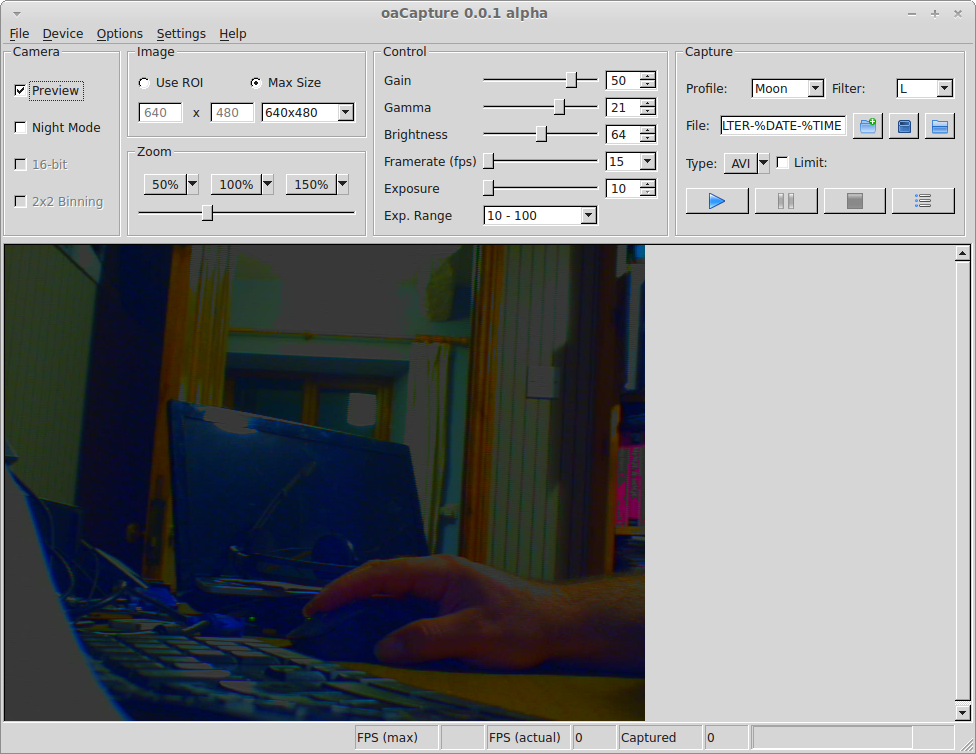
I’ve borrowed some UI ideas from FireCapture because I’m really not good at UI design, thrown in a few bits of my own and here’s the result the first time I ever managed to get an image displayed.
The next goal is to get the ZWO ASI120 mono and colour cameras working (as I have these and can test them). They’re supported using a vendor-supplied closed source library.
And obviously I need to be able to write the data I’m capturing out to disk. FITS files look good, but the overhead of opening many thousands of files doesn’t appeal for planetary imaging. I intend to support such output, but something else is required too. SER may also be useful, but not for colour. In the short term AVI looks like the only choice that is likely to be usable with tools such as Registax and AutoStakkert!2, so I’m going to be playing with FFmpeg I think.
Longer term I would like to support as many of the QHY variants as is feasible (I have a QHY5L-II mono and I’m working on a QHY5), some of the Point Grey cameras (of which I only have the Firefly MV) and the Imaging Source cameras (of which I have none). After that it’s anyone’s guess.
I shall post updates as I make progress.