I’ve been on something of a mystery tour over the last few days trying to work out exactly what is required to get the Imaging Source USB CCD astronomy cameras working on Linux. What information I’ve been able to find has been incomplete or even totally wrong.
The cameras I’m talking about here are these:
- DFK 21AU04.AS
- DMK 21AU04.AS
- DFK 21AU618.AS
- DMK 21AU618.AS
- DFK 31AU03.AS
- DMK 31AU03.AS
- DFK 41AU02.AS
- DMK 41AU02.AS
Whilst I’ve not found one to test, I assume the “DBK” variants of the colour cameras will be the same. There may even be others. Reading some German web pages that turned up in Google after I’d found the solution and searched for it again suggests that there are some TIS cameras intended for use with microscopes that may be the same too.
There is the hint of a suggestion on some web pages that all of these cameras are actually UVC or very close to it, but plug them in and they aren’t recognised and the UVC driver does not load. Inspection of the code makes it fairly obvious that this is because the UVC driver supports Imaging Source cameras with USB Vendor ID and Product ID of 199e:8102, whilst all of the above cameras have 199e:8101.
Apparently in the past it has been necessary to downgrade the firmware on these cameras to get them to function on Linux. I don’t know how that worked, but despite the insistence of TIS in their support forums it is no longer necessary. Neither is it necessary to use the unicap library (though I assume it would work if you did).
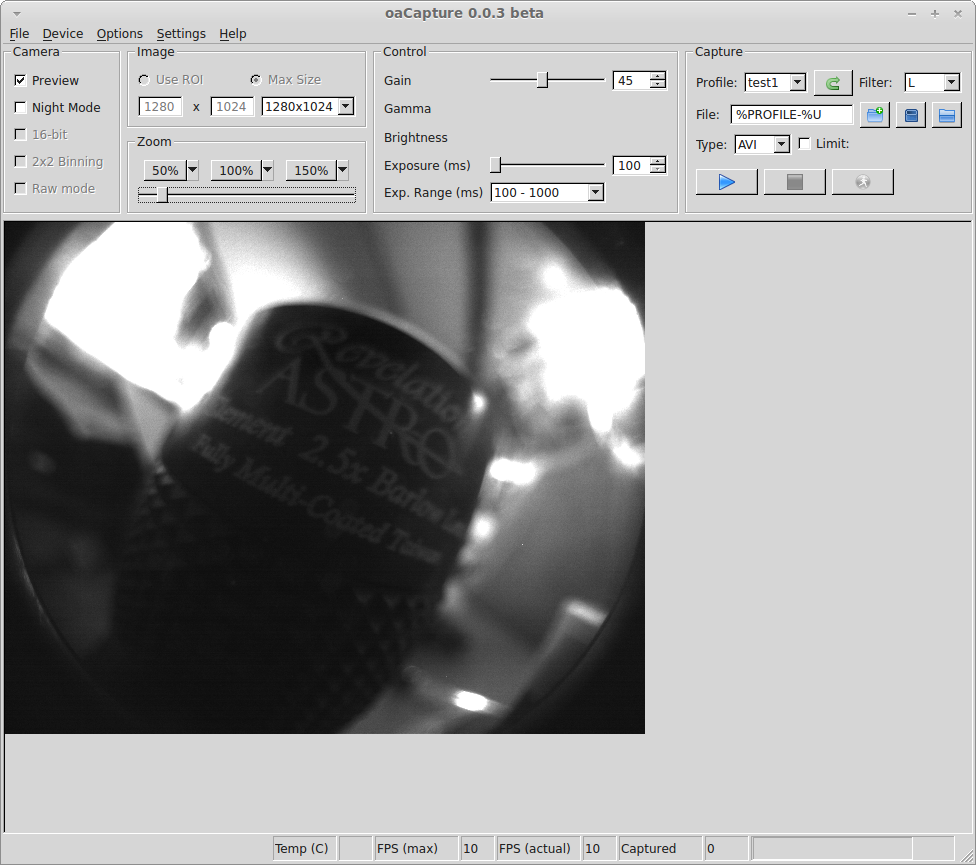
For my 3.8.0 kernel (and I am led to believe for all v3 kernels), all that is required to get the camera to function with V4L2 after plugging it in is to do this (as root):
modprobe uvcvideo
echo "199e 8101" > /sys/bus/usb/drivers/uvcvideo/new_id
The UVC driver should then recognise the camera. The colour cameras will not produce debayered image frames so there’s still work to do there unless you use an application that can handle the debayering itself, but it is at least possible to get data out of the camera now.
It’s possible to configure udev to do run a script that will execute the two lines above when the camera is inserted. I have a script called /usr/local/bin/config-tis-camera.sh that looks like this:
#!/bin/bash
#
# Load and appropriately configure UVC video driver for the USB TIS CCD
# cameras

USB_ID="199e 8101"
/sbin/modprobe uvcvideo && echo $USB_ID > /sys/bus/usb/drivers/uvcvideo/new_id
and a udev rules file /etc/udev/rules.d/70-tis-cameras.rules
# Udev rules for TIS CCD cameras
#

ACTION!="add", GOTO="tis_end"
SUBSYSTEM=="usb", ENV{DEVTYPE}=="usb_device", GOTO="tis_test"
SUBSYSTEM!="usb_device", GOTO="tis_end"

LABEL="tis_test"

ATTRS{idVendor}=="199e", ATTRS{idProduct}=="8101", RUN+="/usr/local/bin/config-tis-camera.sh"

LABEL="tis_end"
which works for me on Mint 15.

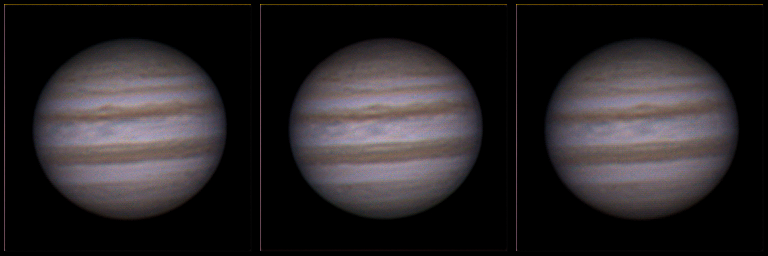
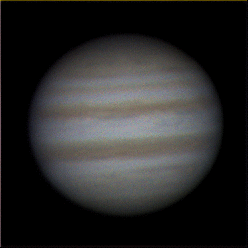
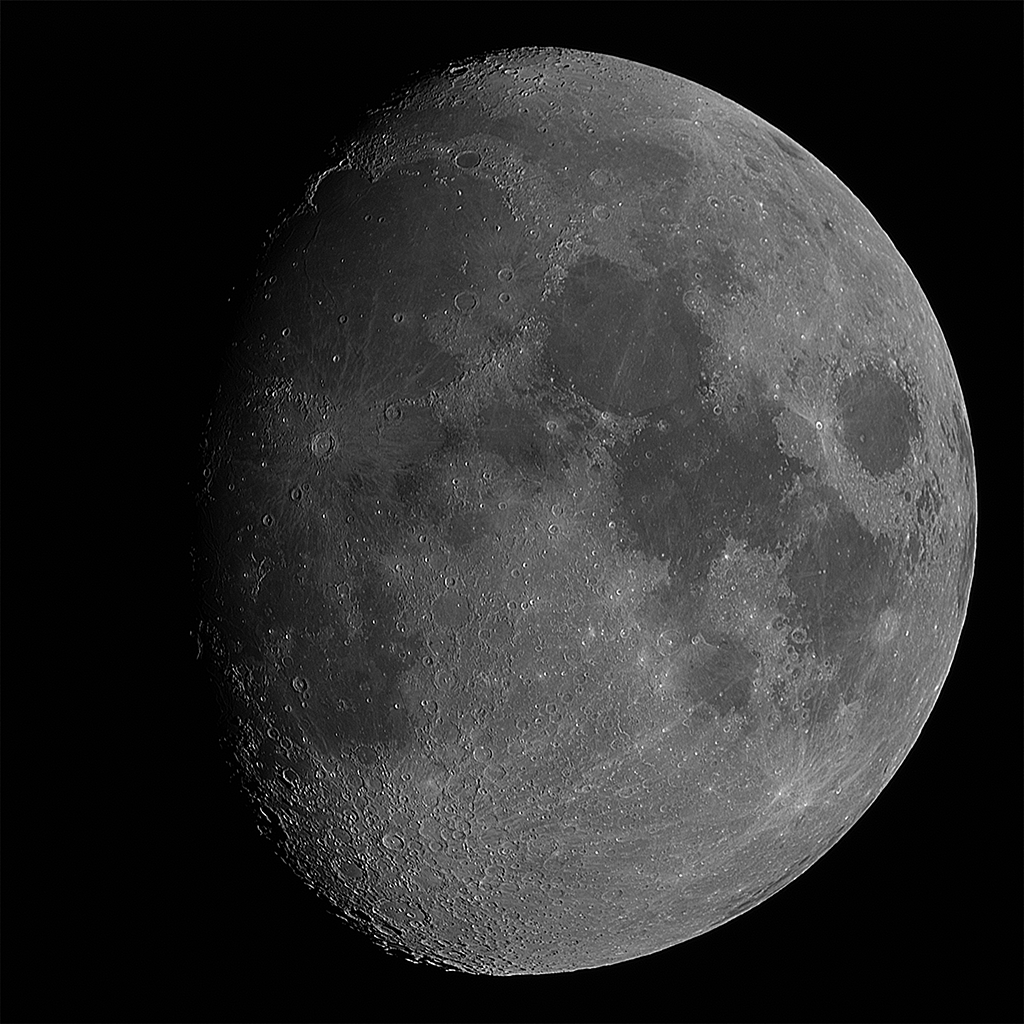
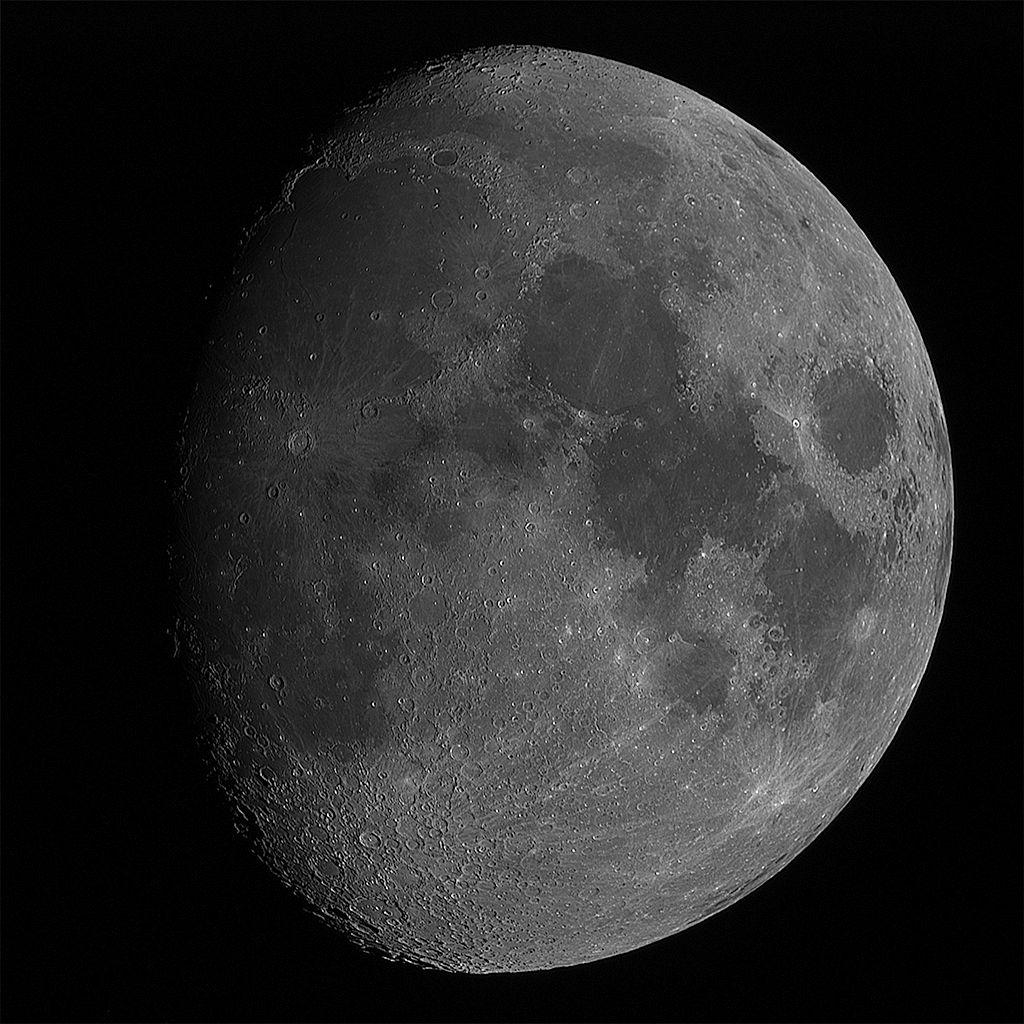
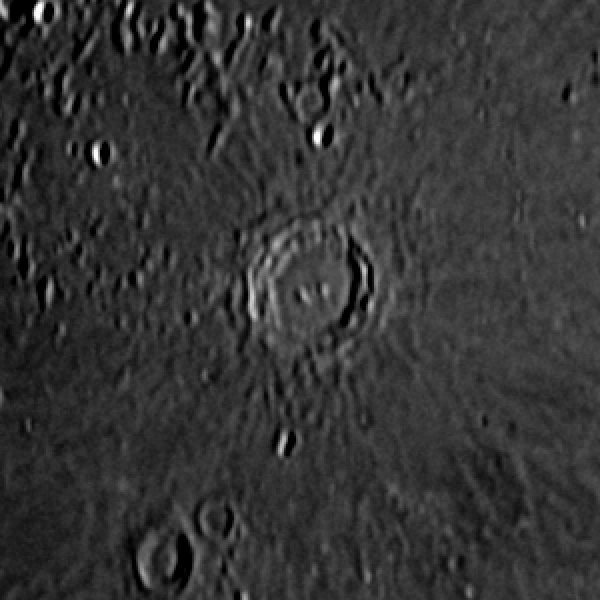
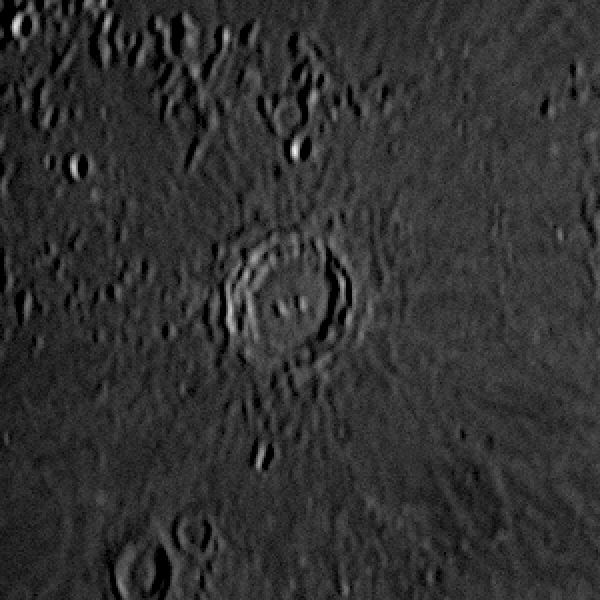
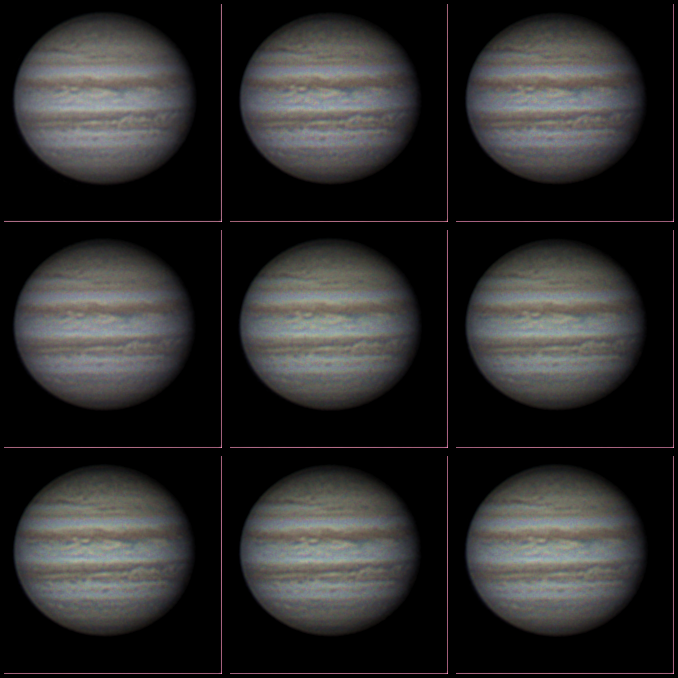
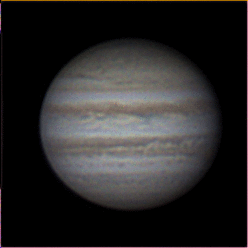
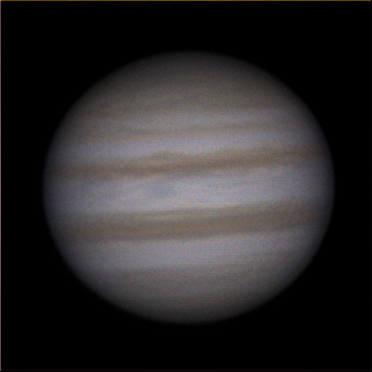 And finally, a little animation of all the captures from the evening 🙂