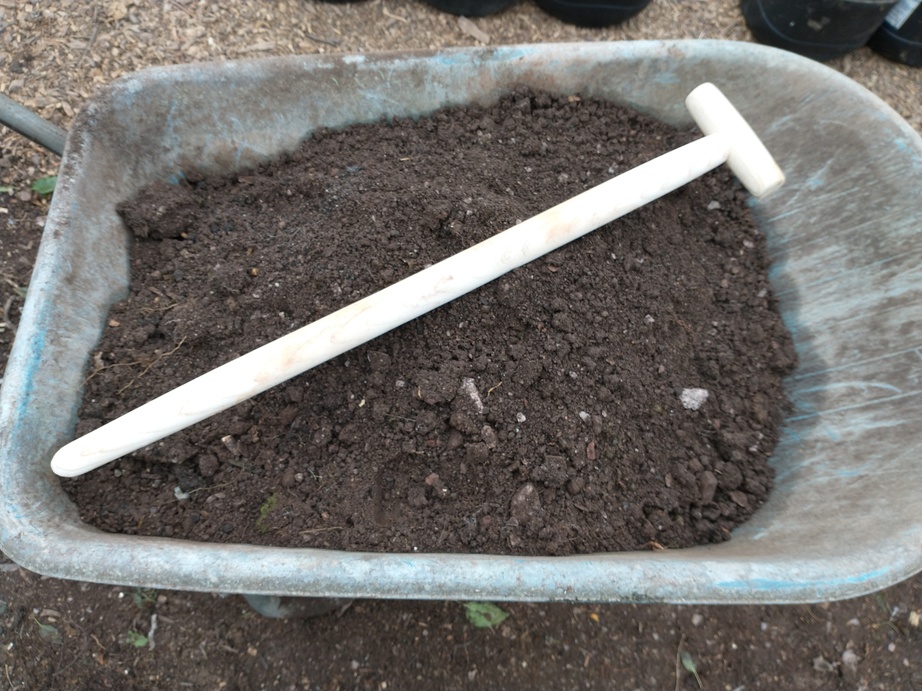
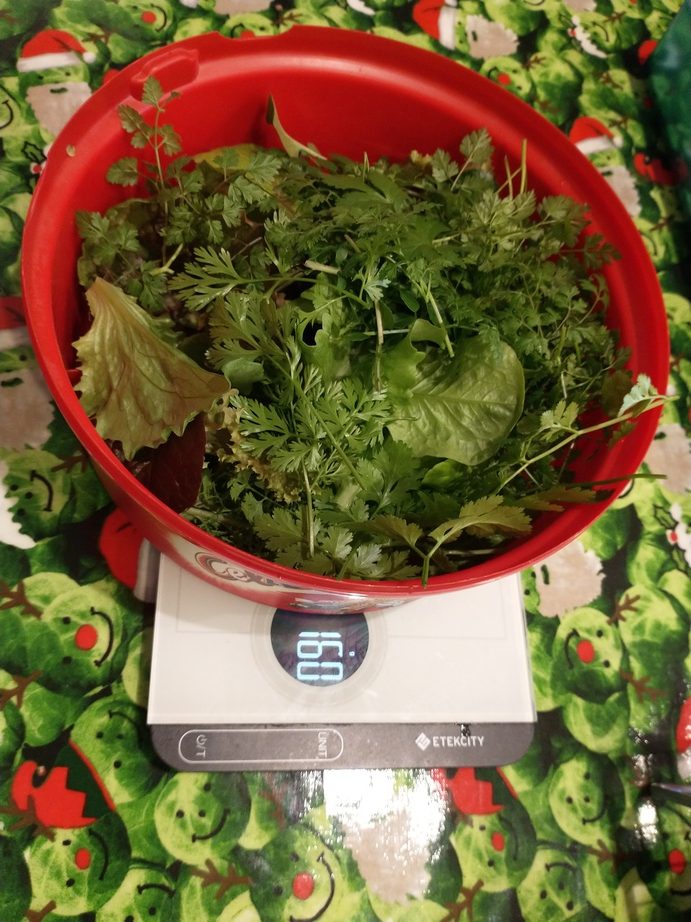
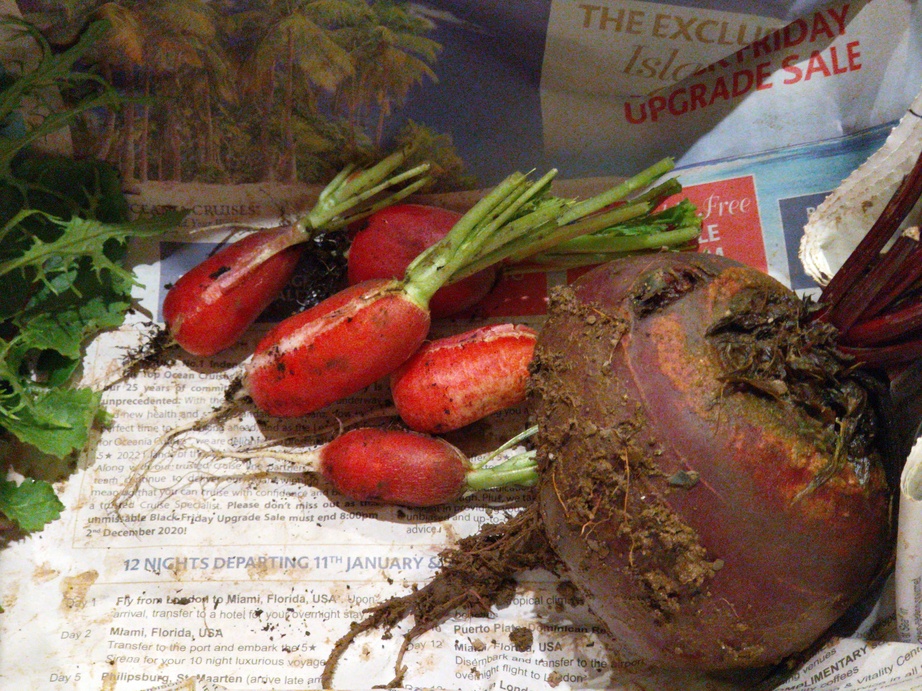
I mentioned recently that I sowed some spare radish seeds in modules right at the end of September, four seeds to a module. A month later I transplanted the modules into the first new no-dig bed in the polytunnel. The first of these are now pretty much ready to pick and we had some with a salad a couple of days ago. The rest of the plants from each module have been left in place — I harvested the largest ones just by twisting the plant out of the compost to disturb them as little as possible and they came out easily enough.

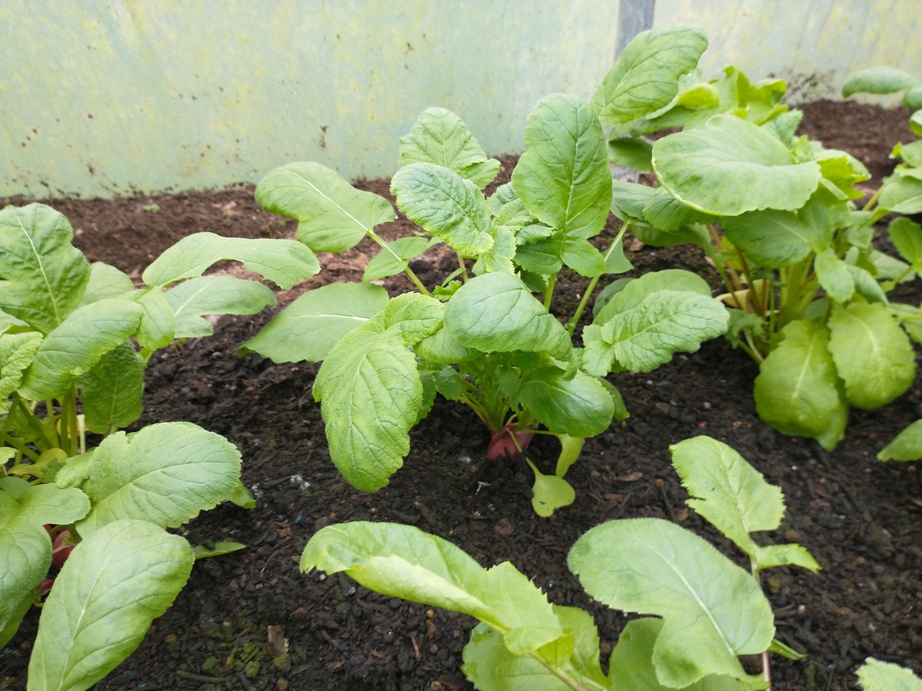
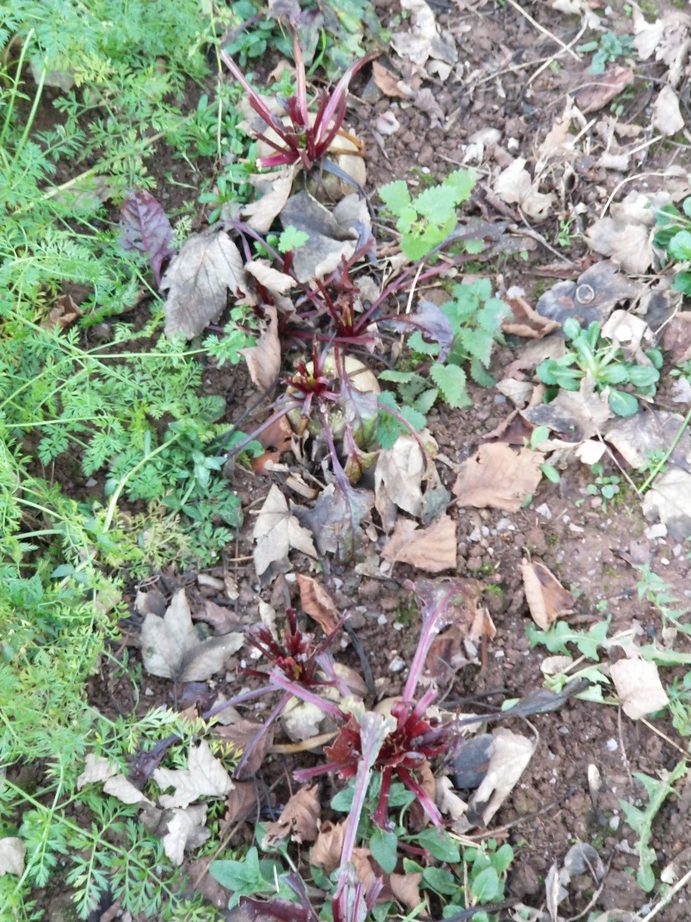
I am slightly concerned that some of the plants are still very spindly. I don’t know if that’s perhaps common for this variety (French Breakfast 3) or a result of them being multi-sown. I guess I’ll find out over the next few weeks. If it looks like they’re not going to fatten up then I may need to try a different variety. They do look much healthier than the ones I grew outdoors this year though, which were brutalised by flea beetle.
Whichever course I choose, I will be sowing again (multi-sowing in modules) very soon, but this time with the intention of planting them outdoors under fleece.