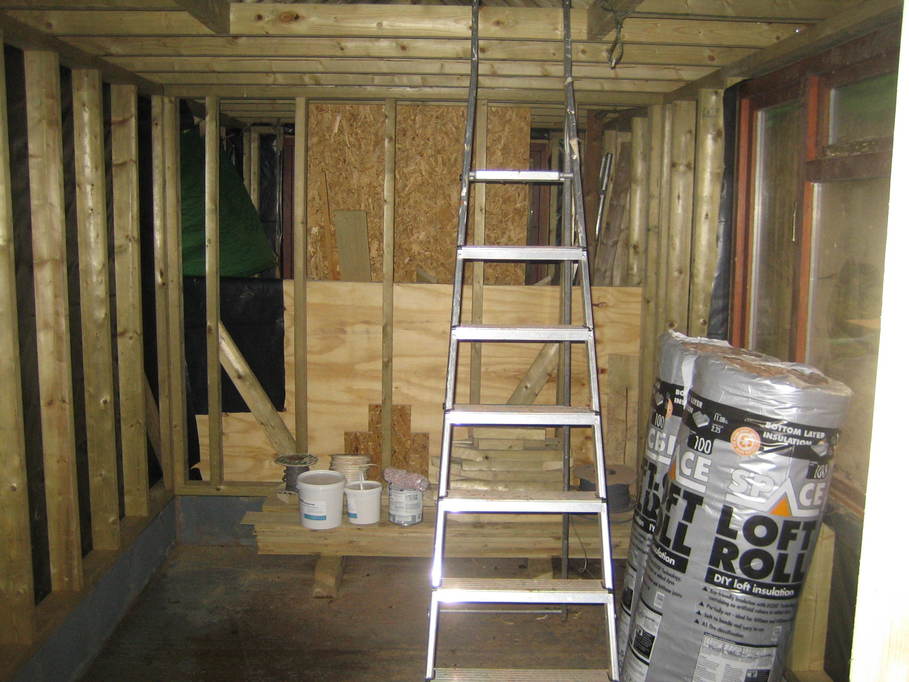
As part of my move to a dedicated brewing space I decided to build a new brewing setup with dedicated vessels for different stages of the process. Rather than use the plastic “buckets” that I’ve made do with so far I decided to move to stainless steel for these new items. Discussion at the time seemed to point to Bergland as a good source of large cooking pots that would be suitable. I found them on the German ebay site and contacted them to arrange the purchase and delivery of three pots: a 100l stock pot to build the HLT (hot liquor tun), an insulated 80l pot for the mash tun and another 100l stock pot for the boiler.
A short while later three boxes arrived:
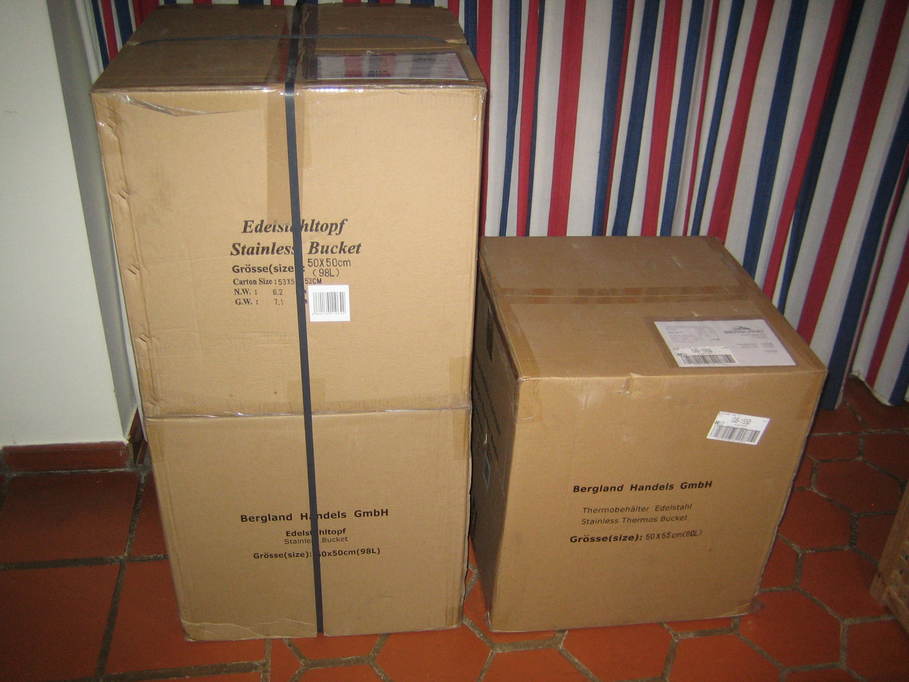
There wasn’t really much in the way of protection for the pots other than the cardboard box which did worry me, but they all seemed to be ok:
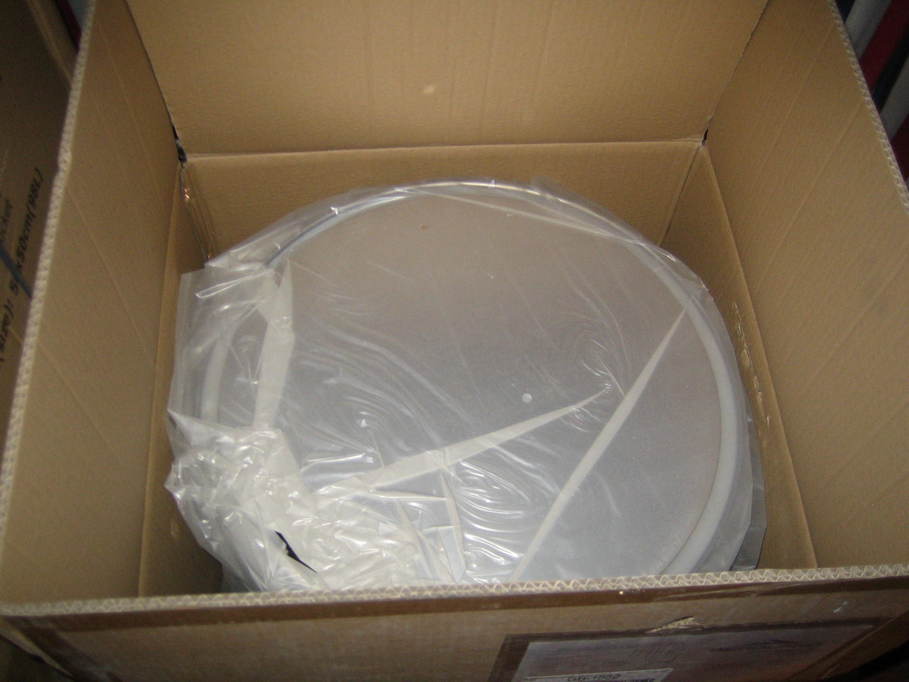
And here’s the 80l insulated pot in all its glory: