The ASI120MM-S (and ASI120MC-S) are new versions of the ASI120MM (and ASI120MC) cameras from ZWO with a new USB3 interface rather than the USB2 interface in the original models. Mine arrived a few weeks ago though I’ve had no chance to actually try it out for real imaging yet, so these are my initial observations based on testing on my desk.
The camera arrives with pretty much the same kit that the USB2 model had:
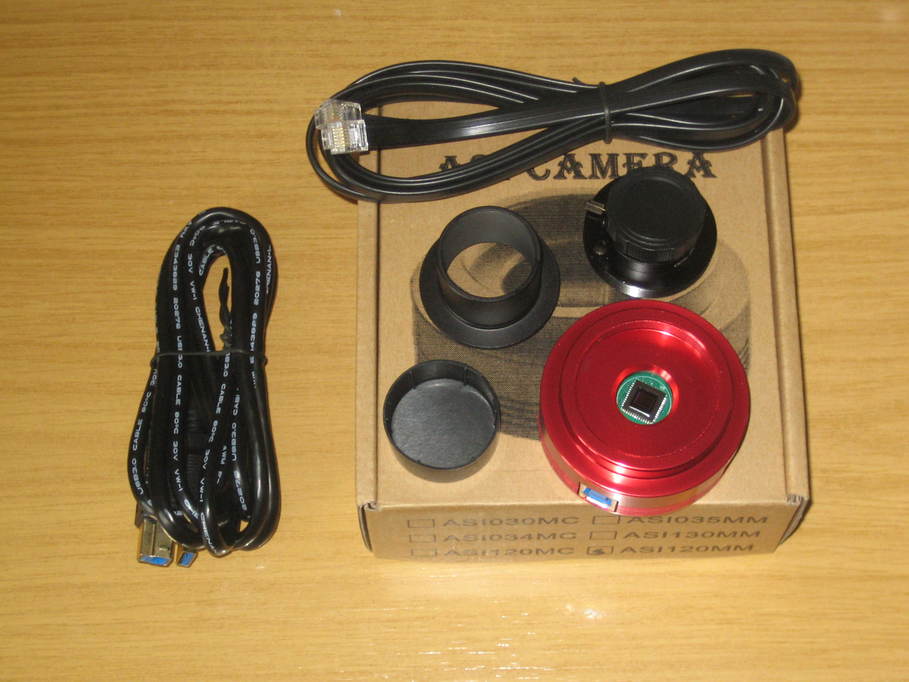
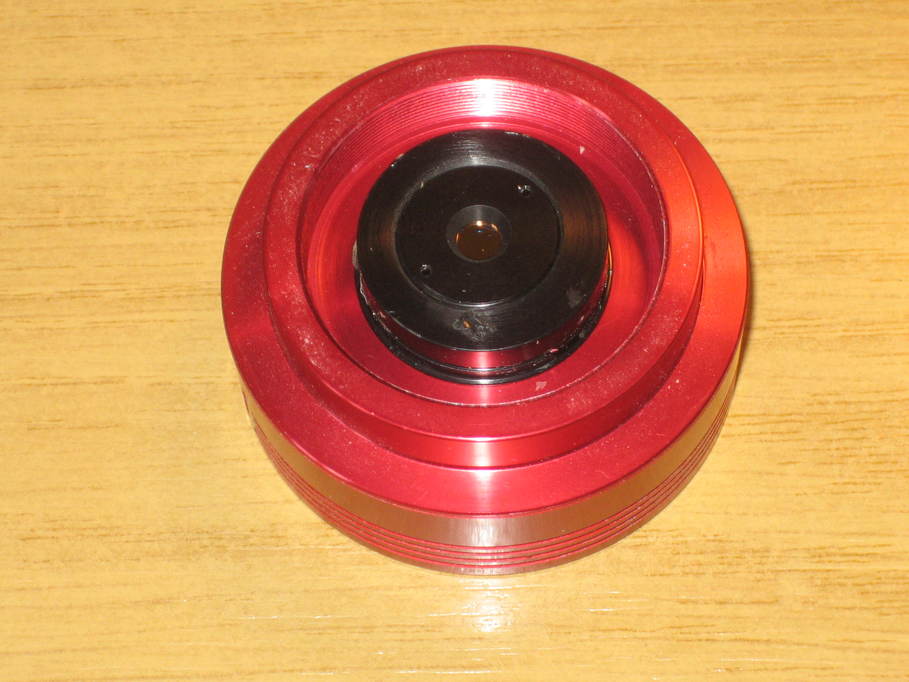
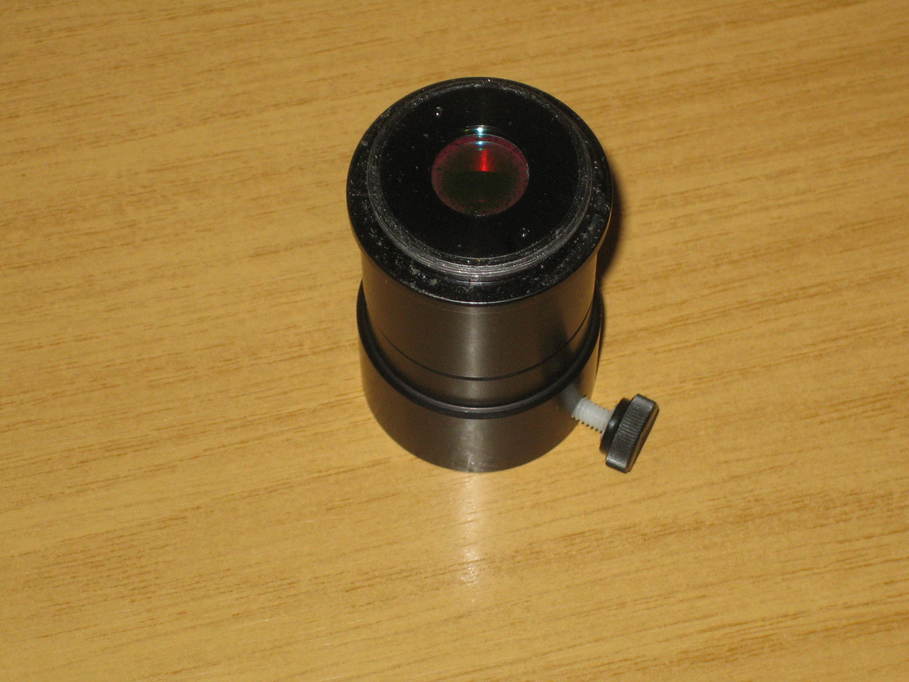
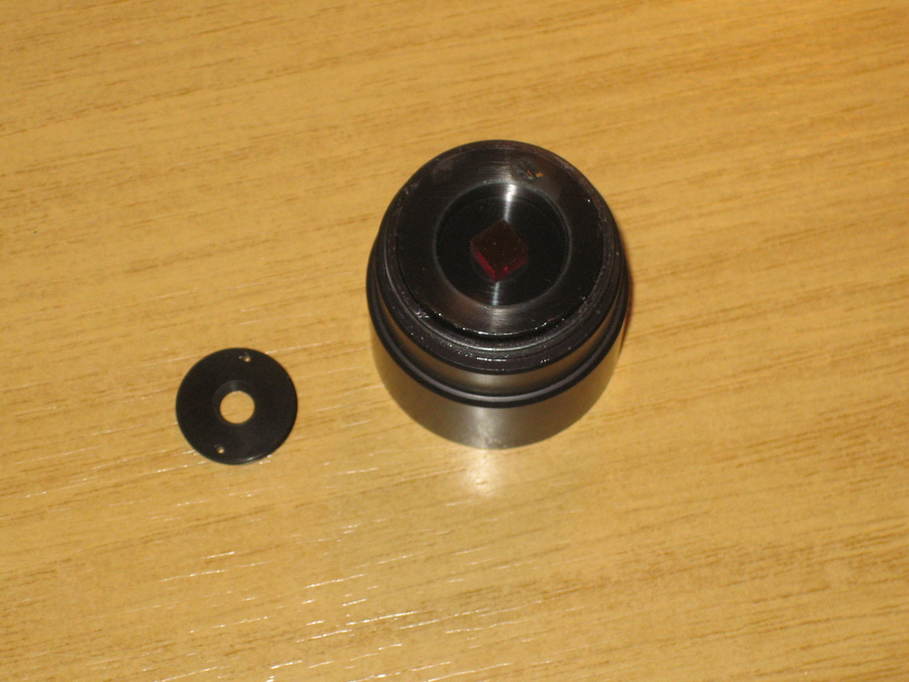
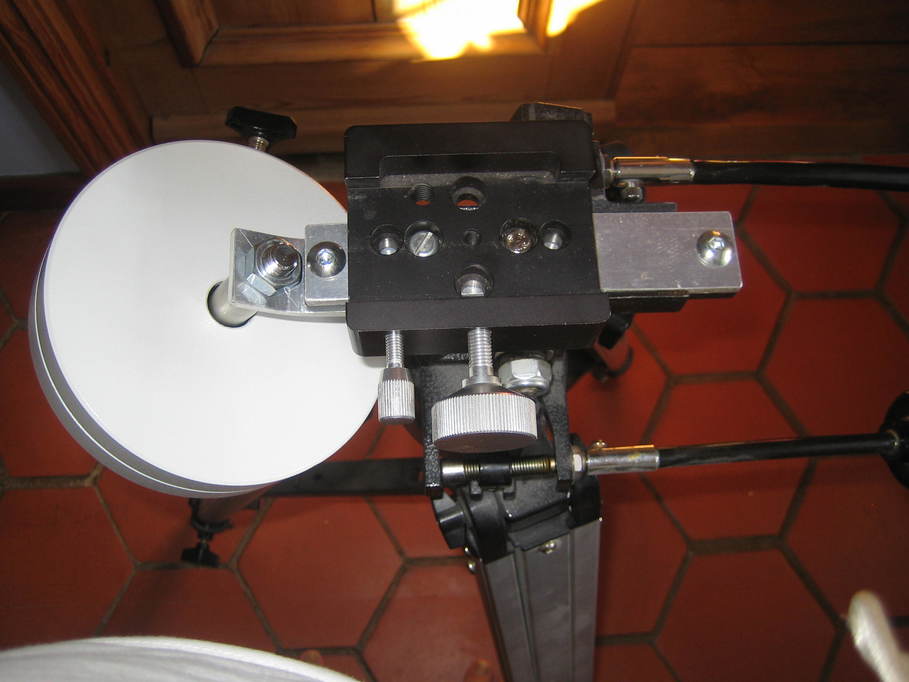
As well as the camera body itself there’s a CCTV lens and cap (in the photo above the lens is already inserted into an adapter to fit the M42 thread on the front of the camera; the lens has a standard C/CS size thread), a 1.25″ adaptor and cap, a USB3 lead and an ST4 cable.
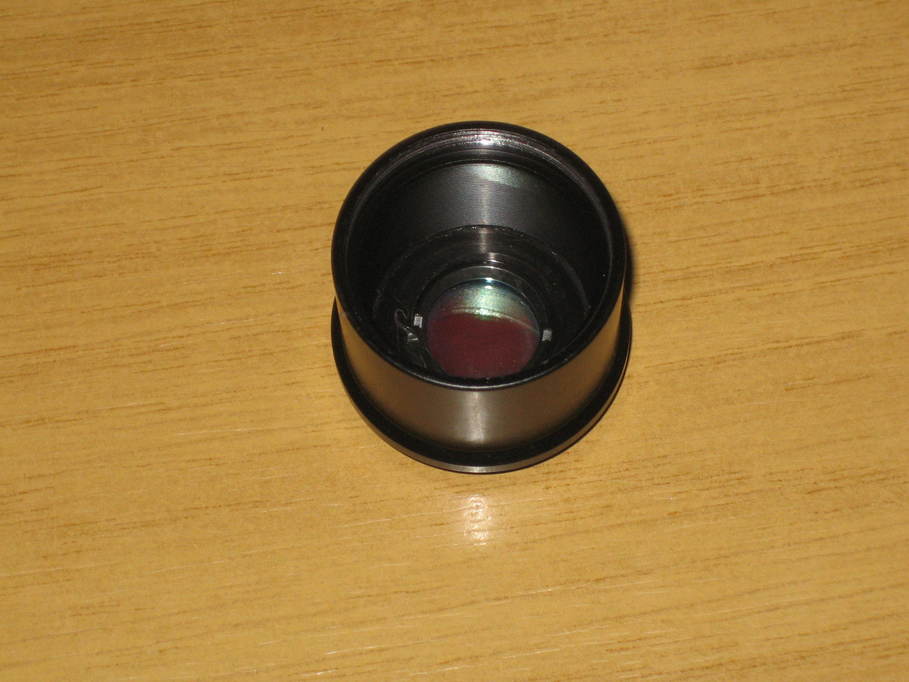
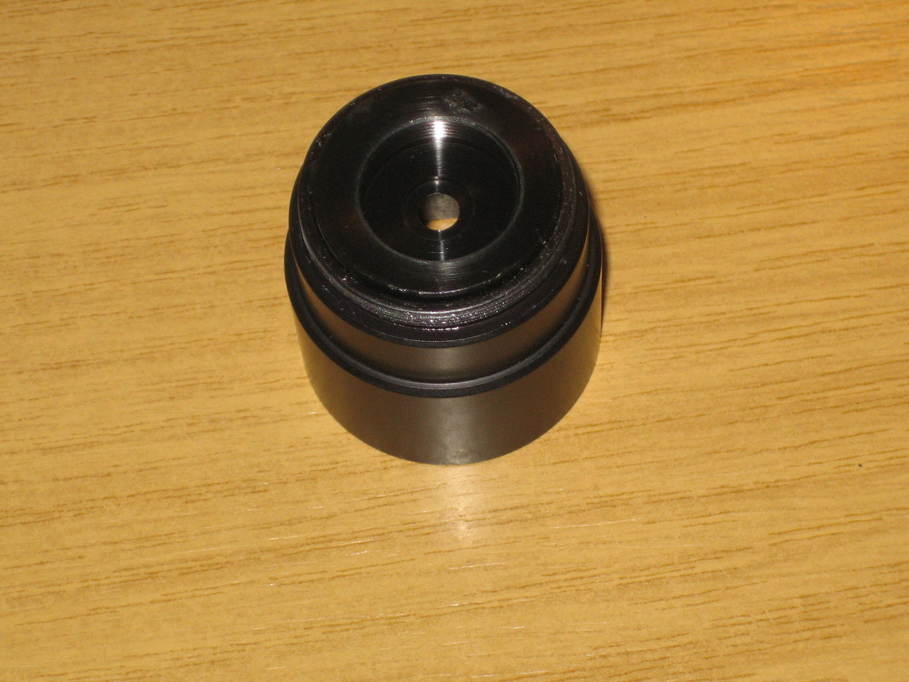
The photo also shows that compared with some of the earlier USB2 camera models the sensor window has been considerably reduced in size. My early 120MM has a threaded opening large enough to accept a 1.25″ filter (into which I have fitted a clear optical flat to try to keep the sensor clean). I believe as a result of numerous people raising the issue of keeping the sensor clean on the older models this new one has a clear window permanently fitted (I believe the MC model uses an IR-cut window but I’m not certain).
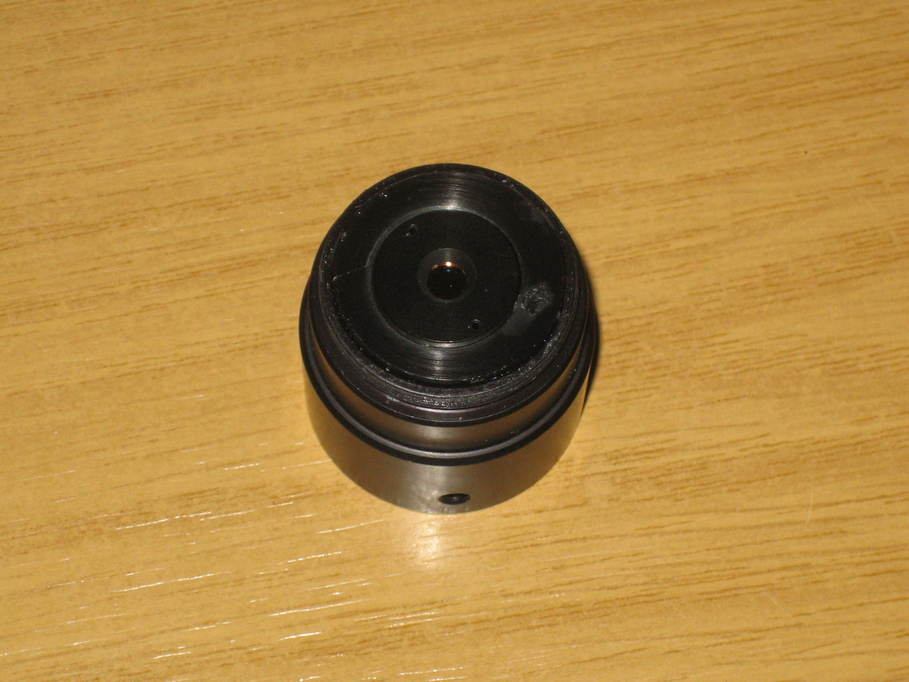
The USB socket on the camera is the new USB3 standard B socket. I assume that the extra depth required to mount this on the PCB is also the reason for the camera body being a couple of millimetres deeper than the original model:
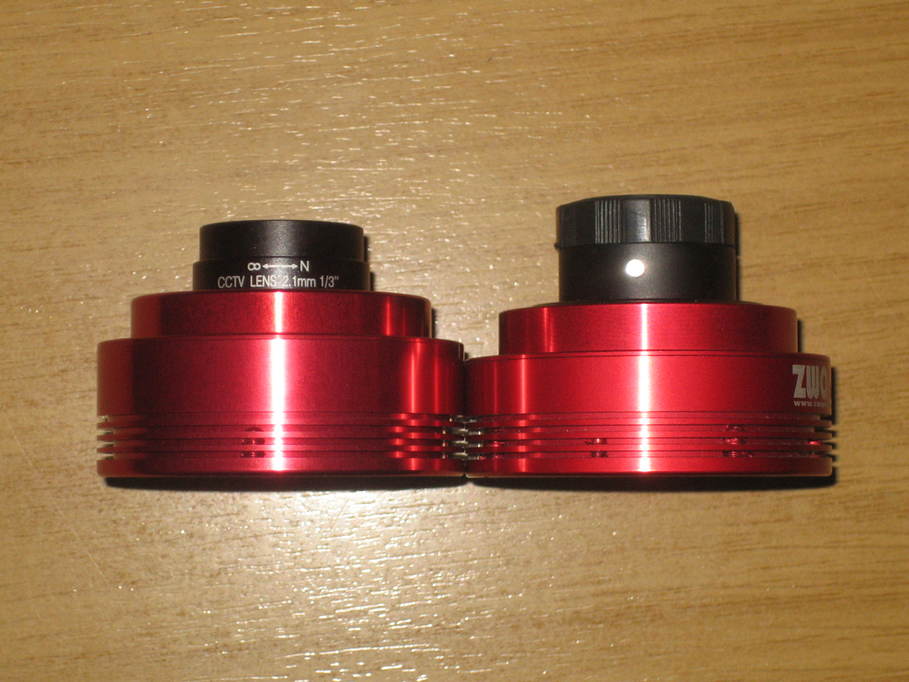
(The older model is on the right with the lens cap still on.)
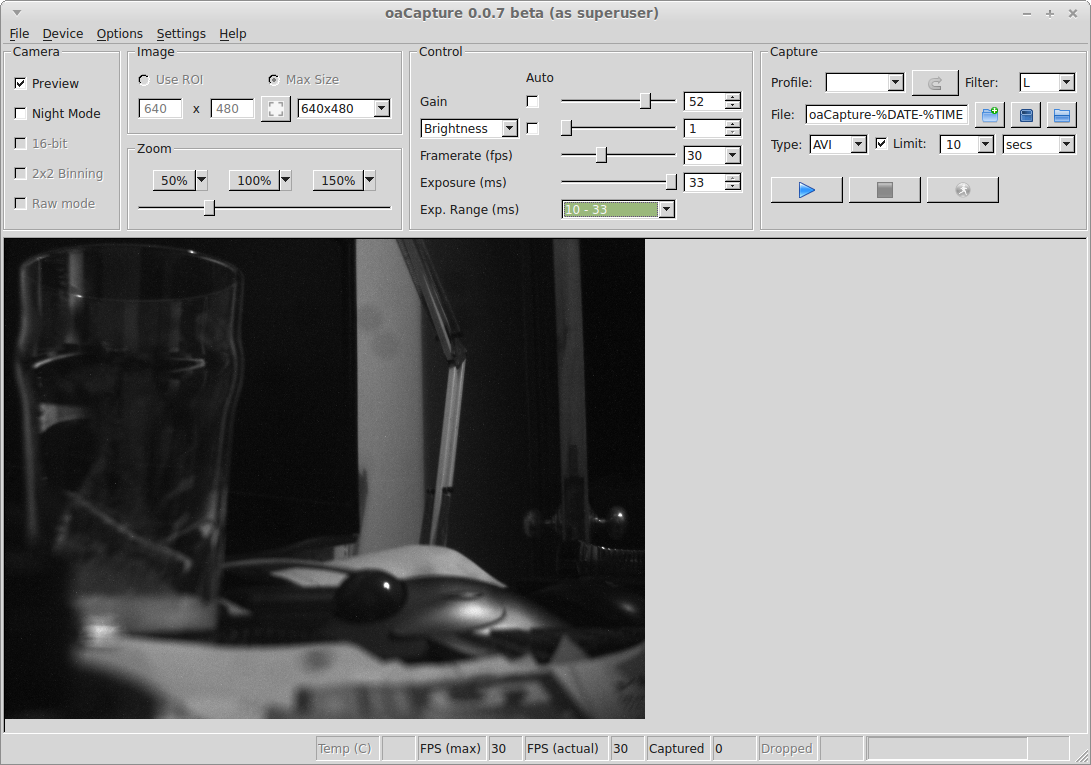
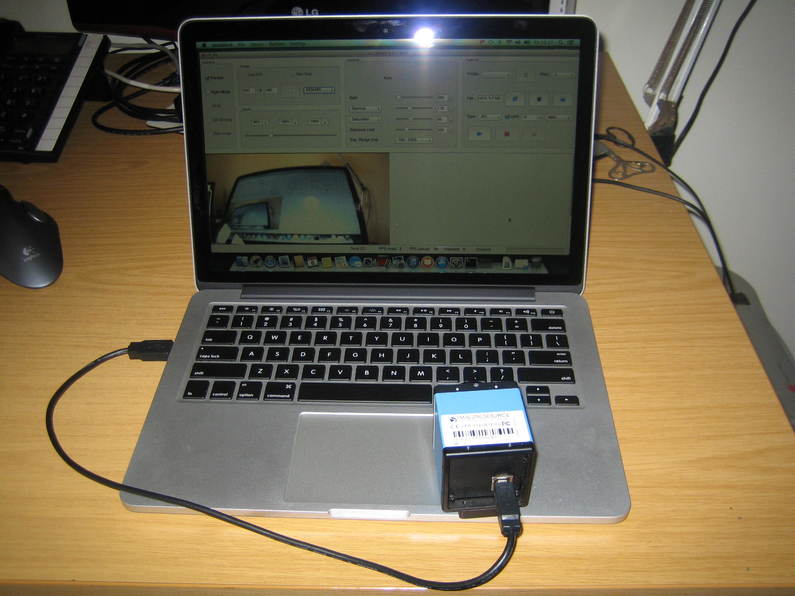
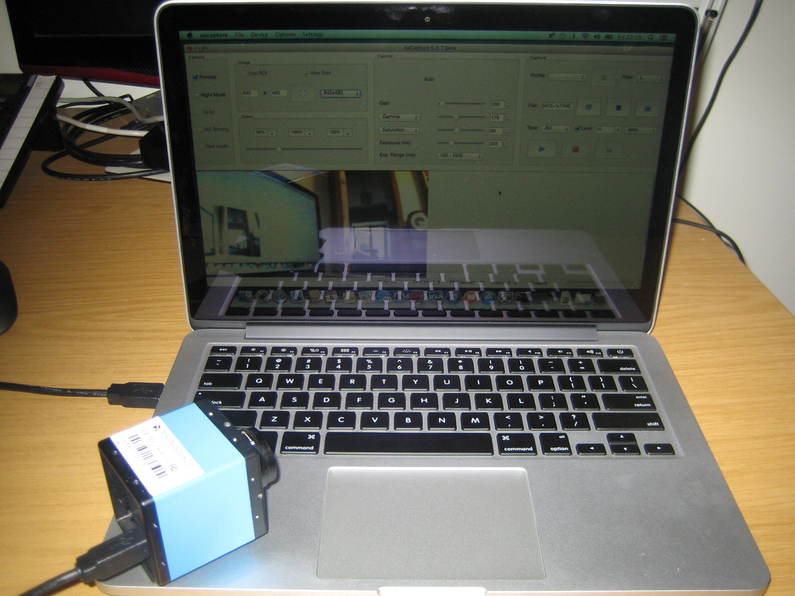
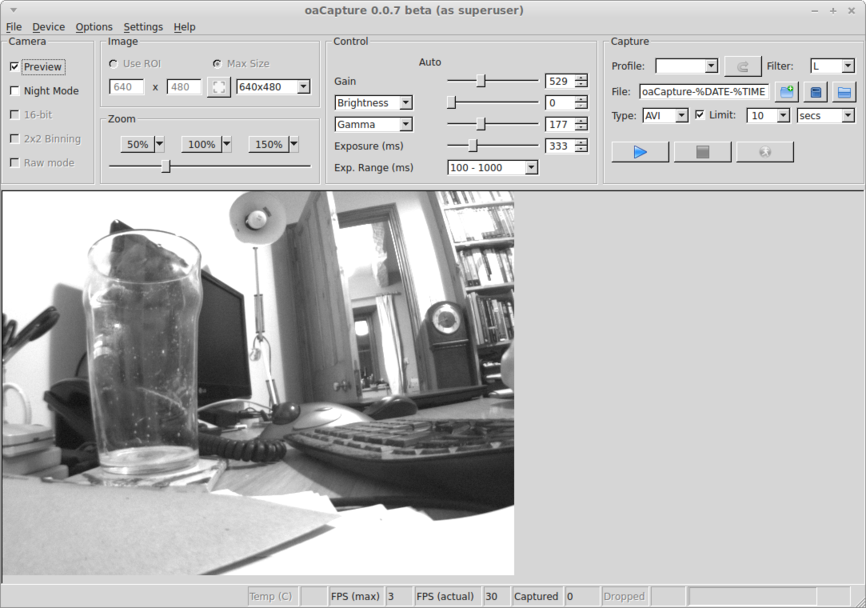
In terms of software support, the new camera works quite happily with Fire Capture, SharpCap, oacapture etc. though a new version of the drivers is required. It’s also desirable to update the capture software as there is a new “overclock” setting that doesn’t exist on the older cameras. And for Apple users the good news is that the USB3 interface appears to work nicely on Apple hardware whereas the older camera needed different firmware which resulted in reduced performance.
And what about performance? I struggle not to get broken frames on my original ASI120MM with a USB Traffic setting higher than 40, so I ran some benchmarks (this is just transfer rates, not saving frames to disk) with the USB Traffic setting at 40 in 8-bit mode and an exposure time of 3ms. The frame rates achieved were as follows:
| Resolution |
Framerate |
| 1280×960 |
13fps |
| 800×800 |
26fps |
| 800×640 |
33fps |
| 640×480 |
55fps |
| 320×240 |
240fps |
With the ASI120MM-S I can adjust the USB Traffic setting through the full range from 40 to 100 and the overclock setting from 0 to 30 without broken frames. Varying those two settings but leaving the exposure time at 3ms the new camera gave me the following results.
| Resolution |
Overclock = 0
USB Traffic = 40 |
Overclock = 30
USB Traffic = 40 |
Overclock = 0
USB Traffic = 100 |
Overclock = 30
USB Traffic = 100 |
| 1280×960 |
24fps |
31fps |
55fps |
71fps |
| 800×800 |
55fps |
71fps |
72fps |
87fps |
| 800×640 |
80fps |
103fps |
84fps |
116fps |
| 640×480 |
110fps |
142fps |
110fps |
142fps |
| 320×240 |
224fps |
290fps |
224fps |
290fps |
(These are all measured with oacapture, but I understand other people are getting pretty similar figures from FireCapture and SharpCap, and I found pretty much the same results on my Linux desktop and my MacBook Pro.)
Depending on the settings it appears that the new camera can handle from approximately double to around triple the frame rates of the older model at anything but the smallest frame sizes. These figures are a little below what’s advertised on the ZWO website, but a) that’s marketing for you, and b) I’ve made no attempt to optimise the performance of the test machine for capture in any way at all. I’m sure I could push those rates up a little if I were desperate to do so.
The real question I guess is how useful this increase in frame rates is. For solar and lunar imaging I think it could be a real benefit being able to sustain high frame rates at full resolution. For planetary imaging I’m really not sure at the moment. On the one hand it’s all very well being able to do 100fps, but if you have to reduce the exposure time and wind up the gain to be able to actually produce frames at 100fps perhaps it isn’t such a great idea. Pure throughput may not be the only reason for considering these cameras however. The new USB3 model seems very stable where the USB2 version could be a bit less reliable and sometimes produced broken frames when approaching the limits of its performance or occasionally just wouldn’t work with some USB chipsets. And if you want to use Apple hardware the new camera is definitely an improvement.
There’s also the issue of hard disk speed to consider. 70fps at full frame resolution is going to produce a huge amount of data — about 1GB every twelve seconds or so I reckon. I shouldn’t be surprised to find that the IO subsystem on many peoples’ imaging machines becomes the bottleneck at that point.
Fortunately I discovered very recently that 1TB SATA III SSDs are now available 😀