As ever it took longer to get around to this than I’d hoped, mostly because we’d been somewhat short of weekends with suitable weather. However, eventually I had the opportunity to assemble all the various bits and pieces required to press the apples and cleaned them. Then the children and I got to work.
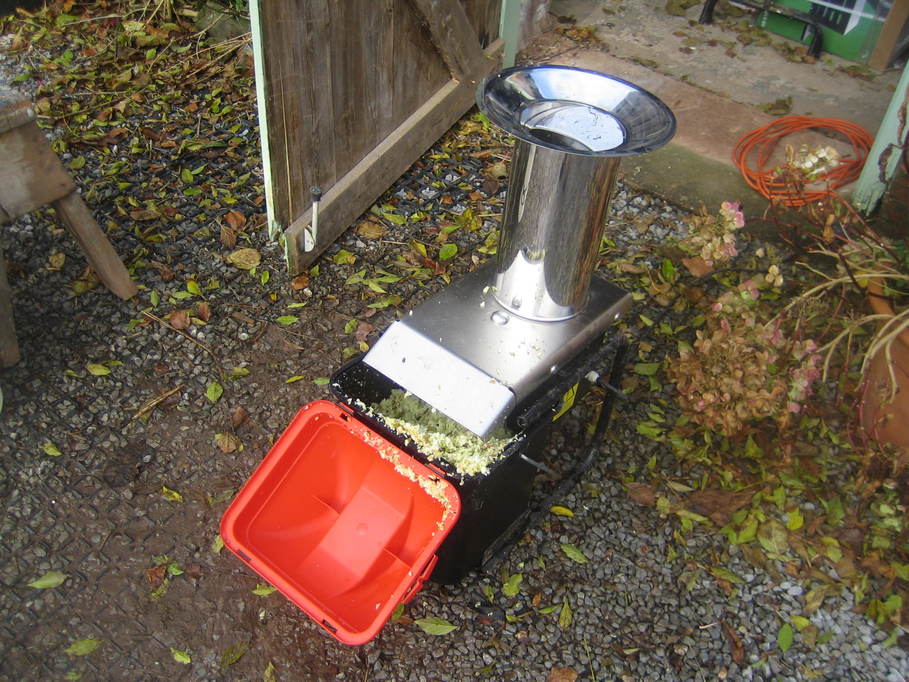
The first stage is to chop the apples up into small pieces, for which we use what is little more than a stainless steel garden shredder.
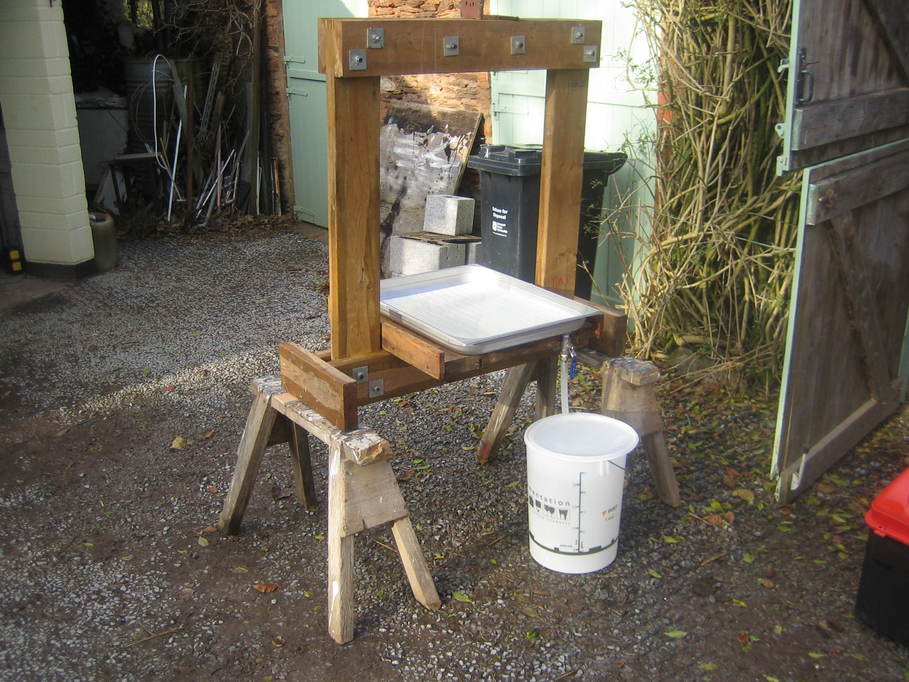
The apple goes into my home-made press (though I bought the tray and modified it to fit a drain — it’s the sort of thing used for keeping food in canteens and suchlike). The drain fitting is a stainless deck drain as often fitted on boats, I believe, and on the underside is a stainless ball valve.
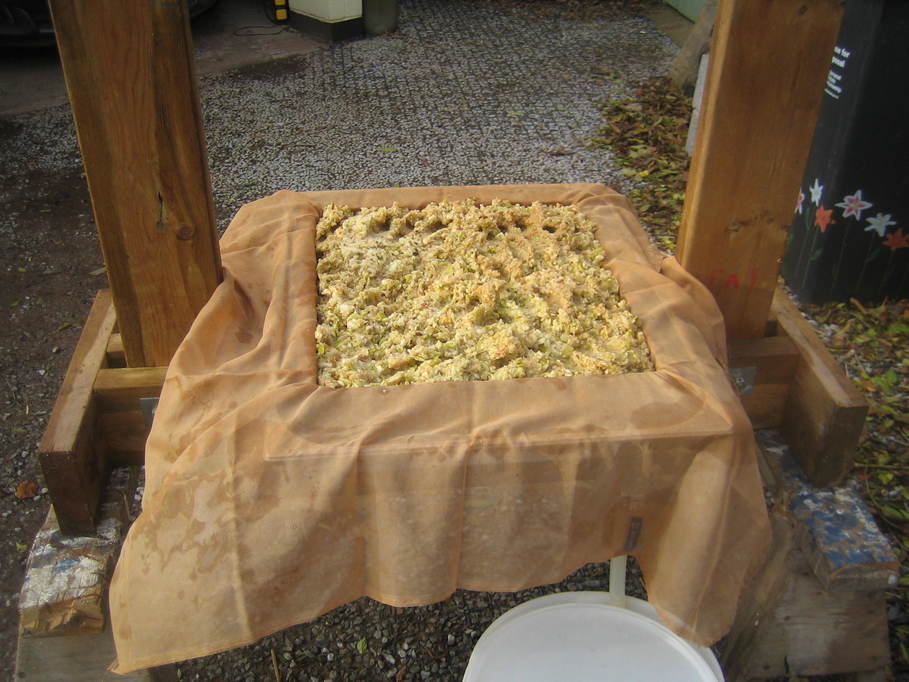
Just like a “traditional” cider press the apple is added in layers inside a “hair”, which in my case is squares of net curtain.
Not quite so traditional are the press boards that allow room for the juice to run out. I made them from squares of HDPE (the same sort of stuff that plastic chopping boards are made from) and cut grooves in each side using a circular saw with the blade depth set to just less than half the thickness of the material.
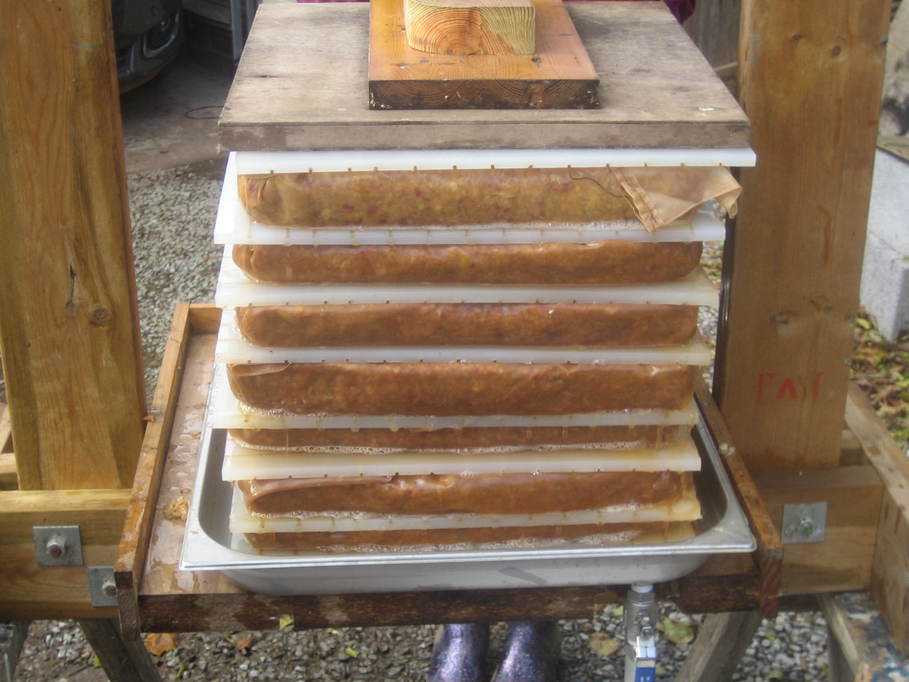
The grooves allow the juice to run very freely when the pressing starts.
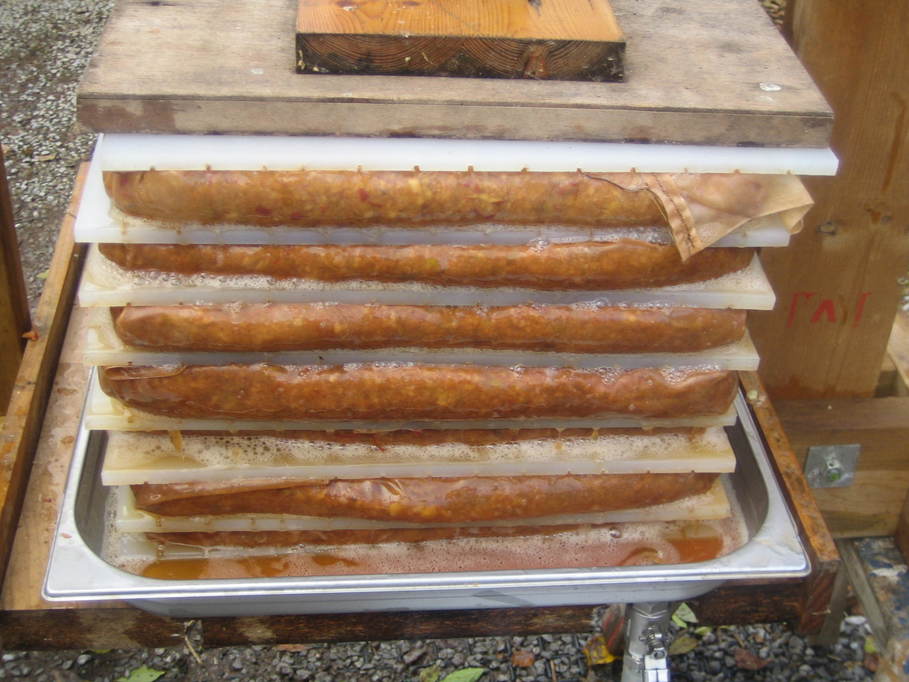
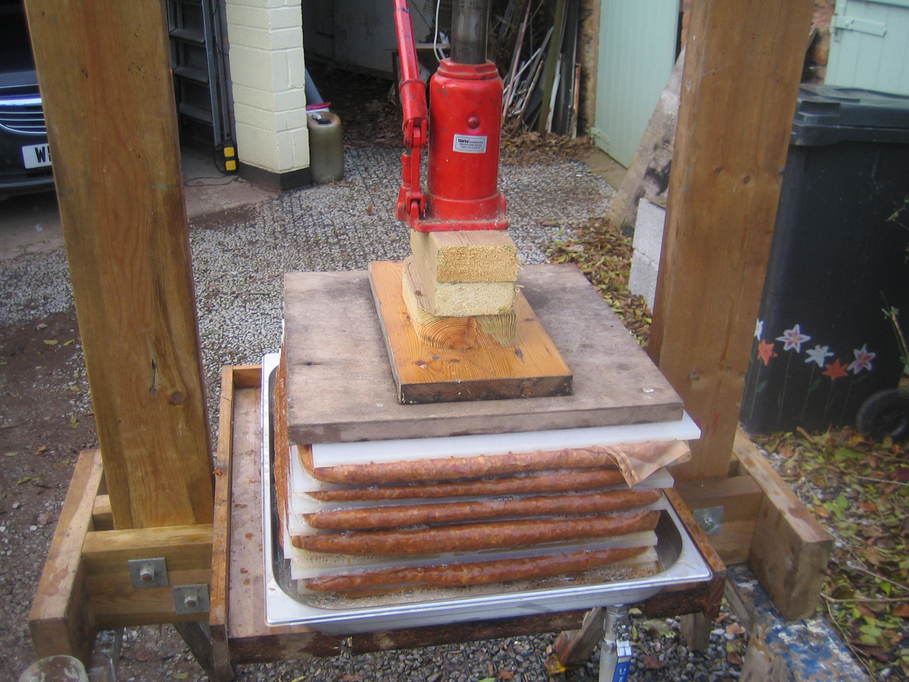
Also not quite “traditional” is the power for the press. In my case a twelve tonne bottle jack. It does a very good job though. The cheese compresses down to no more than half its original size by the end. I reckon I could probably go a bit further, but I’d need a more powerful jack and probably a metal frame for the press. A wooden frame suits me though.
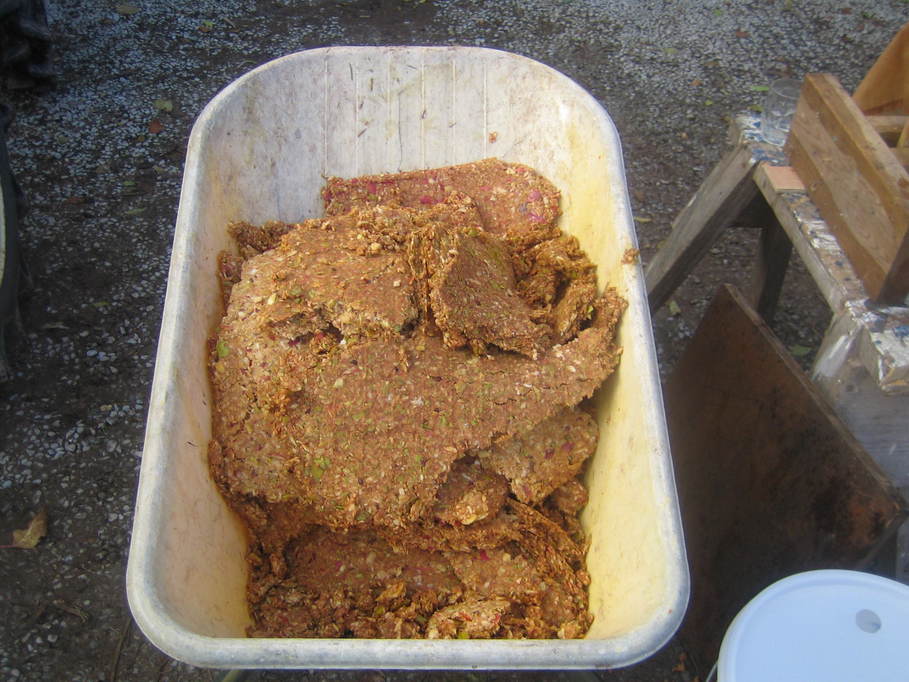
What’s left in the press is this. Like apple cardboard.
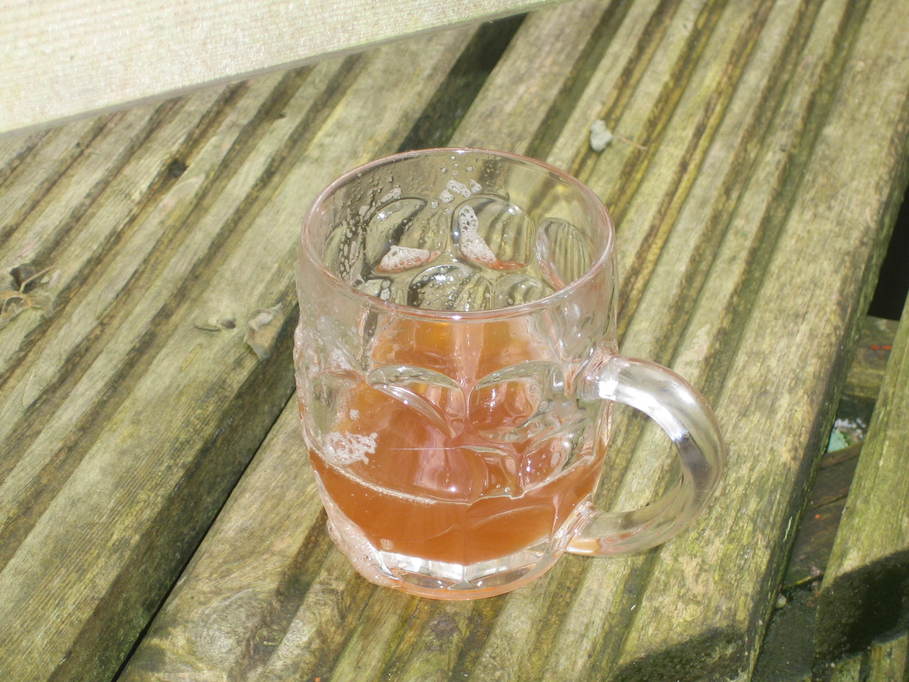
And the final product. (That’s only a half pint mug, honest. Not that it stopped my son drinking a couple of pints of it 🙂 It does taste absolutely fantastic.
All told we managed to get sixteen gallons of juice from the ten sacks of apples that I collected back at the end of October. We did have to throw out a few bad ones, but considering they’ve been sitting in the sacks for over a month it wasn’t too bad.
The next stage is to bottle and pasteurise it. I don’t have a proper pasteuriser, so I make do with my beer boiler, putting the bottles neck-deep into water, raising the temperature to 70C and holding it there for twenty minutes before capping the bottles. It’s a bit of a hack and I really need to make a proper pasteuriser, but for now it works.
