
One of our UPVC double-glazed windows stopped closing properly. There was always a gap (and a fairly large one at that) at the bottom on the side with the hinge.
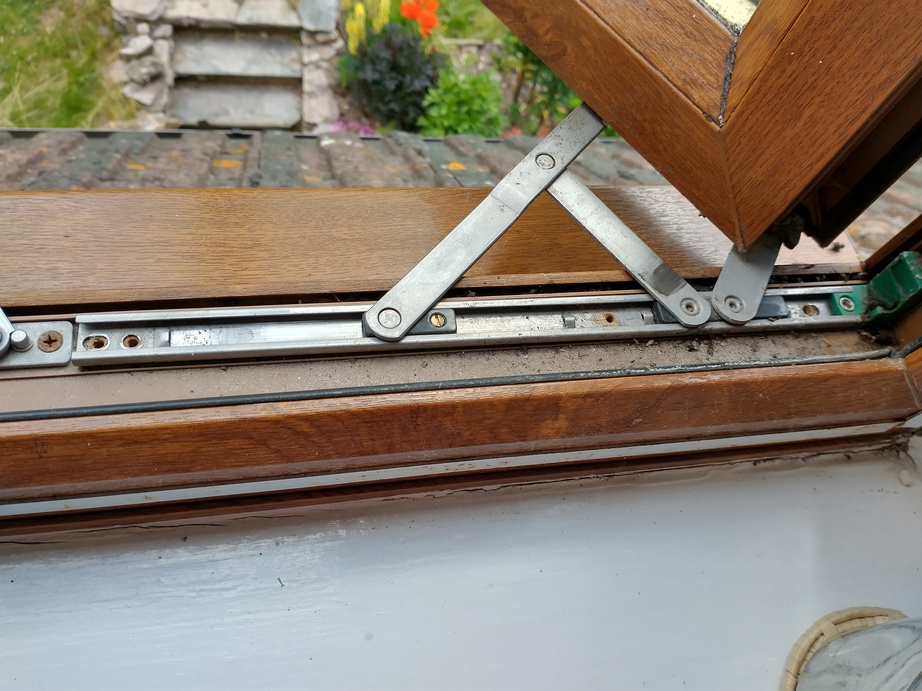
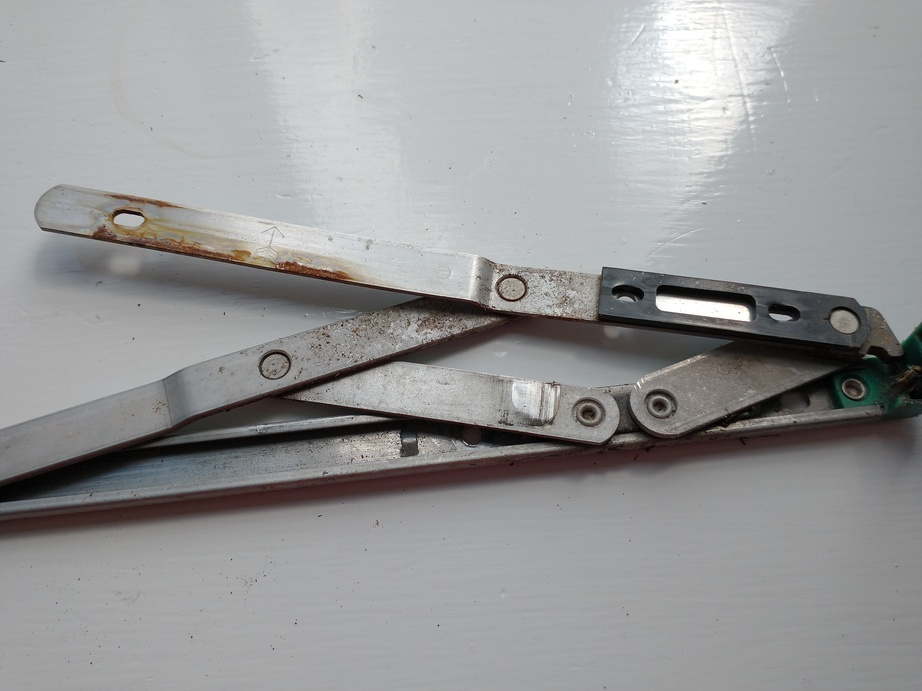
After some investigation and fiddling about I decided that the problem was that the hook on the back edge of the casement part of the hinge was not engaging in the (green, in this case) plastic receiver on the fixed part of the hinge:
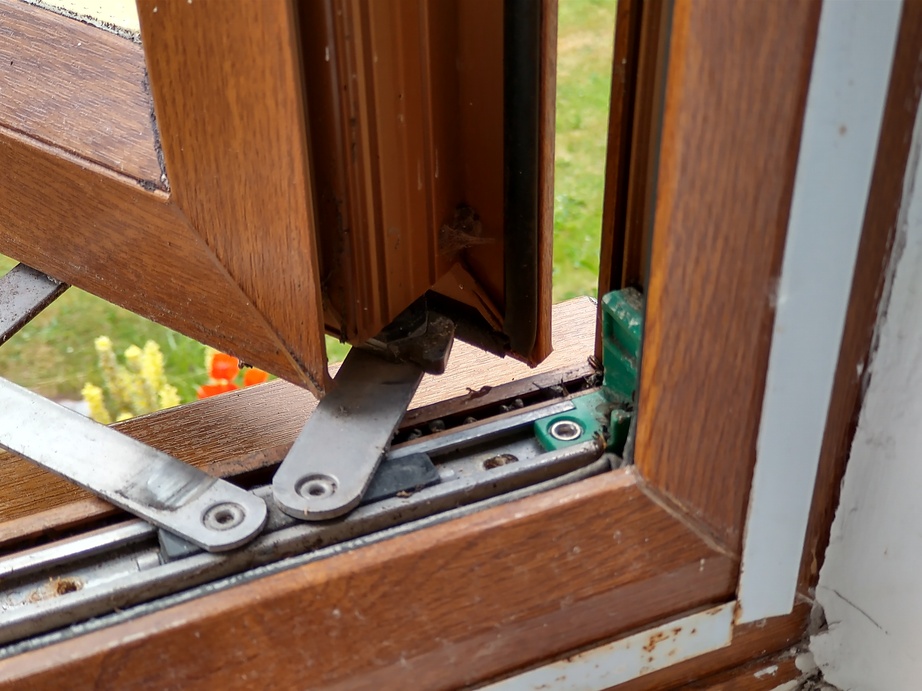
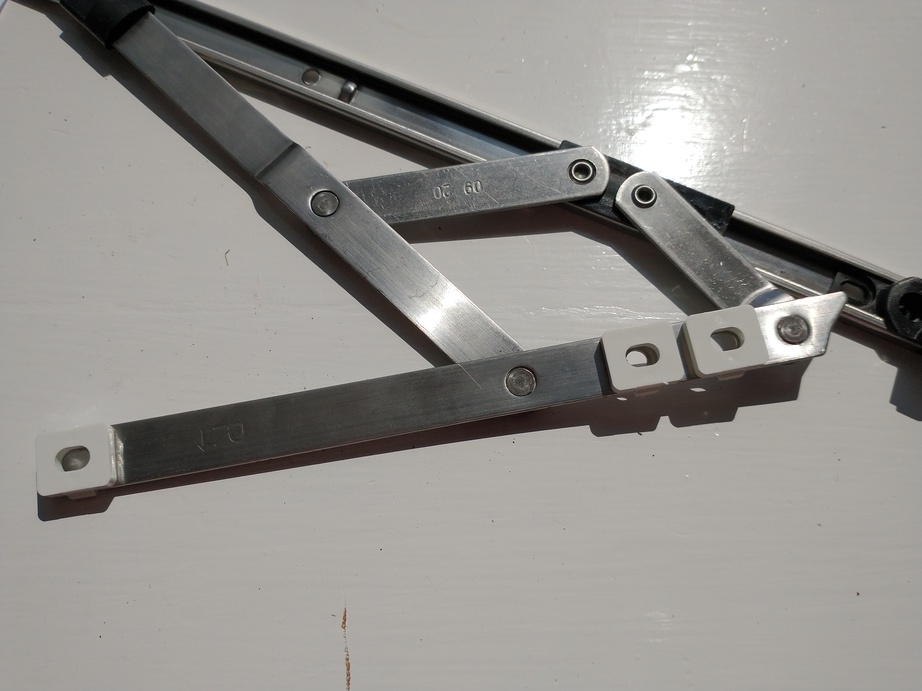
Instead, as the window was closed, it was tucking in outside it, meaning the window would not properly pull tight to the frame. Some wear on the hinge levers visible here close to one of the pivots suggested to me that the hinge had sagged, perhaps to the point where it was interfering with the rest of the mechanism.
A search on the interwebs suggested that to replace the hinges, which seemed to be the obvious fix, I would need to know the length of the fixed section of the hinge and its width, which are fairly easy to measure, but also the “stack height”, which is the total height of the entire hinge when folded up. Apparently stack heights of 13mm and 17mm are common, but measuring it accurately without first removing the hinge from the window is more tricky 🙂 Fortunately it is possible to buy replacement hinges with a 13mm stack height and spacers to make them up to 17mm should that turn out to be the size required, which is what I did.
Removing the opening section of the window was just a question of undoing the screws fixing the hinges to the frame whilst holding onto the window so it doesn’t fall into the garden. It being relatively large, I actually sat in the window opening to do this and supported the bottom edge with my foot, tipping the window onto its side once all the screws were undone and lifting it into the room, pouring a fair amount of rainwater trapped inside the window onto my lap in the process. Clearly there’s a drainage issue there that I also need to look into.
Once in the room it’s easy to see how the hinges fit and they can be removed. I marked mine up so the hook on the replacement hinge would be in the same place as the original.
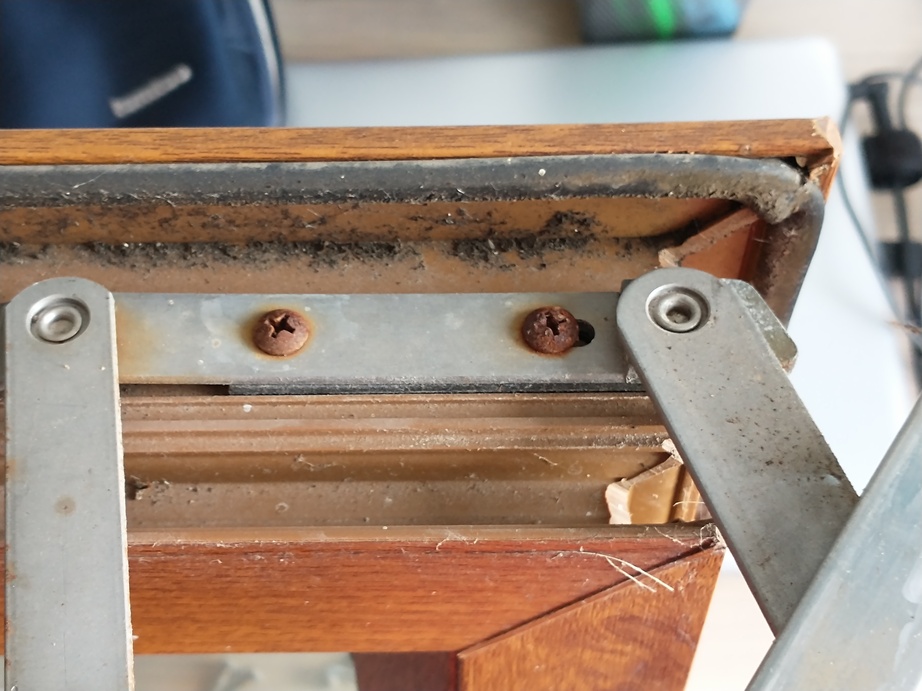
At this point comes the really important part… Test fit the hinges to both the casement and the frame to see where the fitting holes are. In my case, almost all the holes in the new hinges failed to match up so I had to drill pilot holes in both the frame and the casement. It’s far easier to do this now than to find out once you’re dangling it over the garden once again that the holes in the frame don’t match up 🙂 Just don’t ask me how I know that, ok? In fact the screws used in my frame were Tek screws which are designed to drill their own holes, but given their age I wasn’t confident that they would do so easily, so I made pilot holes anyhow.
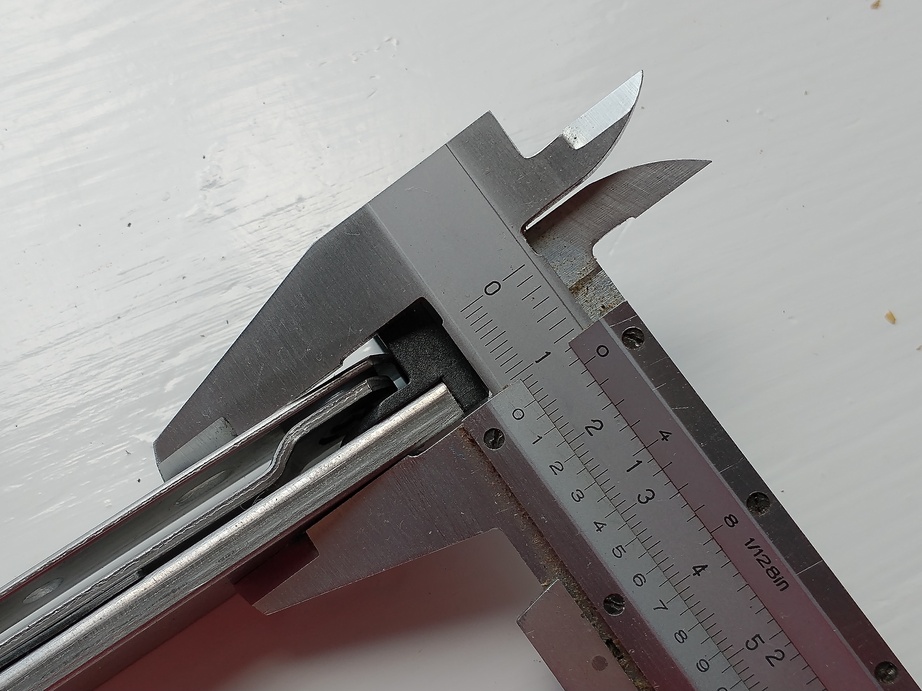
With the old hinges removed it’s possible to compare the old and new for stack height. My old ones were clearly 17mm.
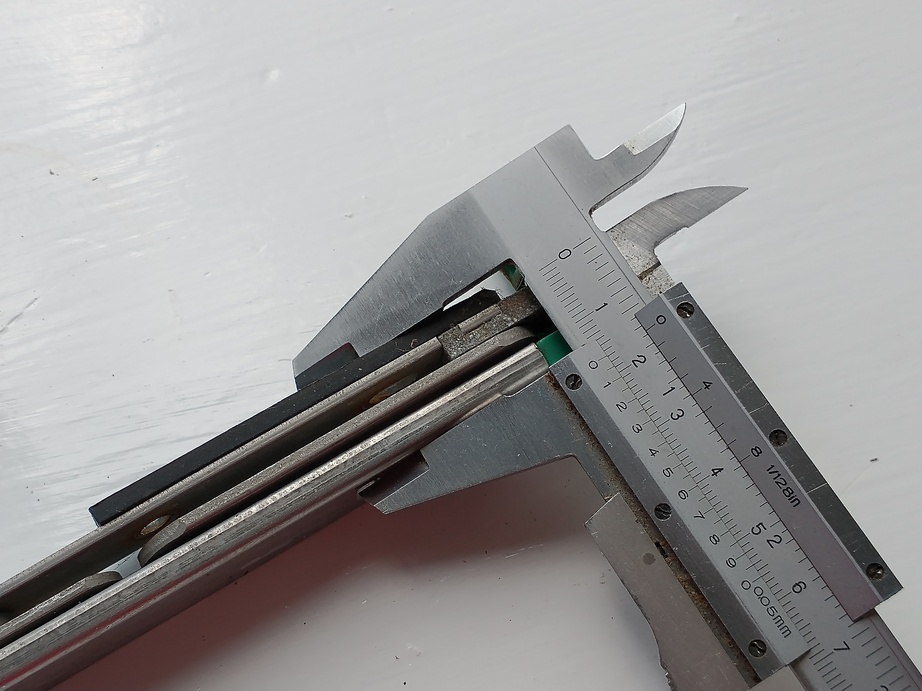
And the new ones are 13mm.
So I needed to fit these spacers to the casement section of the hinge before fitting the hinge to the casement.
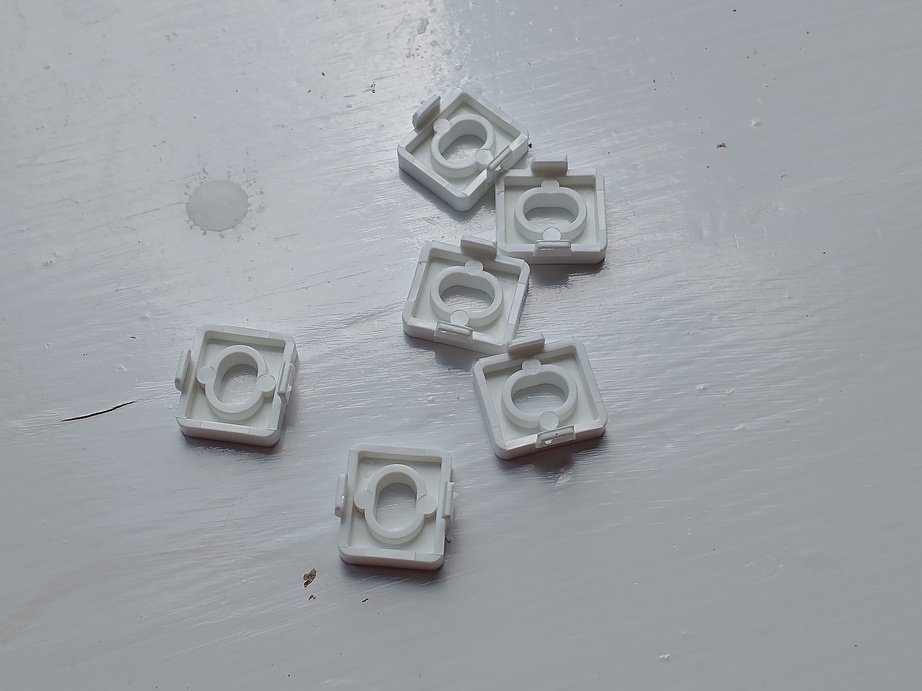
They were easy enough to fit, just snapping into place.
Incidentally at this point it was possible to see exactly how one of the pivots on the old hinge was fouling the mechanism as it was closed.
Having screwed the hinges to the casement, as it says in all the best Haynes manuals, “reassembly is the reverse of disassembly”. Make sure the hinges are open, fiddle the casement out of the window opening, tip it upright and slide the hinges into the correct position in the frame, getting at least one screw in the top hinge in place pretty sharpish, without dropping it into the garden and losing it in the grass.
With the window held in place by the one screw you’re pretty much home and dry. It shouldn’t fall out and re-fitting the rest of the screws can be a little more leisurely. If the window isn’t quite square or is shifted too far to the left or right then a little adjustment of the hinge positions might apparently be required, but I found that having taken the trouble to get them in (what I assumed to be) the correct positions in the first place, it wasn’t a problem.