
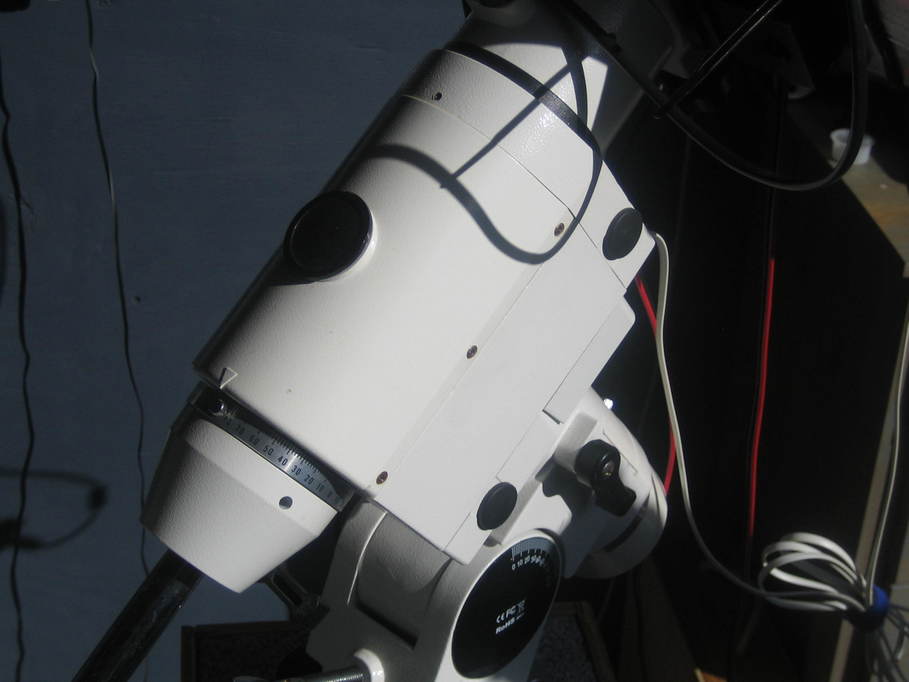
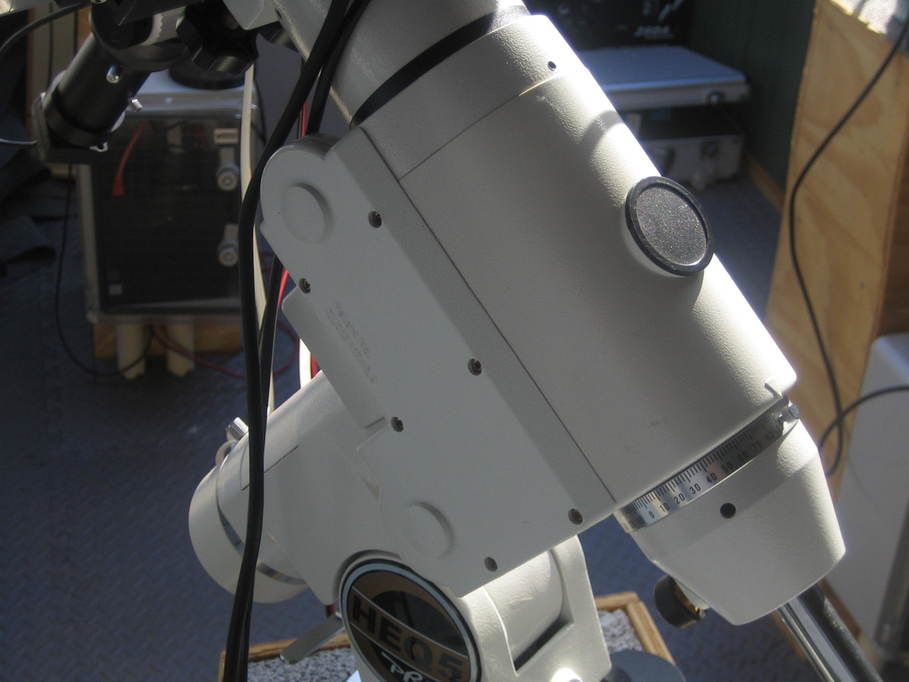
I’ve had my HEQ5 Pro for somewhere around seven years and to be honest it’s always sounded like a bag of nails when slewing and has had a fair bit of backlash, so the Rowan belt mod has been on my list of things I’d like to do for some time. I also planned it as a bit of a “warm-up” before doing the NEQ6. Last week I finally got around to ordering the kit which arrived very promptly from First Light Optics.
I took advantage of a break in the clouds after work one evening to roll back the observatory roof so I had plenty of light to work by. I left the mount on the pier for the entire job.
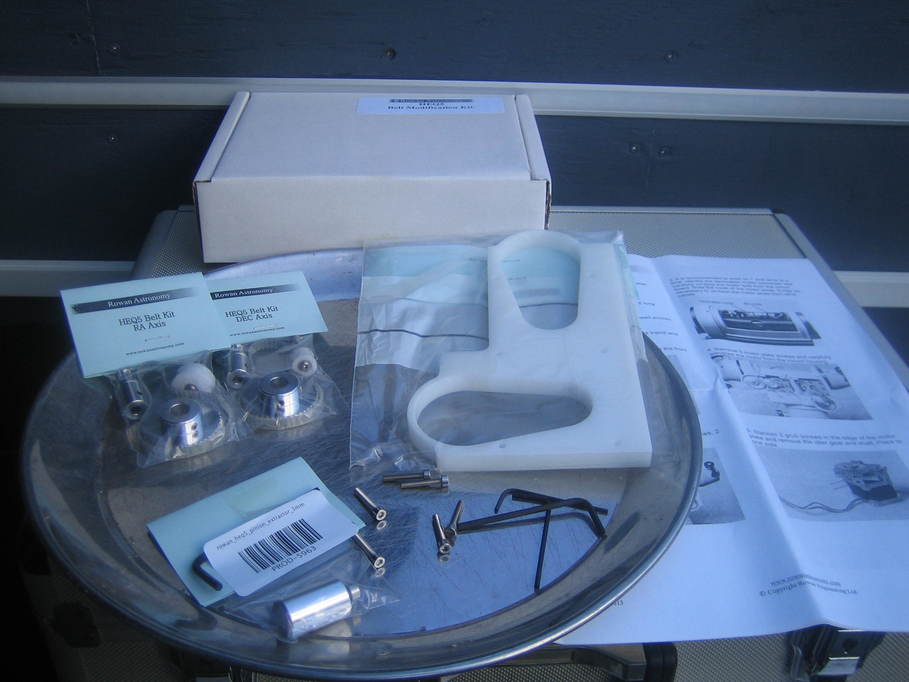
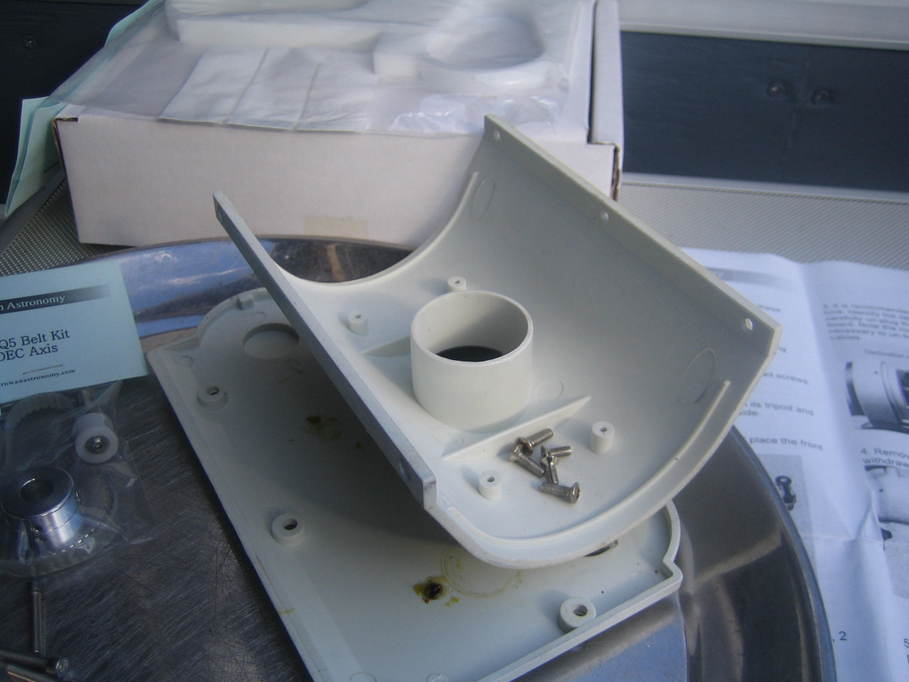
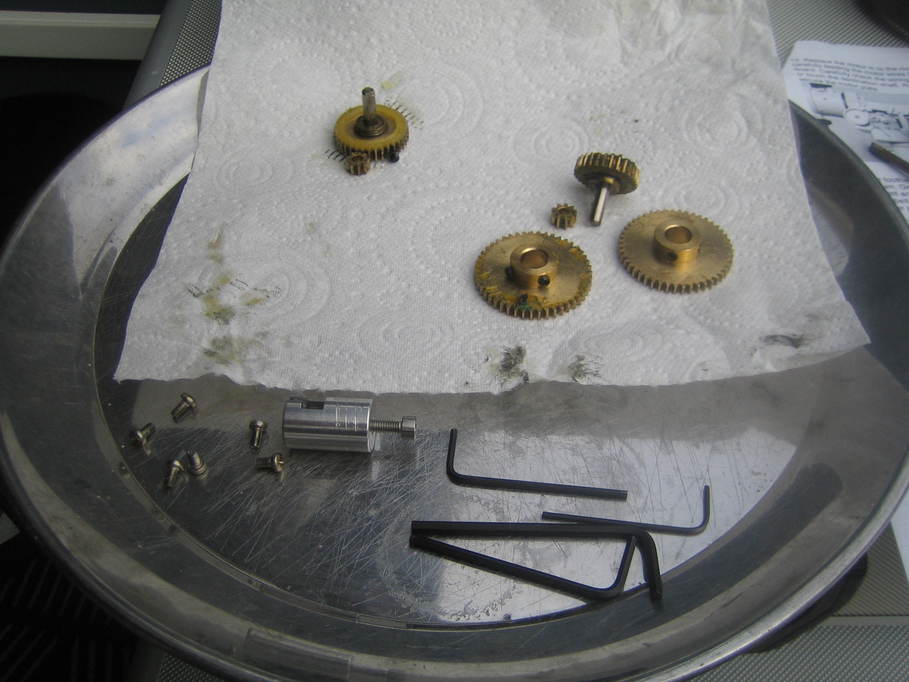
This was everything that came with the kit, including the puller for the pinion gears. There’s a bag for the parts for each axis, plus some stainless bolts, allen keys, the spacer to make room for the new pulleys and a set of instructions.
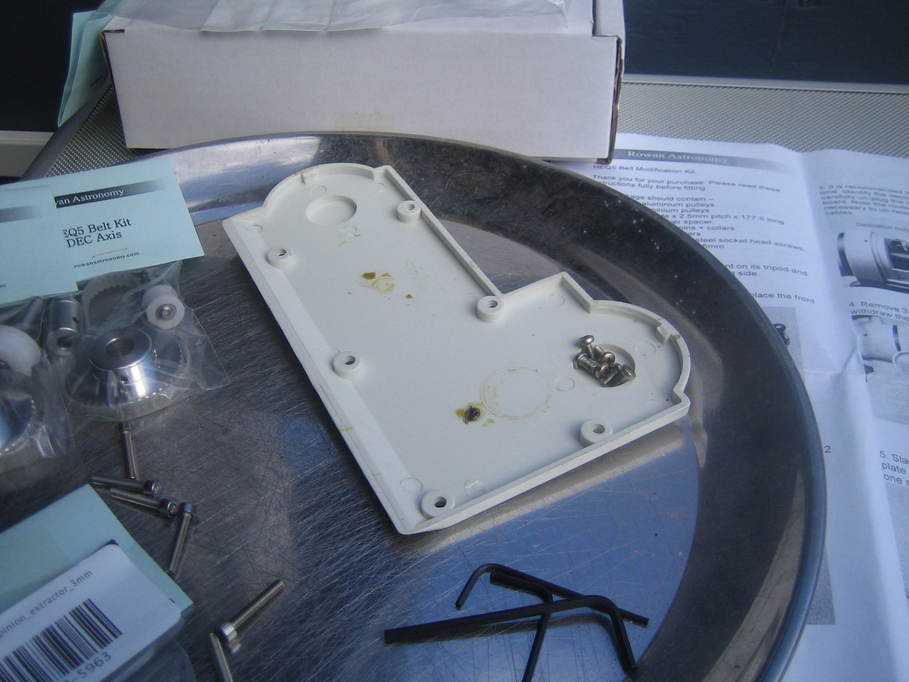
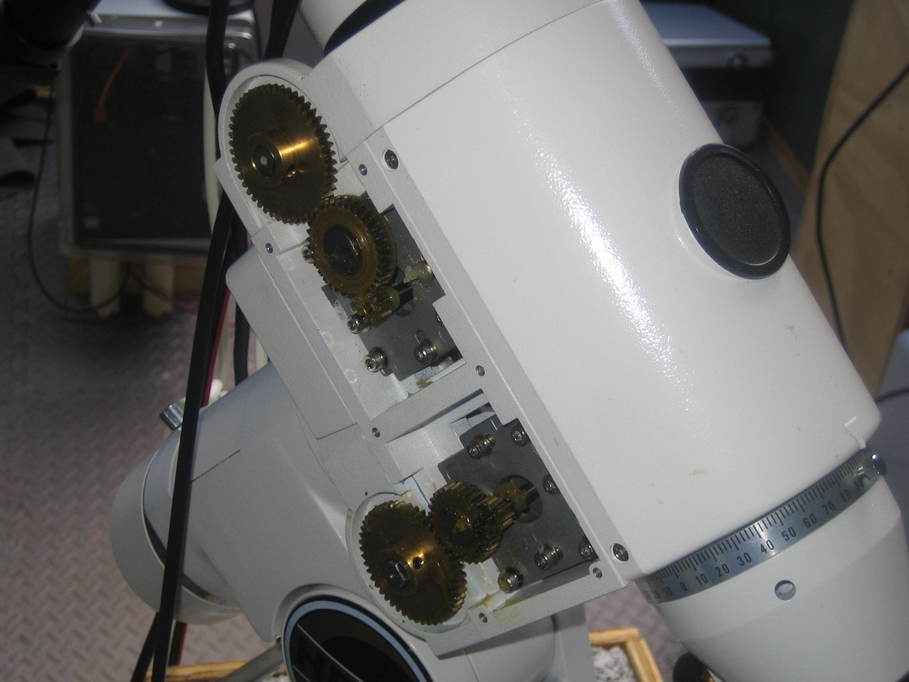
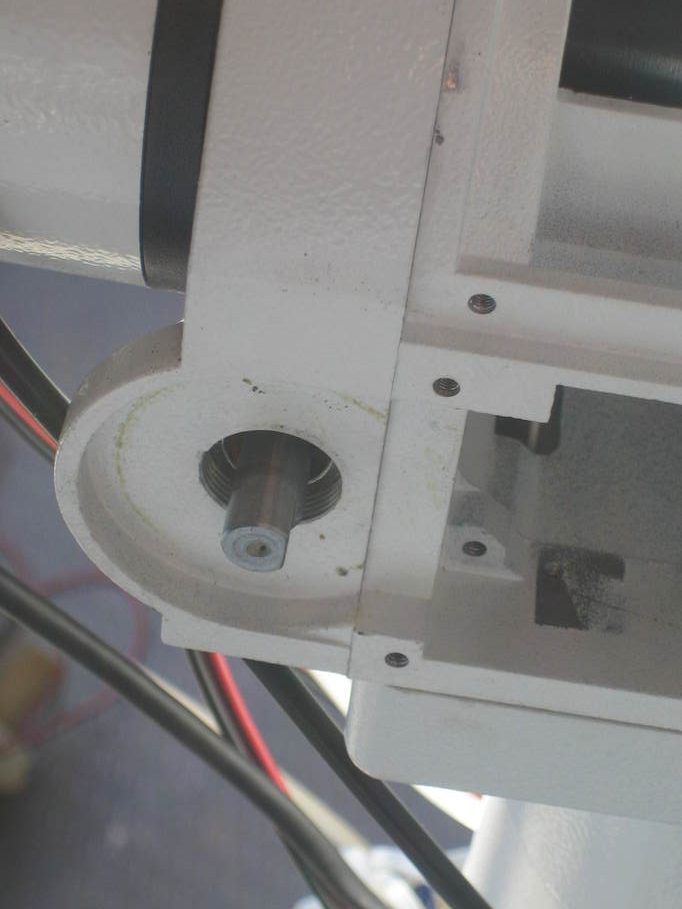
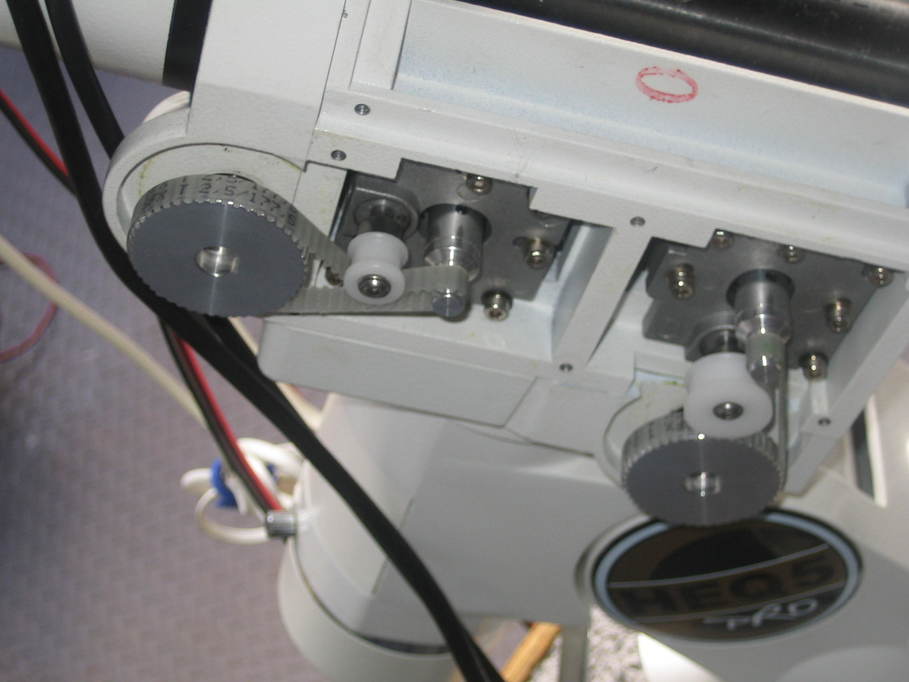
The first job is to remove the cover over the gears, which is pretty straightforward. There are six screws, but they won’t be used again.
That gives access to the motors and gears. Most of the work is done from this side.
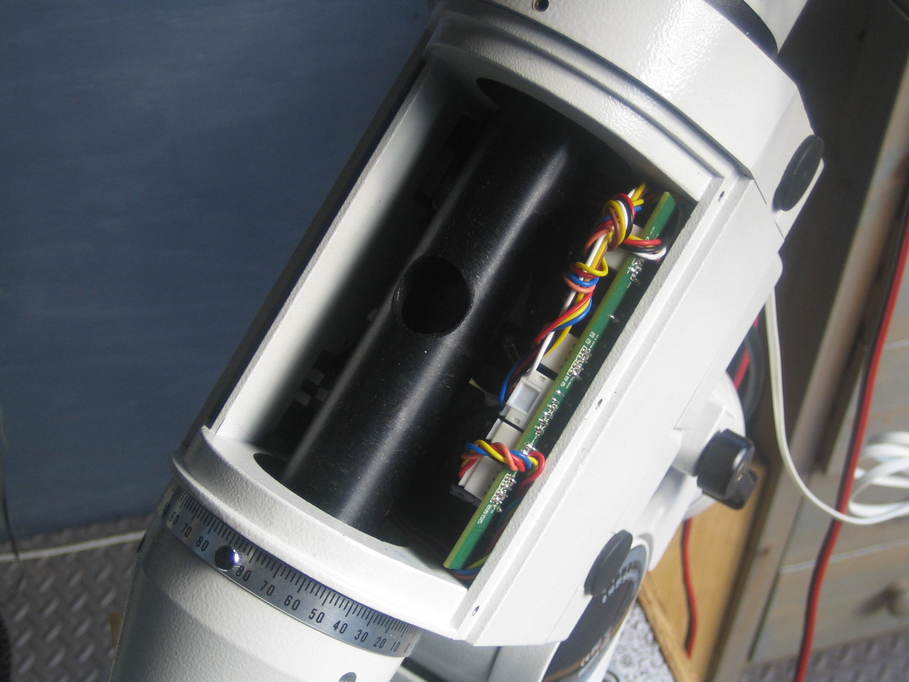
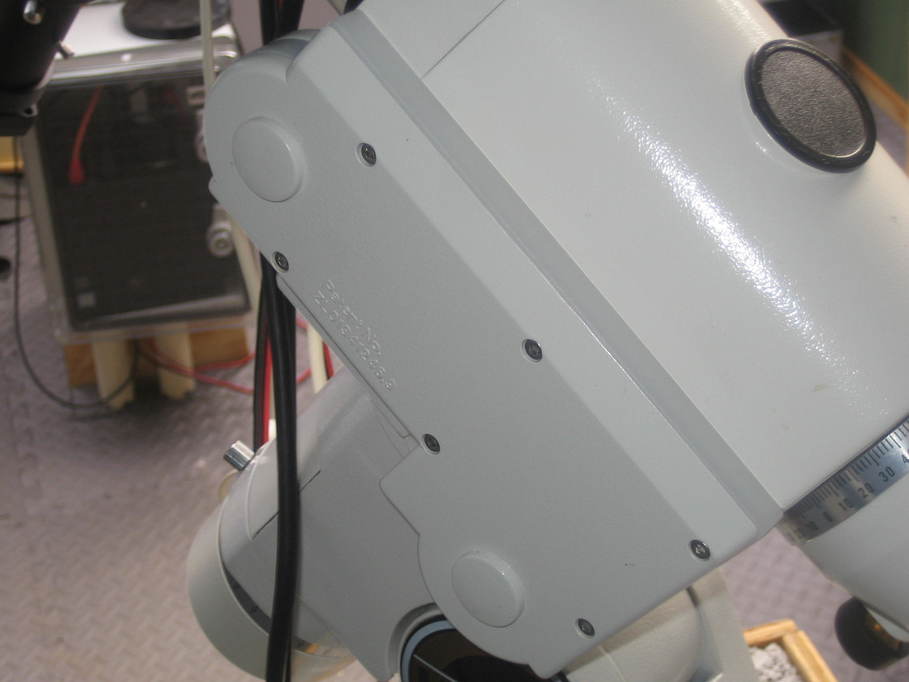
Then the cover over the DEC axis, which is required to get access to the controller board to allow the motors to be unplugged. Five screws this time: two that were under the previous cover and three on the other side of the mount.
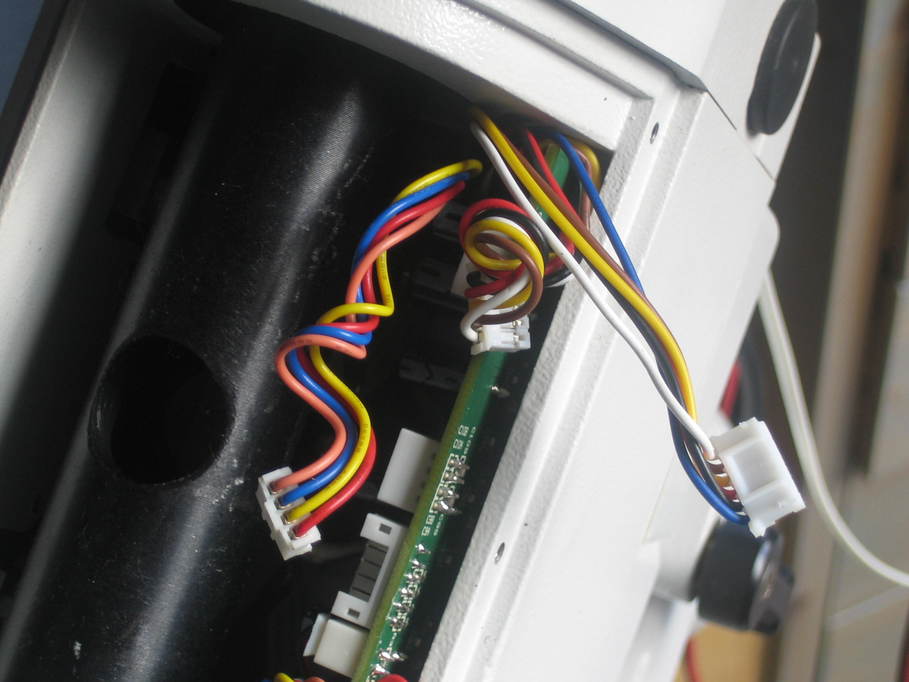
This is the controller board, with the cables for the plugs all helpfully wrapped around each other.
I was going to do the DEC motor first, but had to guess which one was actually the socket for the DEC motor. It is neatly labelled, but you can only see it after you’ve taken the plug out.
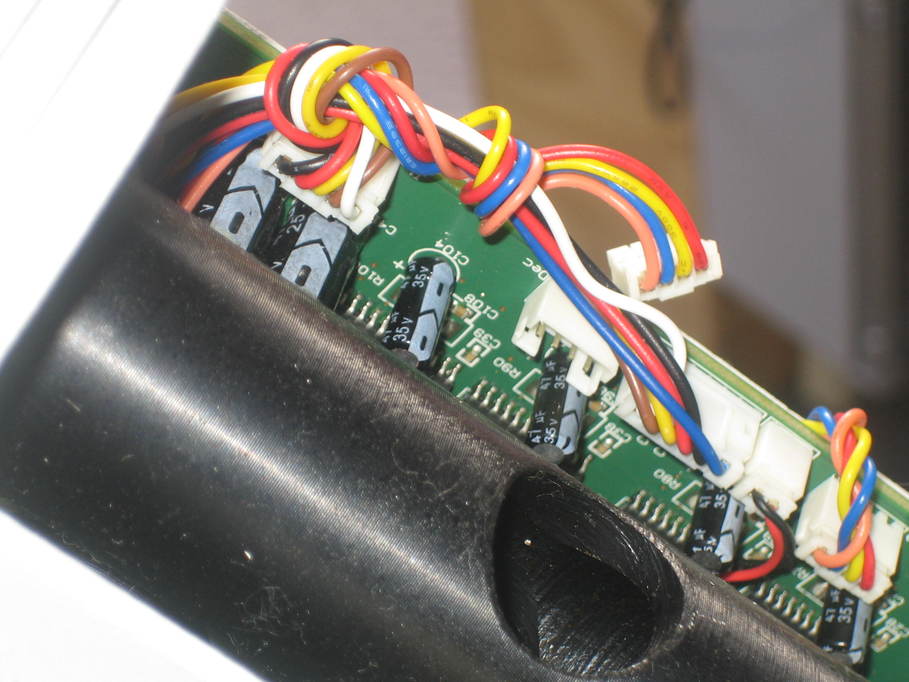
The cables are so awkward to do anything with given the way they’re wrapped around each other that in the end I just decided to unplug them all.
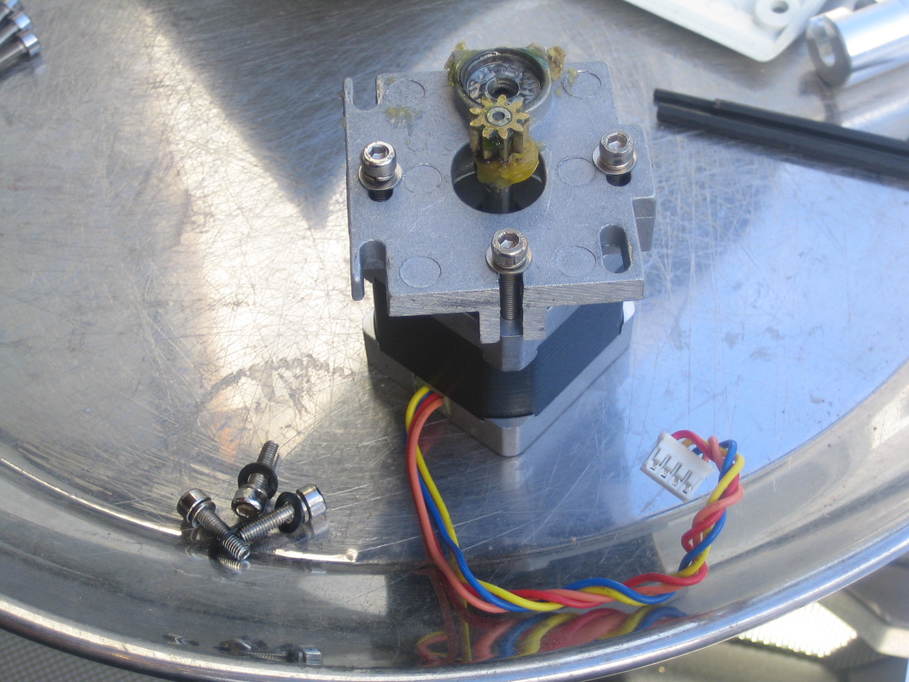
Three bolts later saw the motor out of the mount quite easily.
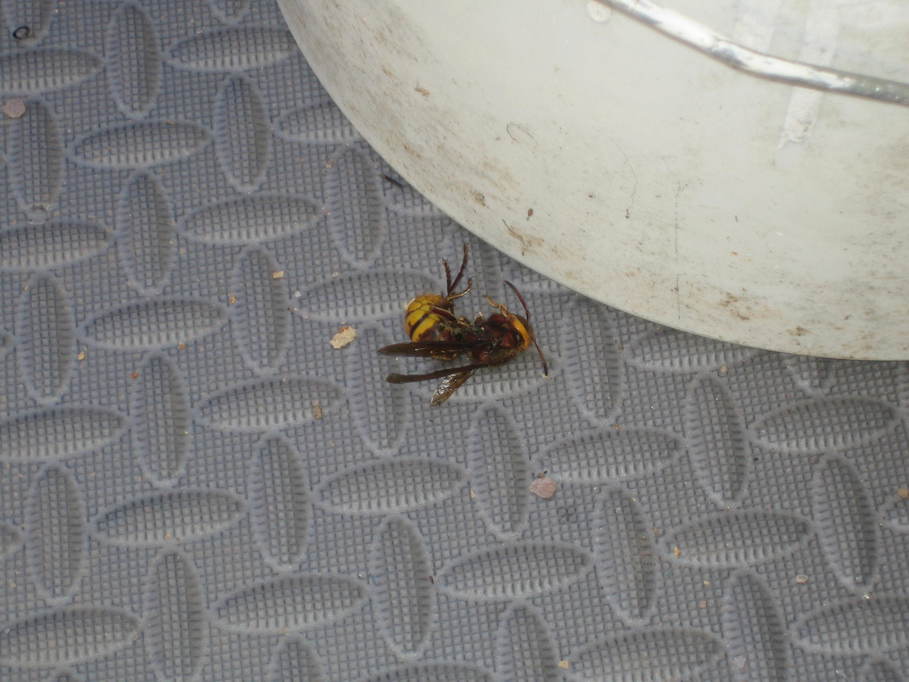
When I’d opened up the observatory I noticed a hornet buzzing around. I didn’t give it much thought really. We often get them around here. At this point however it was starting to show rather more interest in the observatory than I was happy with and after a few minutes I realised it was trying to locate the nest it had been building inside the roof. Unfortunately that meant there was only really one option. I really don’t need a nest of hornets in the observatory for the summer 🙁
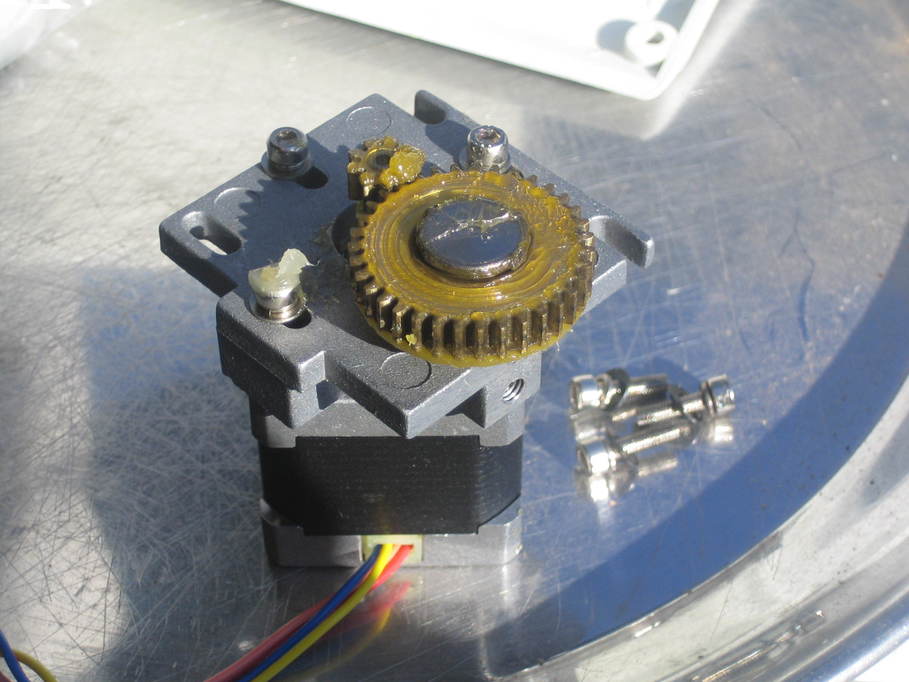
Anyhow, back to the motor. As per the instructions I removed the large idler wheel from the motor mounting plate.
Huge amounts of grease there, serving absolutely no purpose whatsoever. That gave me access to the mounting plate which also had a fair bit of grease smeared on it, and there’s a large blob behind the pinion wheel, too.
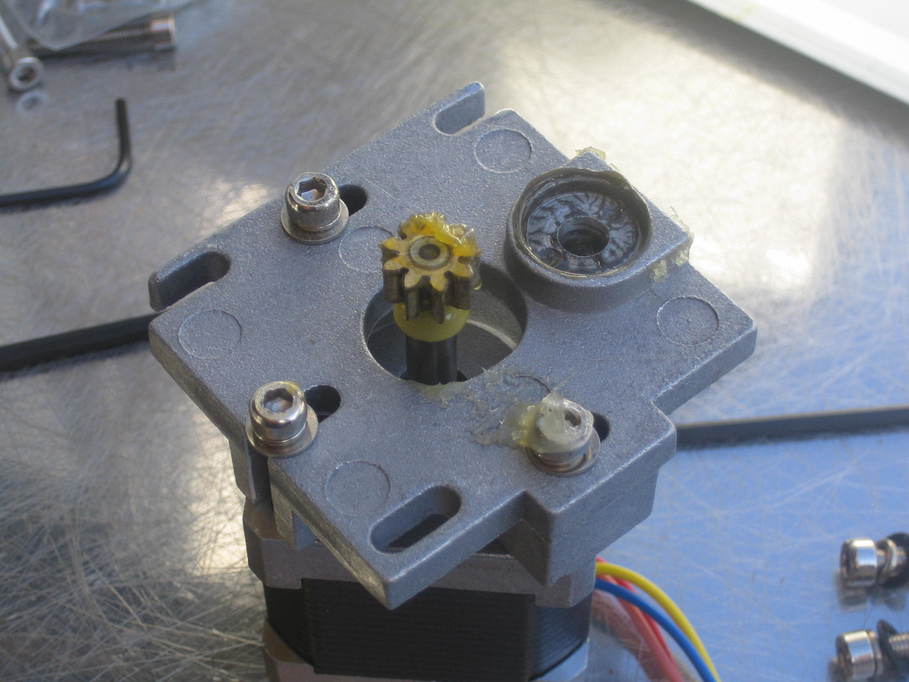
Removing the three screws holding the plate gave access to the pinion.
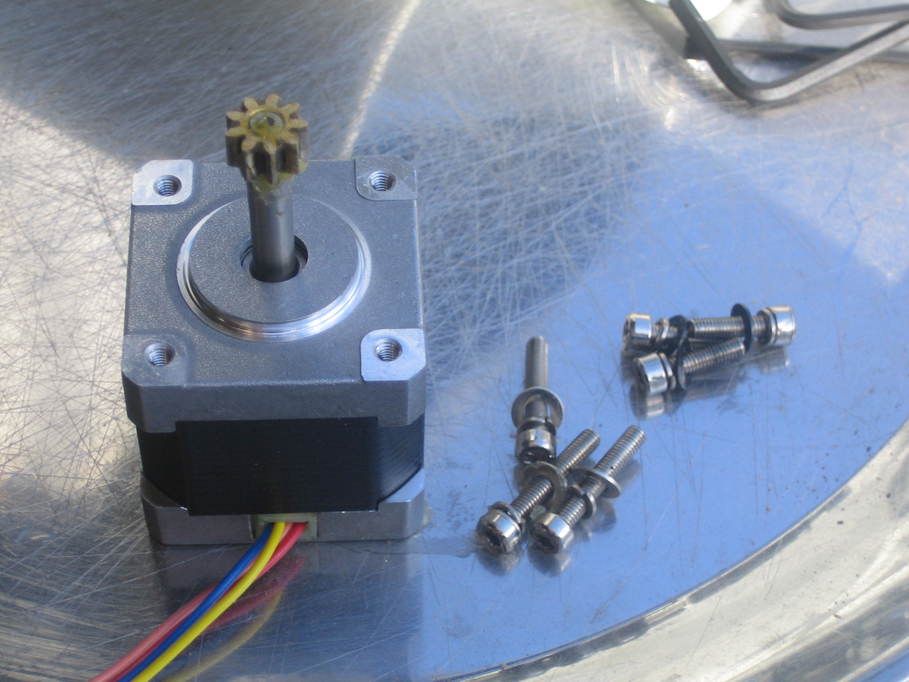
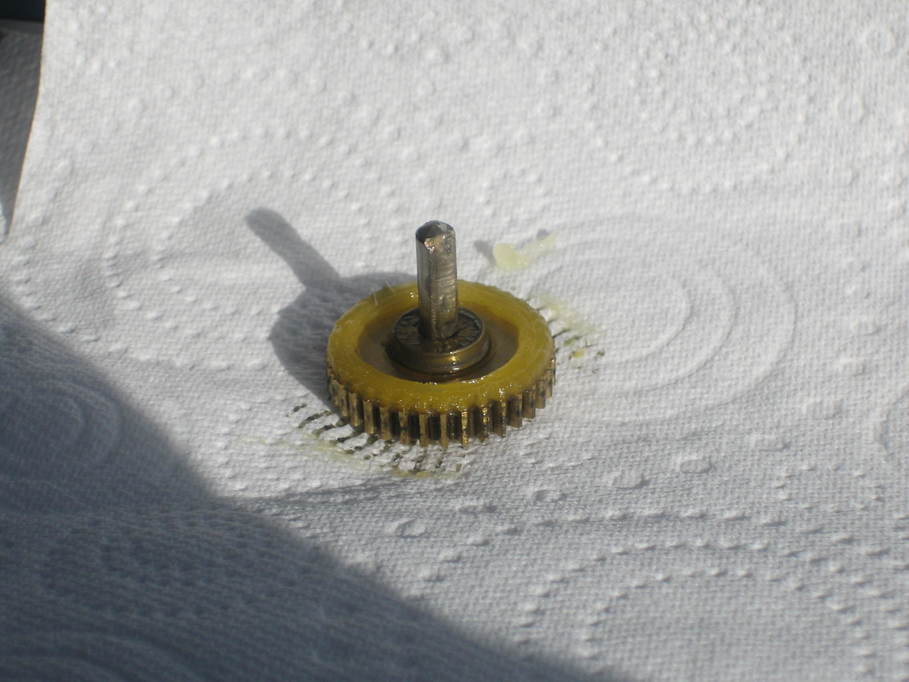
And then I needed the pinion removal tool to pull that off the motor spindle. I actually needed to hold the tool in a pair of pliers whilst I turned the bolt, the the pulley came off easily enough.
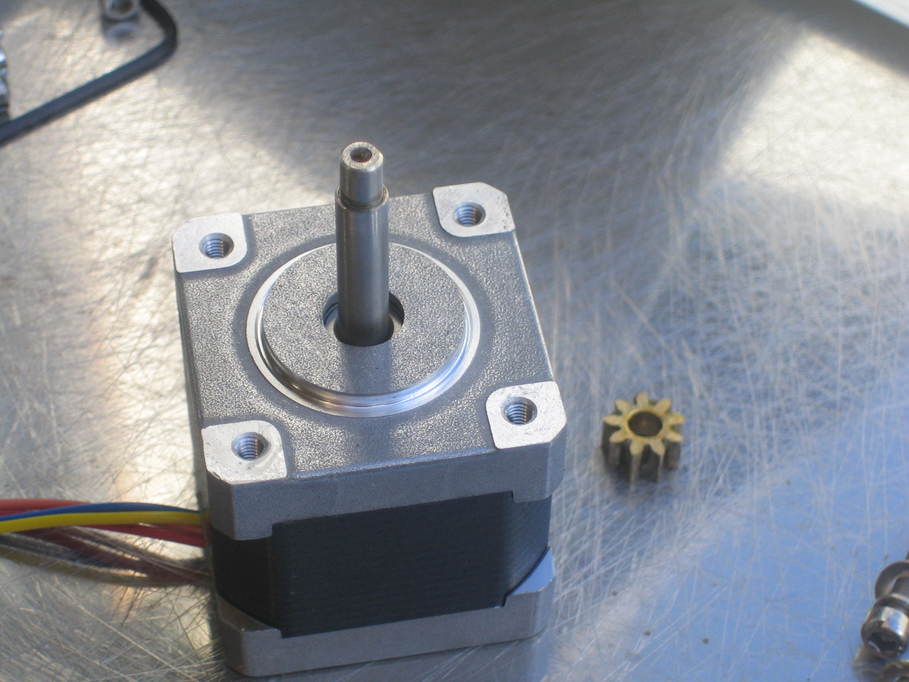
The pinion gear gets replaced with a new one for the drive belt, and the new idler wheel also drops in where the old one came out. This was quite a tight fit on mine. In retrospect I decided this was easier to do with the mounting plate in place because it means the pinion and idler can be lined up with each other. In fact I found that the lower of the two grub screws holding the idler spindle in place wouldn’t actually bite on anything when I had the idler at the right height, so I removed it altogether. I don’t want it coming loose during use and dropping inside the mount somewhere.
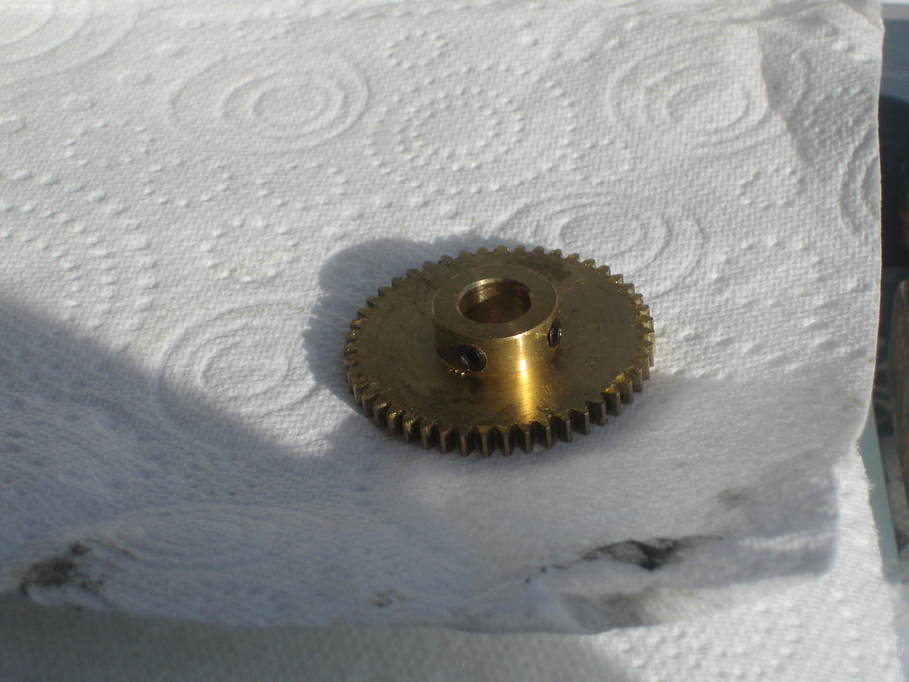
Next the gear on the end of the worm needs removing. I found this quite awkward. Despite completely removing the grub screws holding it to the shaft, it was a pain to wiggle off the end of the shaft despite sliding up and down quite freely in places. I think there may have been burrs on the inside of the wheel that were catching on the shaft, possibly where the threads for the grub screws had been cut. Lots of wiggling later it eventually came off and unlike the other gears turned out not to be very greasy at all.
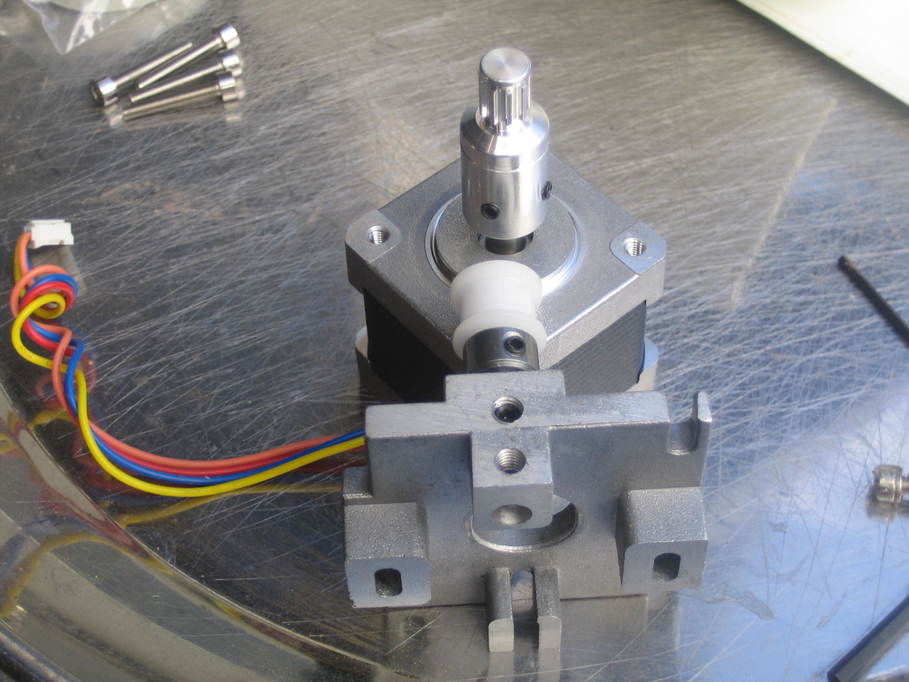
Again in retrospect I decided that it was easier to re-fit the motor with the screws hand-tight at this point (making sure the mounting plate goes on with the wires in the same orientation as they had originally) so that the new worm drive gear could be adjusted to be in line with the pinion and idler (I needed a little more adjustment when I took this photo).
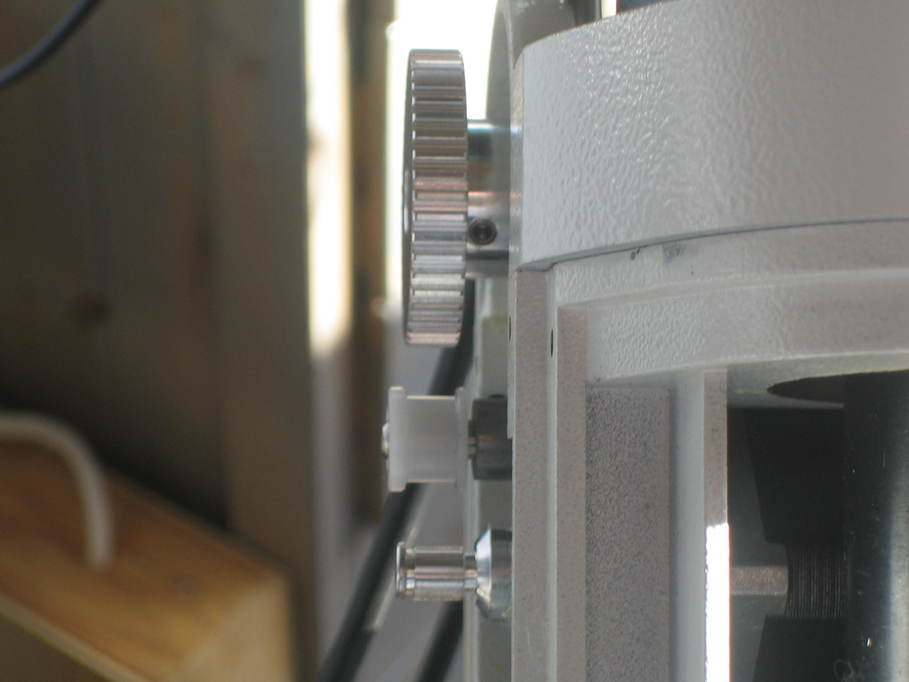
The belt then fed into place easily and I used a screwdriver to gently ease the motor away from the worm end of the mount casing to get the desired tension on the belt. A quick check over all the screws for tightness and that’s one axis done!
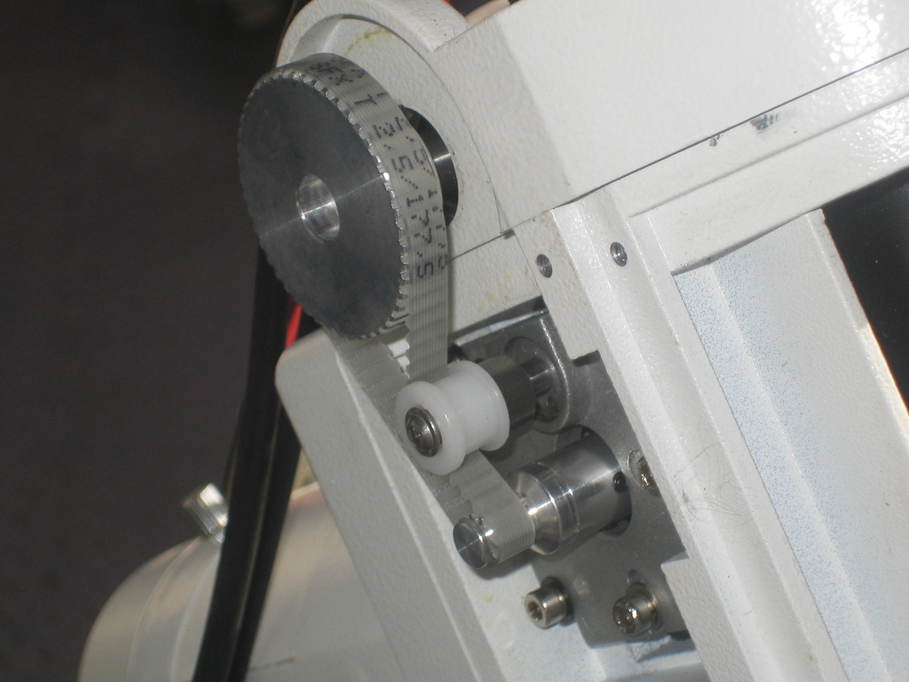
The RA axis is pretty much the same, though the cabling is easier to get to at the bottom end of the controller board and the motor is in a different orientation on the mounting plate:
Here’s the mount with both axes done.
At this point I plugged all the motors back in, retwisting the cables around each other to keep them from getting caught on anything, and powered up the mount. Connecting from the PC I slewed the mount around a bit and was amazed how much quieter it had become. It still makes a noise, certainly, but it’s really just the whine of the motors now, not the crashing and rattling of the gears that has always set my teeth on edge and made me feel as though it would wake up the rest of the house, especially at the start or end of a slew.
So, all that remained was to fit the DEC axis cover back on using the original screws, and then the gear cover with the new spacer using the new screws provided (the originals aren’t long enough).
And this is what’s left over…
All in all I’d say it was a very straightforward mod with good instructions that pretty much anyone happy to be patient and methodical could do. Other than the tools shown I think I used a couple of screwdrivers and a pair of pliers and that was it. All in all it took me perhaps an hour, but I wasn’t hurrying and I was taking photos (and I got distracted by a hornet). Half an hour is probably easily feasible.
The proof will be in the guiding I guess, but already it’s obvious that the meshing of the DEC worm needs some looking at thanks to there being no backlash anywhere else now. That’s no big deal though. I can do that another time.
All done, I closed up the observatory roof just as the next set of rain clouds were rolling across the sky. No more testing for today…