
For the final bit of PCB soldering, the MOSFETs and voltage regulator. The heatsinks I bought turned out to have small steel “legs” on when they arrived, which I didn’t initially realise was the case.
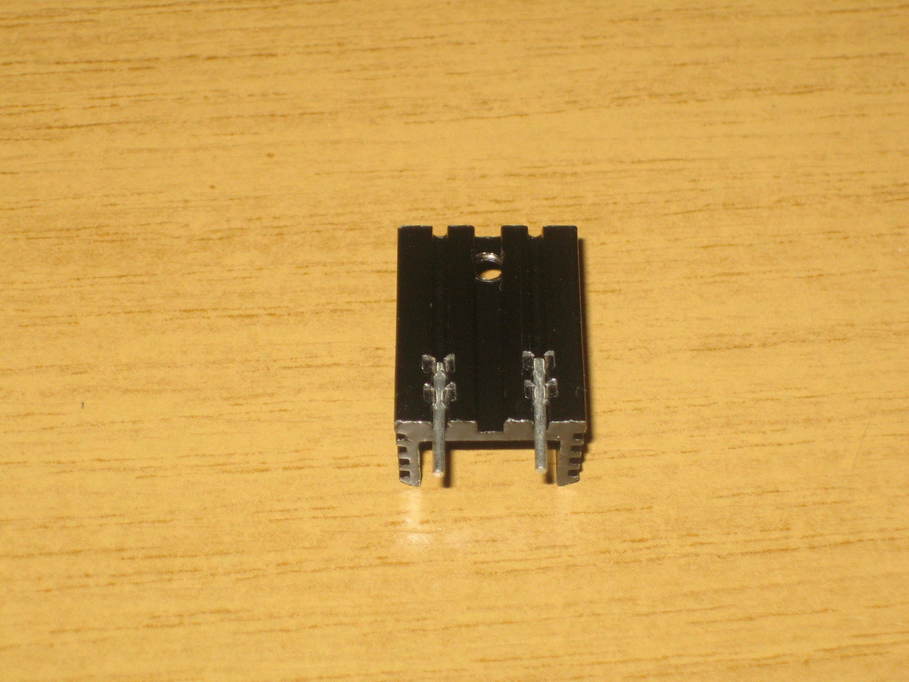
I assume they’re there so they can be soldered to the PCB and stabilise the heatsink. And perhaps to connect it to ground. There’s no place for them on the PCB though, so I snipped them off with the side cutters.

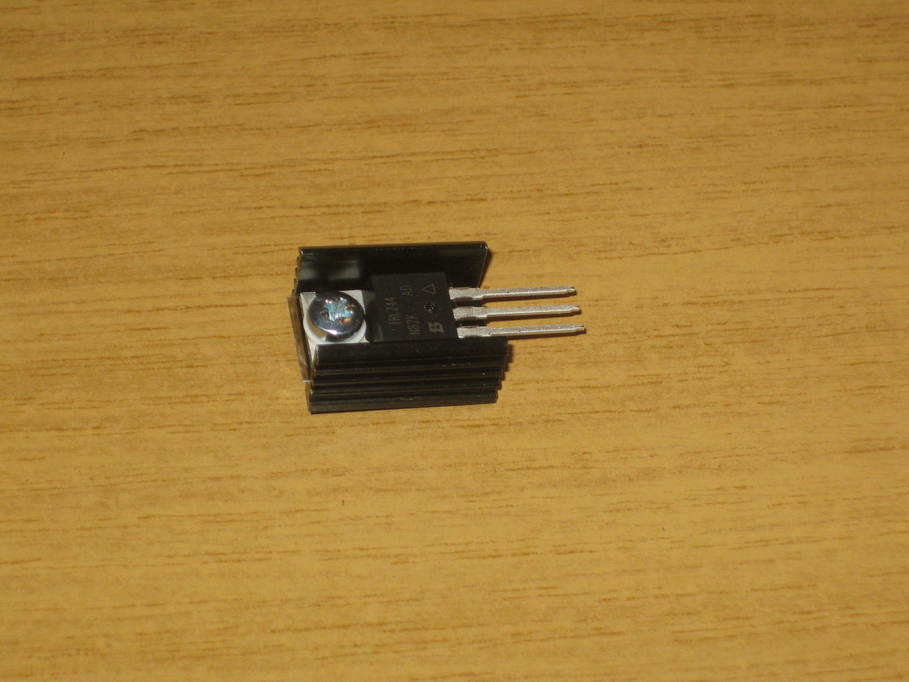
Because there’s not much room on the PCB for the heatsinks (some of the resistors prevent them from fitting flush with the PCB) I decided it was easier to put the whole thing together before soldering it into place.
Even then it was easier to put some of them into the board at a slight angle to get sufficient clearance. An alternative might be to just saw 3mm or 4mm off the bottom of each heatsink. I don’t think it would compromise their performance that much. And again I held them in place with a blob of blutak whilst soldering. And here they are, all done.
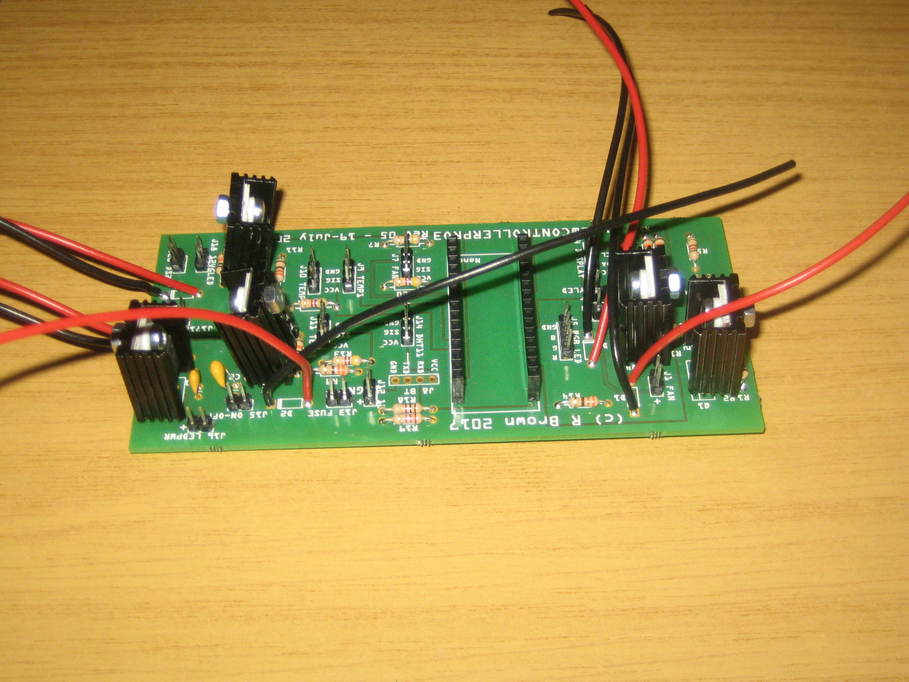
To make much more progress I probably need the case printing, so I’ll get that under way. I’ll also go over the back of the circuit board with a magnifying glass just to check there aren’t any unintentional bridges in the soldering. Then I’ll plug in the Nano and at least see if it lights up and runs the default “blink” code ok.