
So, testing…
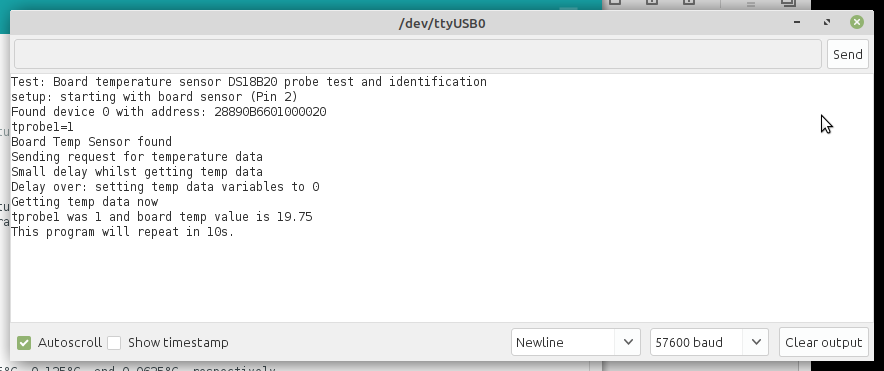
I downloaded the Arduino code from Sourceforge and unzipped it to find a directory called “Tests”, which seemed quite straightforward. In the documentation there are a list of tests n the order they should be run, but I think it actually works out that the subdirectories of “Test” are arranged so that they’re in the correct order when listed alphabetically. The first was “TestBlueTooth” which I skipped as I didn’t build the Bluetooth interface and moved straight onto the second, “TestBoardTempSensor”.
I’m a Linux user and I had the default set of Arduino tools already installed on my Mint 19 desktop system. There is a “Readme.txt” file in the Tests directory that talks about where to put the various library files for Windows, but no information for Linux so I decided that initially I’d just try compiling things and see what happened. I plugged the dew controller USB connection in, set the correct board type in the tools and made sure the device name was /dev/ttyUSB0, but even so what happened was a horrible mess of errors. That led me to download the latest version of the Arduino tools from the Arduino website and try again. Better, but still no cigar. It did create a subdirectory of my home directory however, called “Arduino/libraries”, so that seemed a reasonable place to put the library files. I copied all the subdirectories of the unzipped “myDewController Libraries” directory into that and tried compiling again. Success!
From the Arduino IDE tools menu I opened the serial monitor and uploaded the sketch. In the serial monitor I was rewarded with:
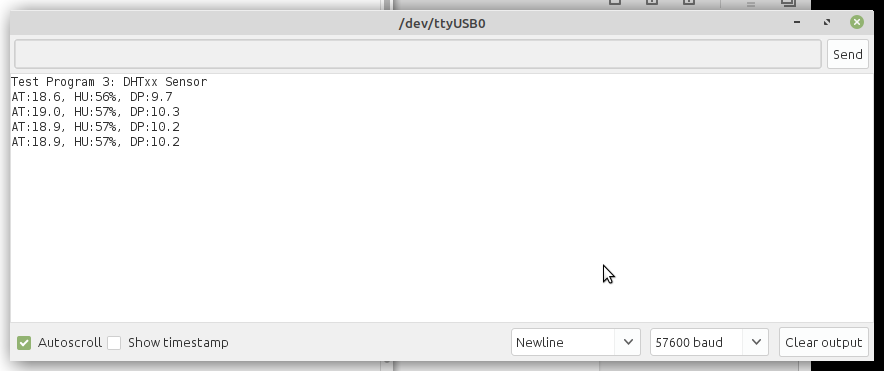
I followed the same process for “TestDHT”:
and “TestDSB1820TempProbe”:
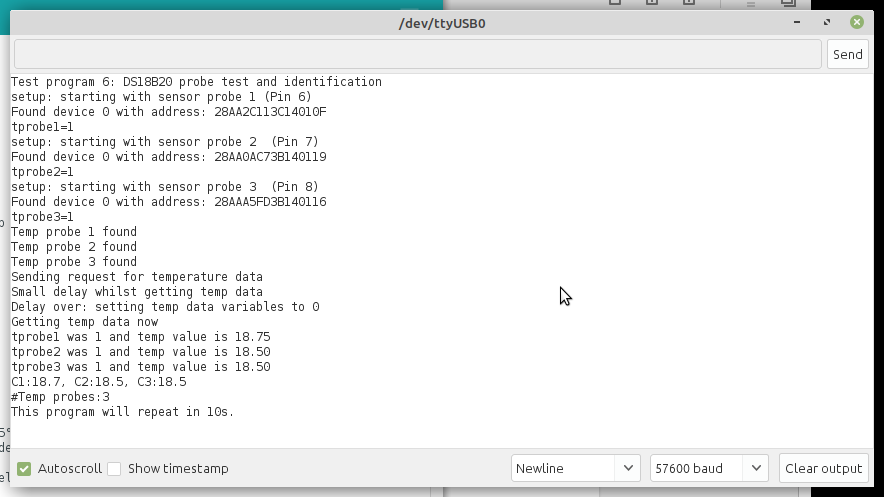
(I’ve just noticed that is in fact out of sequence). From then on it’s a little more complicated, and requires that the 12V supply be plugged in and switched on.
“TestFanandLEDs” runs the fan at various speeds and sets the RGB LED to each of its possible colours, so that’s a visual check. At first this didn’t work for me and after checking continuity of the connections, close inspection of the PCB showed some soldering I wasn’t happy with. I so hate having old eyes 🙁 I redid the soldering and it worked once reassembled.
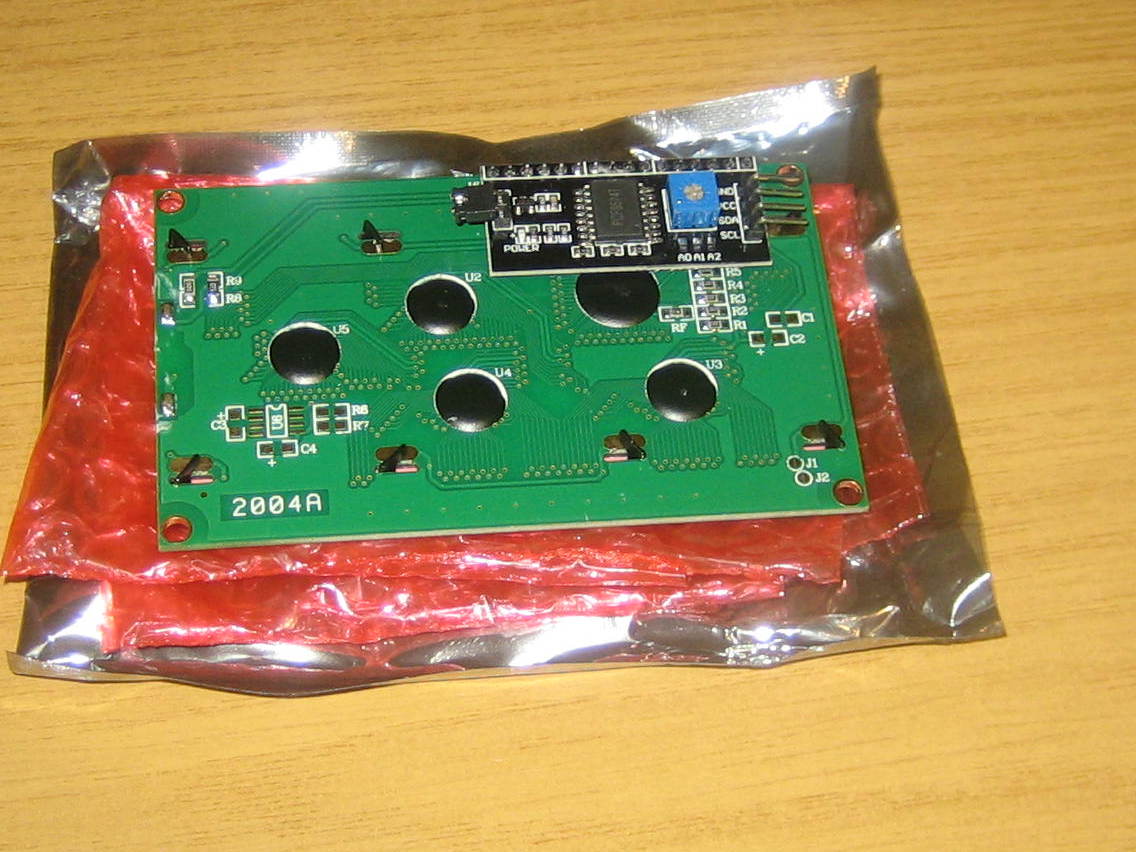
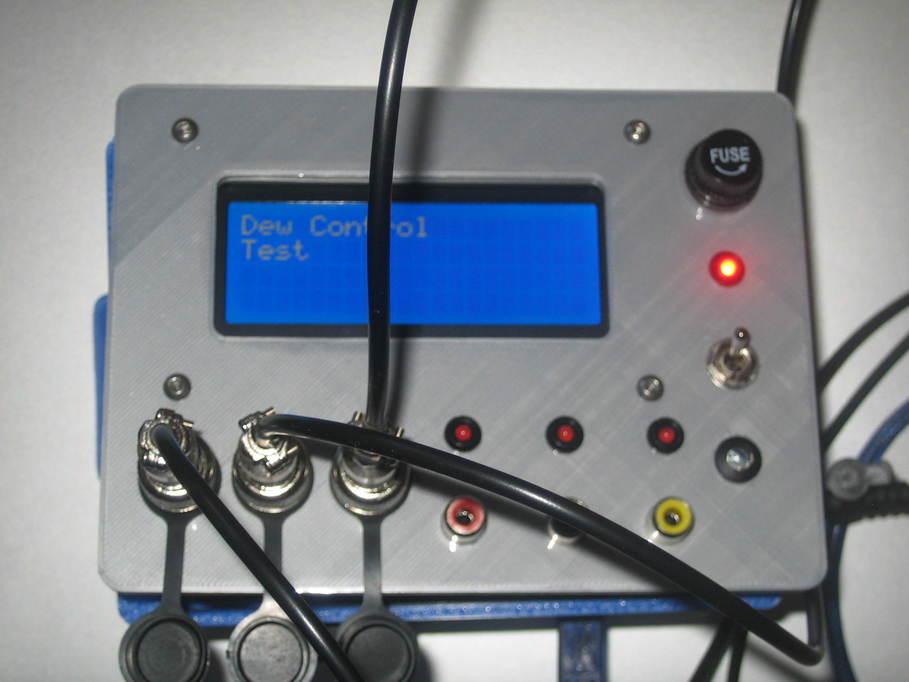
“TestLCD” displays a message on the LCD screen. The display I used for this build worked perfectly first time, but on my first build I had to adjust the brightness using a small adjuster on the back of the display. It’s the blue component in the top right here:
When it’s right, you should see this:
If you’re nervous, disconnect the power and USB, adjust it and then reconnect everything. Or use a plastic-bladed screwdriver to adjust it. Or, like me, just go for it with a normal small steel-bladed screwdriver and be very careful not to short anything out.
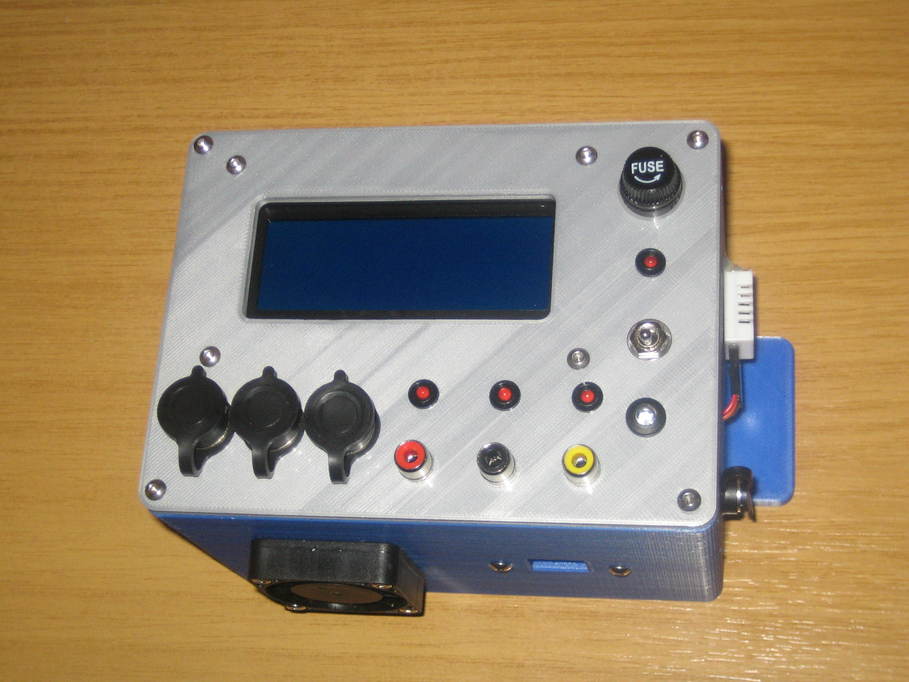
The last test I ran was “TestPWMOutputs”, which sets the dew heater outputs to 0%, 100% and 50% in turn. The dew strap indicator LEDs should change brightness at the same time. It’s quite hard to tell that they’re lit in this photo, unfortunately.
With all the tests passing I set the controller up on the mount and connected everything up, including a USB connection to my pier-top computer which allowed me to run the Linux “myDewControllerPro3L” application to monitor the controller and adjust the settings.
After my first night using the controller I noticed that dewstrap 2 was on according to the LED, but not warm. I brought the unit inside again and found that even with that channel full on and the LED lit, there was no voltage across the dew strap connector. As the LED and dew strap are connected directly together on the PCB that pointed to a connection problem between the PCB and socket. I opened the case up to discover that the socket I’d plugged into the PCB for the dew strap connector had one of the pins pushed back out of it so there was no connection. Clearly I’d not put it in properly the first time. I made sure this time, replugged it and now everything is working as it should. I’ll put it back on the mount tomorrow.