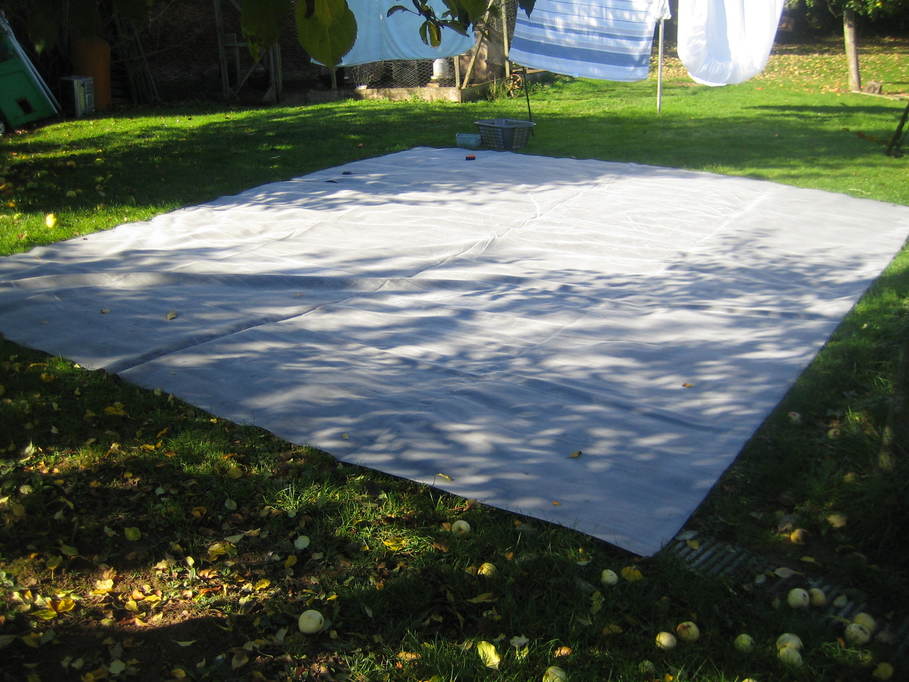
I ordered my EPDM in a single hefty 40kg piece as the width I needed for the warm room roof was very close to the length I needed for the roll-off roof, so the first (slightly scary) job for today was to unpack the EPDM, lay it out and cut the right size piece off the end for the warm room.

I’m surprised by how bright it looks in that photo. It’s really quite a dark grey. Anyhow, I took far longer than strictly necessary to measure up, making sure the remainder would definitely fit the rolling roof and then checking again, mistakes at this point being rather costly 🙂
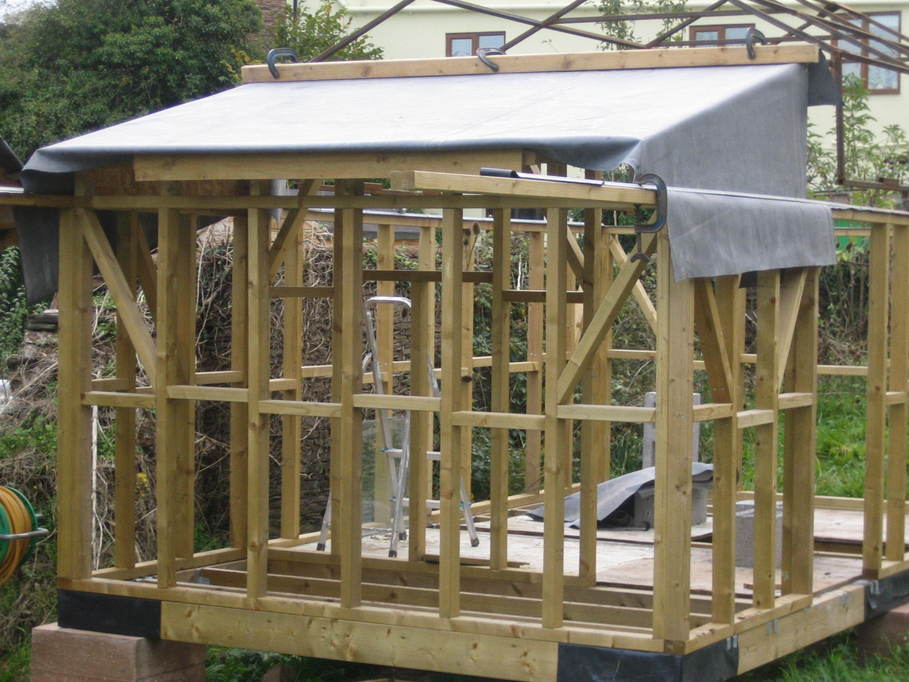
I still needed to put the lip on the top edge of the roof to help stop rain or snow being blown underneath, so I got that done, fixed a few other bits and pieces that couldn’t be done after the roof was on and then broke out the adhesives and worked on each side of the roof separately, using the roof rails to keep the EPDM taught. Thanks to the lower temperatures at this time of year I didn’t have to rush too much with the contact adhesive either, and in fact where there will be spare rubber to trim off I’ve temporarily stapled it to the woodwork to keep the EPDM in place whilst the adhesive dries. The negative side of the lower temperatures was that the creases didn’t want to drop out of the sheet so easily. I’ll have to see how that goes when it comes to doing the rolling roof.
Unfortunately I didn’t quite have time to finish off at the top and bottom edges, so I’ve clamped those in place for the time being and hopefully I’ll get to them during the week as it looks like we’re forecast a few more warm days.

Too late I realised that the spare bit of 3×2 that I used for holding the top edge in place was just too wide to allow the rolling roof to pass it so I wasn’t able to run the roof off and make sure the rails are aligned before screwing them down, hence the clamps holding the rails down at this end 🙂
