
It’s probably been time to bite the bullet for a while, so I finally decided to get on with designing something of my own to print out on the 3d printer. This is actually a case for the PCB of the PTR unit for occultation recording using oacapture. It’s sat on my desk for some time now in an ill-fitting box, so it’s time to fix that.
I’ve never done CAD work before, but I am familiar with Sketchup. Unfortunately Sketchup doesn’t really like to run under WINE on my Linux desktop, so after searching about for a while I came across OpenSCAD. To my way of thinking this shares a lot of ideas with Sketchup, but the work is done by writing code for all the objects rather than dragging them around the screen. Given that I’m used to coding this works well for me, though it might not be to everyone’s taste.
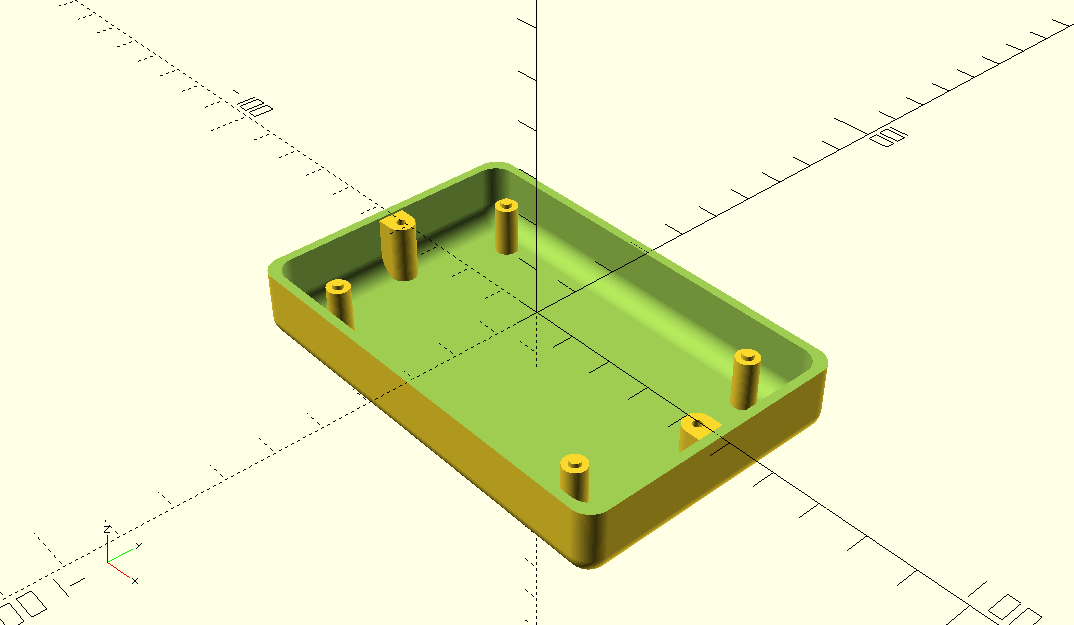
I decided to make the case in two halves, the lower one being the less complex. Fifty lines or so of code in OpenSCAD resulted in this:
and after exporting it to STL and waiting a couple of hours for the printer to finish I ended up with this:

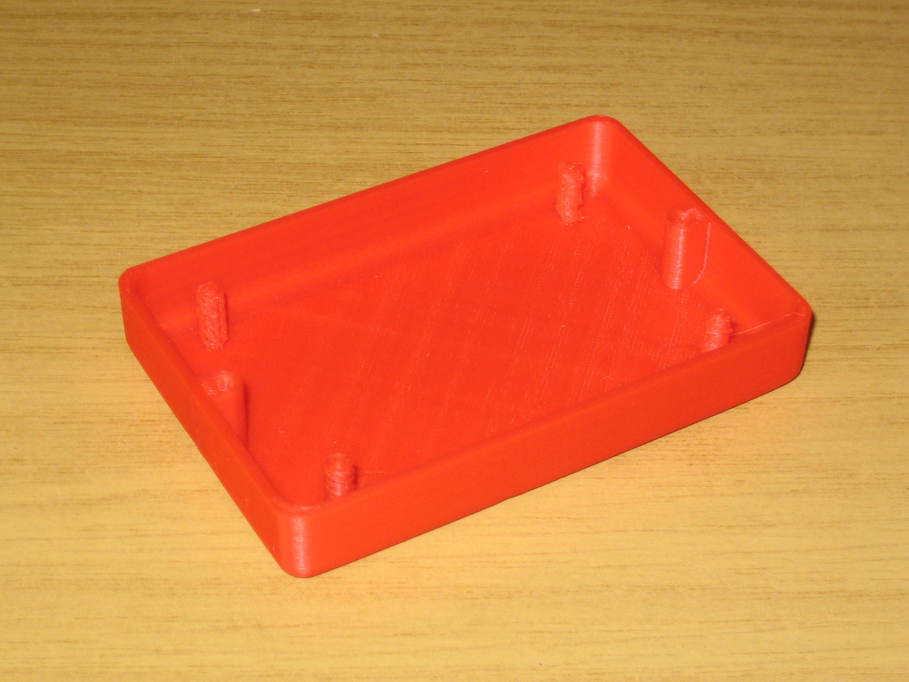
Whilst I’m not unhappy with this, it’s not perfect. I had an issue with the first layer not printing out nicely which I’ll come to in another post, but the other thing I really wasn’t happy with was the posts. The pins to locate the PCB are fine, but the posts themselves are a bit of a mess. I think perhaps I should have made them bigger and the printer would then have made a better job of them. If I were to print it again I think I’d make them larger diameter, or perhaps square.