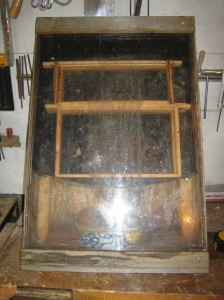
Solar wax melters are available commercially and there are a fair few designs about on the web. Here’s one I made a couple of years ago.
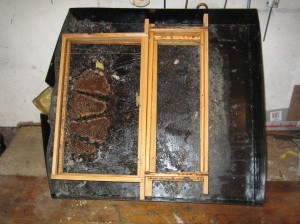
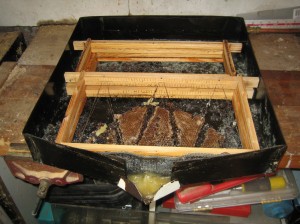
I started with the tray that the frames would sit in. I had some steel sheet lying around that I’d removed from our oil boiler before it went to the tip, thinking it would come in handy one day, so I cleaned that up and drew out a “net” for a tray 18″ wide, 18.5″ long at the sides down to 20.5″ in the middle and with 3″ high sides. This was actually the largest I could make it given the sheet I had available, but actually worked out fairly well as I was planning to make something I could stack four National brood frames or six Nation super frames in. I made tabs on the edges that were to be joined and was intening to pop-rivet them once the sheet was folded up, but in the end they were welded instead. Out of an off-cut of the sheet I folded up a spout and riveted that to the base of the tray, then sprayed the entire tray with flat black Hammerite paint and placed some mesh against the walls above the spout to filter out the worst of the rubbish. This is the finished tray:
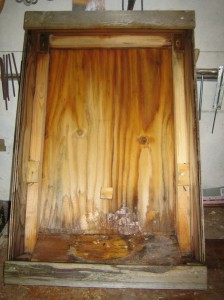
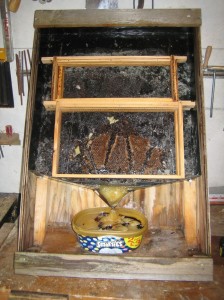
To house the tray I built an open-top wooden box from 12mm marine ply with internal dimensions 18.5″ wide, 29.5″ deep and 5.5″ high. At 45° at one end I added a shelf for the wax collector to stand on. I found the tray wasn’t quite high enough for the spout to reach over the collector, so added a few scraps of ply to the frame to push the tray further up, and a couple of screws hold the tray in place at the top of the box when it’s tilted up. I would liked to have used glass for the top of the box, but with two children running about the place it made more sense to use a scrap of acrylic sheet. To hold the sheet in place at the top I used a length of timber into which I’d cut a rebate with a router, and another length without a rebate at the bottom:
First tests showed the air temperature at the top of the box to reach 90C on a warm summer day and the melter has worked excellently for a couple of years. It does need a little tidying up now. A coat of preservative would probably be sensible as well as a retaining strap to hold the perspex tight to the walls of the box, as small gaps mean bees get interested in getting inside and die very quickly if they do.
The other major change I intend is to make a metal or plastic “lip” to go under the bottom edge of the perspex so rain will be carried off to the sides. I didn’t think this would initially be a problem because I was intending to use it where there’s an overhang that prevents rain reaching it, but that’s near the front door and the box does tend to attract bees which distresses visitors, so it now sits out in the elements.
Generally though I’m very pleased with it, especially given that it cost me nothing but time and a few scraps of material that I had lying around.

